

At BeautyCaters, our expert team independently curates every recommended product. Purchases through our links may earn us a commission. Explore our transparent selection process.
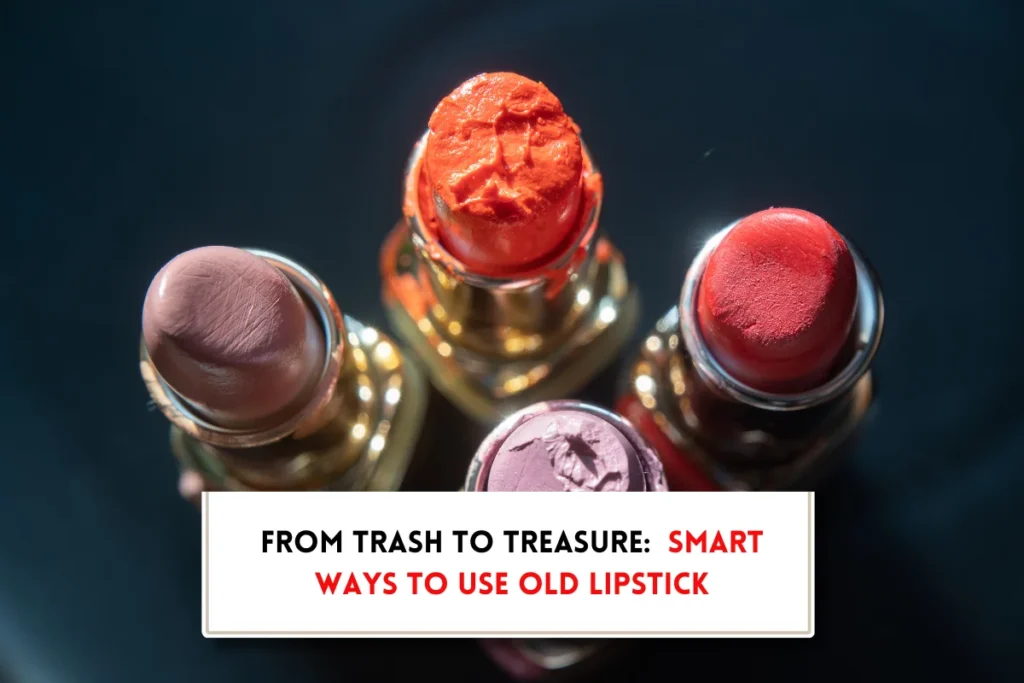
We all got that one or more lipsticks that looked amazing in the store but not so much on us, like the red that looked a little orange on your skin tone. Or may be a shade you bought on a whim and now it’s just sitting there, untouched. Now you won’t throw them away (you shouldn’t be).
So, let’s turn those mishaps into a creative adventure, something new and exciting! I will tell what to do with old lipstick? Get those tubes and cannister and start crafting!
What to do with old lipstick?
Restore a broken bullet
Summer heat can wreak havoc on your favorite lipsticks, leading to unsightly breakage. But don’t despair! This simple trick can bring your beloved shade back to life.
Lipsticks are essentially a blend of waxes and oils, which have relatively low melting points. When your lipstick snaps in two, simply:
- Realign: Carefully place the two broken halves back together as accurately as possible.
- Heat seal: Using a lighter or a match, gently pass the flame around the circumference of the lipstick. The heat will melt the wax at the break, allowing it to fuse back together.
- Cool down: Allow the lipstick to cool completely before using. The melted wax will solidify, effectively “gluing” the two halves back together.
Pro Tip: For a smoother finish, you can gently sand down any rough edges with fine-grit sandpaper after the repair.
With this easy fix, you can enjoy your favorite lipstick shade for longer, even after a summer of mishaps.
Also Read: How to keep red lipstick from bleeding?
DIY tinted lip balm
Tired of drying matte lipsticks or simply looking for a more effortless lip color? Transform your existing lipstick into a hydrating tinted lip balm with this easy DIY!
Method 1: Lipstick + Carrier Oil
- Combine: In a small bowl, mix one part of your favorite lipstick with three parts of a carrier oil. Popular choices include petroleum jelly (Vaseline) or coconut oil.
- Melt: Gently heat the mixture in the microwave for 5-10 seconds, stirring well after each interval.
- Pour: Pour the melted mixture into a clean container. Old lip balm tins work perfectly, but any small jar or pot will do.
- Enhance (Optional): Add a single drop of skin-safe essential oil, such as peppermint or vanilla, for a subtle fragrance.
Method 2: Lipstick Scrapes
- Scrape: Gently scrape any remaining lipstick from the tube into a spoon.
- Melt: Melt the lipstick scraps in a small bowl using a double boiler or by carefully heating in the microwave.
- Combine: Pour the melted lipstick into a clean lip balm container filled with clear lip balm or petroleum jelly.
- Cool: Allow the mixture to cool and solidify completely in the refrigerator.
This DIY project not only helps you repurpose your makeup but also allows you to customize the color and hydration level to your liking.
Create a custom lipstick palette
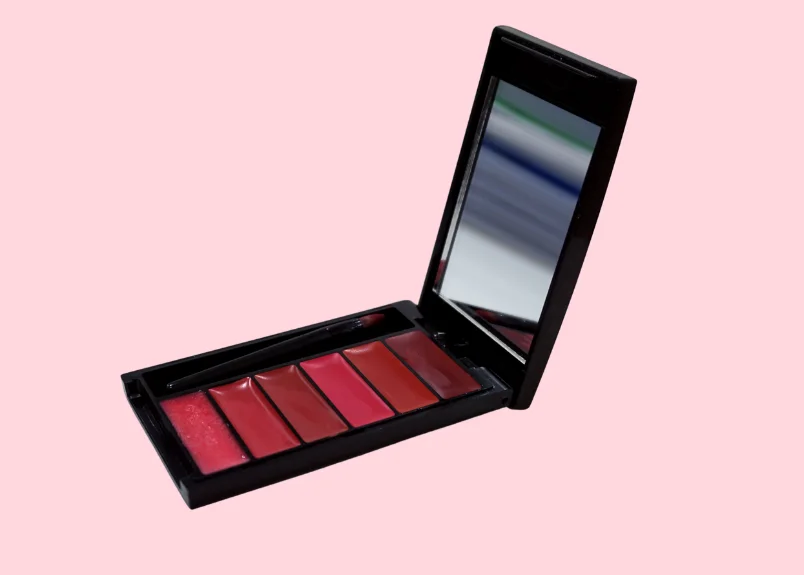
Left with those tiny bits of lipstick? Never throw them away! Here is the perfect and sustainable way to use them up! Repurpose them into a convenient and travel-friendly lipstick palette.
Here’s what you’ll need:
- An old, clean eyeshadow palette, empty, of course!
- A knife, the back of a spoon, whatever you have handy.
- Leftover lipsticks.
Let’s get started:
- Scrape it out: Carefully scrape out any remaining lipstick from your tubes and canister.
- Fill it up: Pop those little bits into the eyeshadow palette compartments.
- Melt it down (Optional): For a smoother look, you can gently melt the lipstick over low heat .For a smoother application, you can gently melt the lipstick remnants using a clean spoon or a double boiler. Then, carefully pour it into the palette.
- Let it cool: Let the lipstick cool and harden completely.
Now you’ve got a custom lipstick palette! Perfect for travel, or just for keeping all your favorite shades in one place.
Tips:
- Cleanliness is key: Ensure all tools and containers are clean and sanitized before use.
- Experiment with colors: Combine different lipstick shades to create unique and customized colors.
Repurpose as a blush
Lipstick shades can appear differently on individuals due to variations in natural lip pigmentation. While highly pigmented formulas may retain their true color, many shades can be influenced by underlying lip tone. This presents an opportunity to repurpose underutilized lipstick shades as a versatile cream blush.
How to use lipstick as blush?
- Warm the pigment: Apply a small amount of lipstick to the back of your hand. Gently warm the pigment with the tip of your ring finger.
- Apply to cheeks: Dab the warmed lipstick onto the apples of your cheeks using a light touch.
- Blend seamlessly: Blend the color outwards using your fingers or a clean makeup brush for a natural, diffused look.
Eyeshadow alternative
Lipstick serves as a unique and creative alternative to conventional eyeshadow. Its neutral shades like bronze and brown offer a subtle and sophisticated effect, while bolder colors such as pink, red, and coral can be used to create more dramatic and expressive eye looks. Moreover, with creme lipstick You can create a striking unconventional eyeliner or a vibrant and unique smokey eye.
- Apply a thin layer of lipstick to the eyelids with a clean applicator or brush. Blend gently for a seamless and diffused effect.
- For a trendy and lustrous finish, apply a small amount of lip gloss to the center of the eyelid and gently blend outwards using a clean brush or your fingertip.
Create the two-tone lip look
Two-tone lips, inspired by K-Beauty, has become a popular trend in recent years. Designated to enhance lip fullness and definition, the technique involves using two different lipstick shades to create an ombre effect. Good news-you can create the two-tone effect, without investing in a dedicated two-tone lipstick. Simply follow these steps:
- Apply base color: Start by applying your preferred lipstick shade evenly across your entire lips.
- Highlight the center: Using a lip brush or your fingertip, carefully apply a lighter shade of lipstick to the center of your lower lip and the cupid’s bow of your upper lip.
- Blend for a seamless transition: Gently blend the two shades together using a clean lip brush or your fingertip to create a smooth and natural transition.
Tips for two-toned lips:
- Color harmony: Select a lighter shade that complements your base color for a cohesive and flattering look. Consider pairing a nude or peach shade with a bolder red or berry.
- Precision application: Utilize a lip brush for precise application and to minimize smudging.
- Effortless blending: Gentle tapping motions with your fingertip or a brush can facilitate seamless blending.
- Lip Liner Enhancement (Optional): Employ a lip liner to define lip shape and prevent feathering, especially when using contrasting colors.
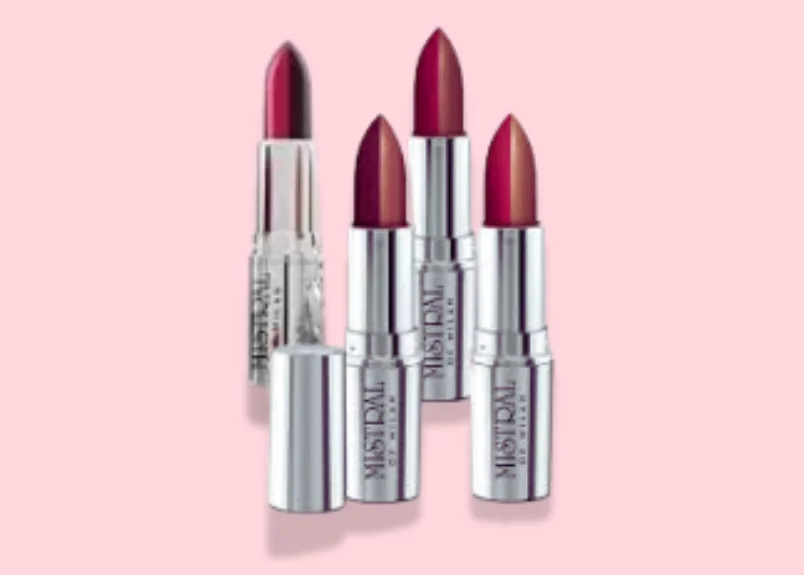
DIY Lipstick Alchemy
While perhaps not the most convenient, this method offers the most exciting and customizable approach to lipstick repurposing.
Lipstick possesses a remarkably low melting point, that makes manipulation easy. Harnessing this property, you can transform your collection of unwanted lipsticks into a palette of unique, personalized shades.
Here’s how to embark on your lipstick alchemy journey:
- Gather your ingredients: Collect your discarded lipsticks, a variety of colors and finishes to explore a wide range of possibilities.
- Prepare your workspace: Designate a clean and well-ventilated area for your experiment. Protect your workspace with newspaper or a silicone mat.
- Melt down: In a double-boiler or a microwave-safe bowl, carefully heat each lipstick in short bursts (5-10 seconds) until completely melted. Be cautious to avoid overheating.
- Mix and match: Combine different colors to create unique and unexpected shades.
- Pour and mold: Once you’ve achieved your desired color, carefully pour the molten lipstick into small containers or molds. You can use old lip balm tubes, mini tins, or even purchase dedicated lipstick molds online.
- Cool and set: Allow the lipstick to cool and solidify completely at room temperature or in the refrigerator.
Final Word
Don’t let those lipstick remnants gather dust! From DIY lip balms to vibrant eyeshadows, your old lipsticks is filled with versatility. Get creative, experiment, and rediscover the beauty within those seemingly forgotten tubes.


