White Chocolate Raspberry Scones – Bake Play Smile


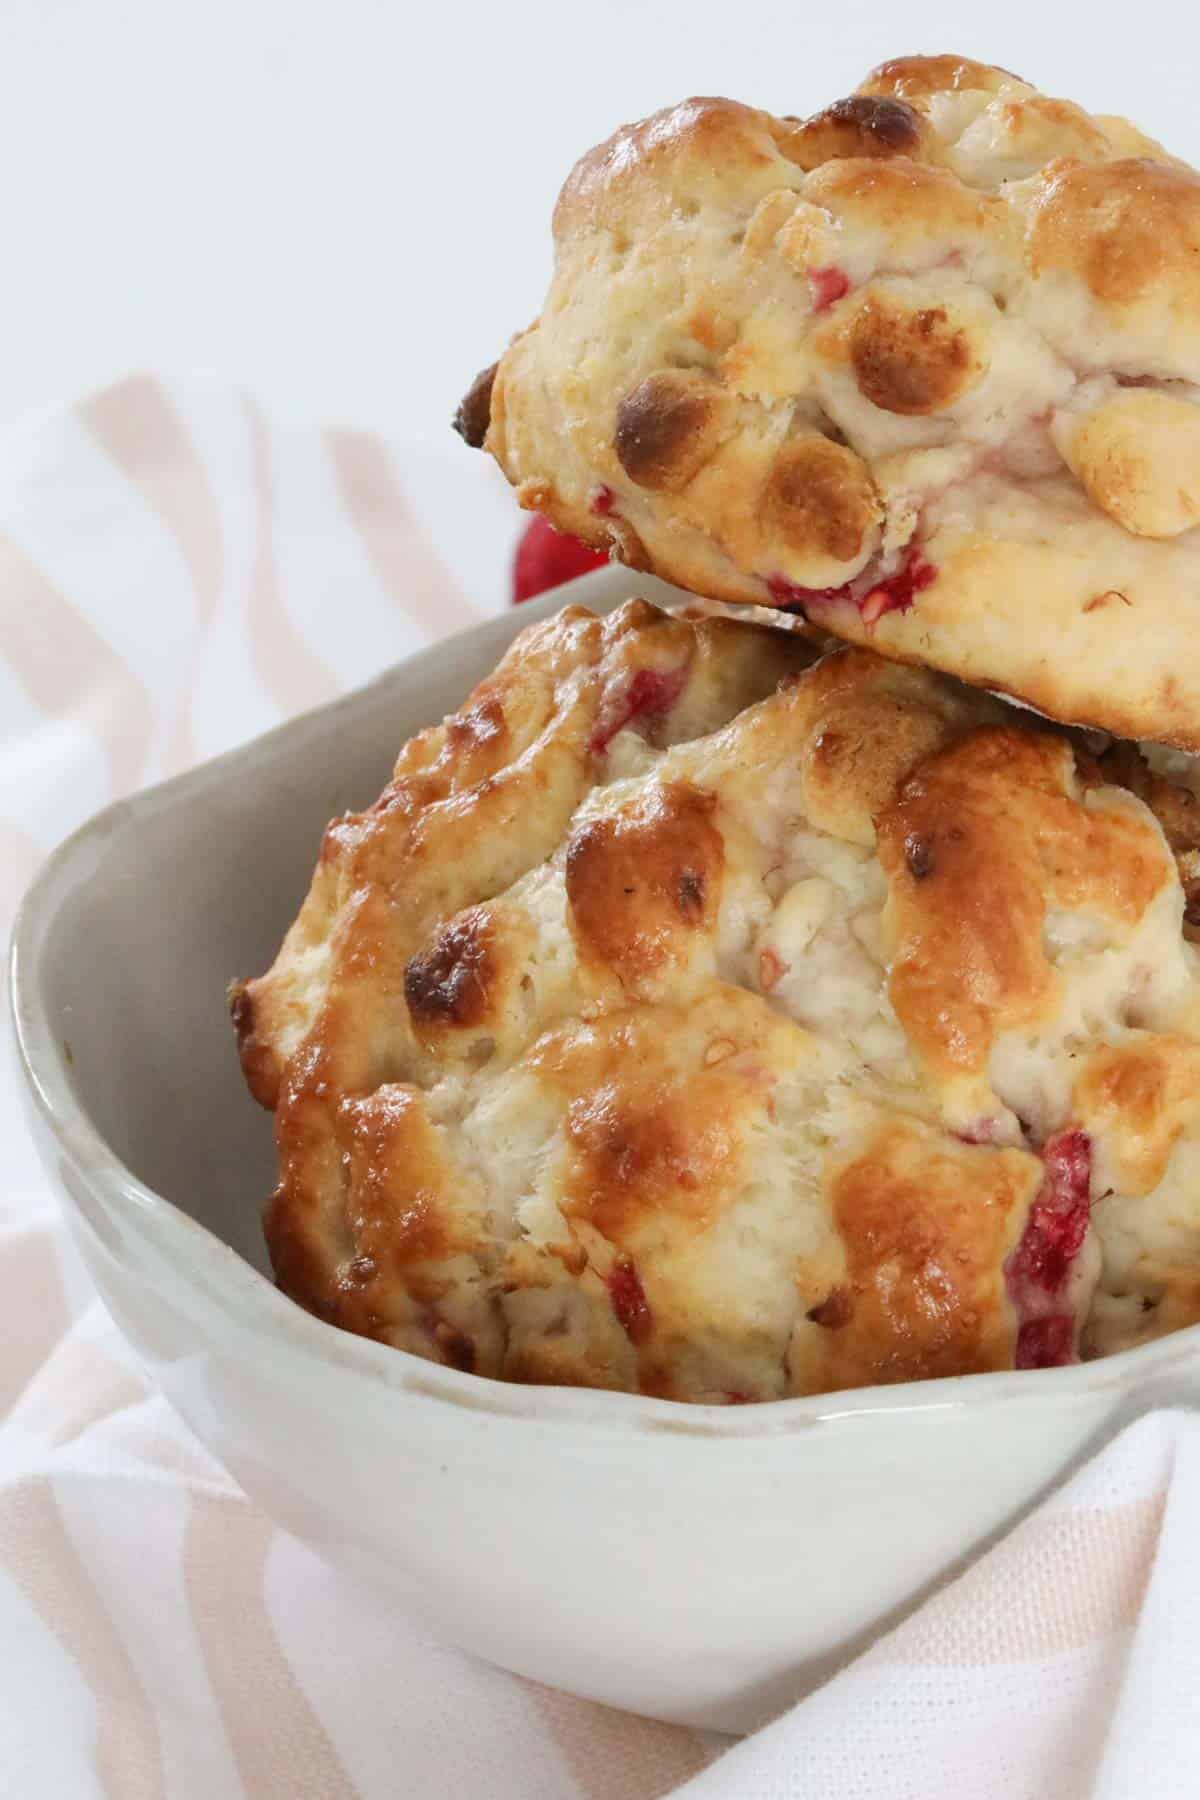
Deliciously sweet White Chocolate Raspberry Scones are ready to eat in less than 25 minutes!
Give your scones a flavour make-over with bursts of luscious fresh raspberries and white chocolate chips for that extra special touch!

Scones are such a classic favourite and are still just as popular as ever!
These raspberry and white chocolate scones are a fun twist on the traditional jam and cream scones, or the light and fluffy fruit scones that granny used to serve slathered with butter (I love them too!!!).
If you’re making a batch of plain scones, then try my famous never-fail lemonade scone recipe for the lightest, fluffiest scones that match perfectly with a little jam and a dollop of thick cream.
And, if you’re looking for a savoury scone recipe, then a cheese scone is always a winner to serve on its own, or alongside a bowl of steaming soup – try my classic cheese scone recipe or my favourite gluten free option!

Why You’re Going To Love This Recipe
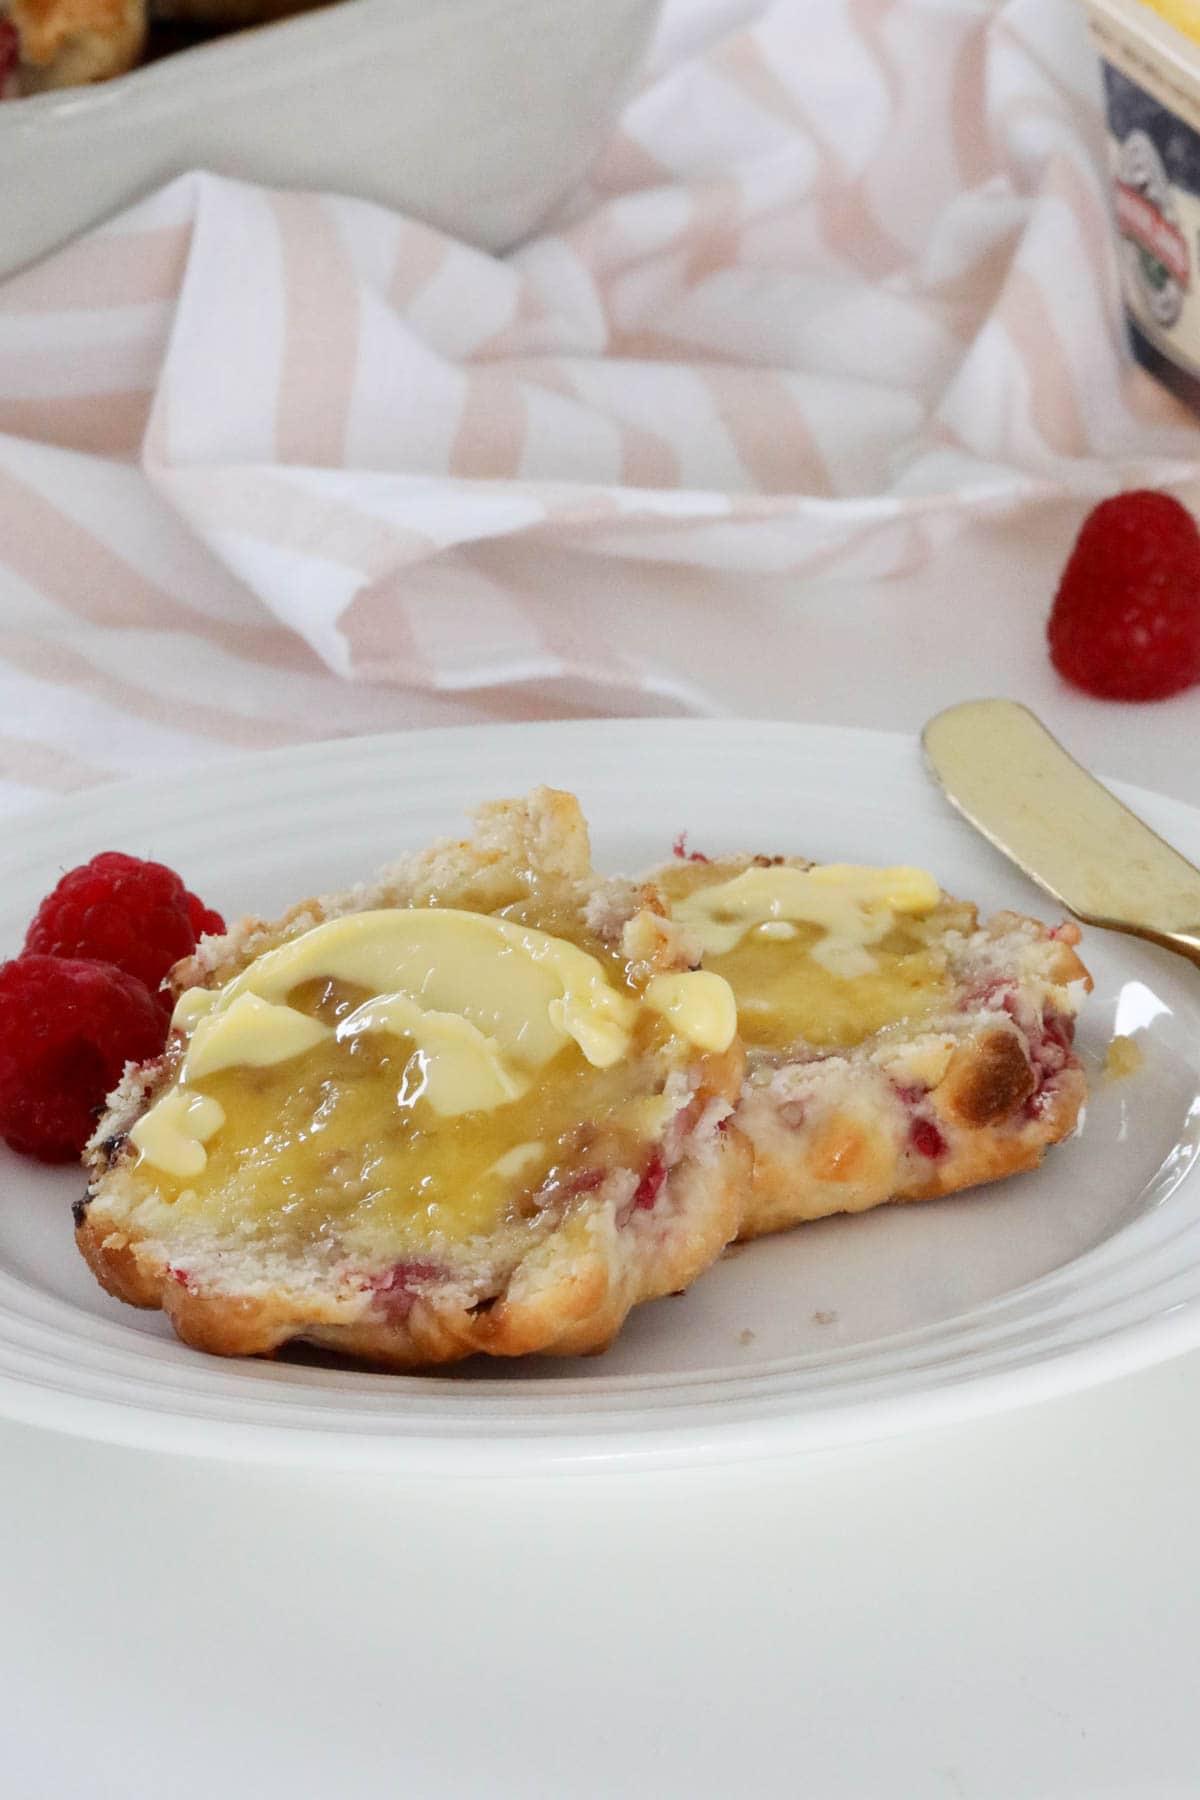
Bursting with juicy raspberries and little pops of white chocolate, these luscious scones make a yummy morning or afternoon tea treat – my favourite way to serve scones is with coffee for a lazy weekend brunch!
- Basic scone ingredients – I’m sure you will have all the basics for these scones already on hand, just add some fresh summer raspberries and white chocolate chips.
- No fuss – just one bowl and ready in less than half an hour, it’s no wonder scones have always been such a classic bake! (Those CWA ladies know what they’re doing!)
- Freezer friendly – whilst scones are best served immediately while still slightly warm, any leftovers can be allowed to cool, then wrapped well and frozen for up to 3 months. Just thaw and reheat!
- Conventional and Thermomix – whether you prefer to mix in a bowl, or use a Thermomix, I have included instructions for both methods in the recipe card below.
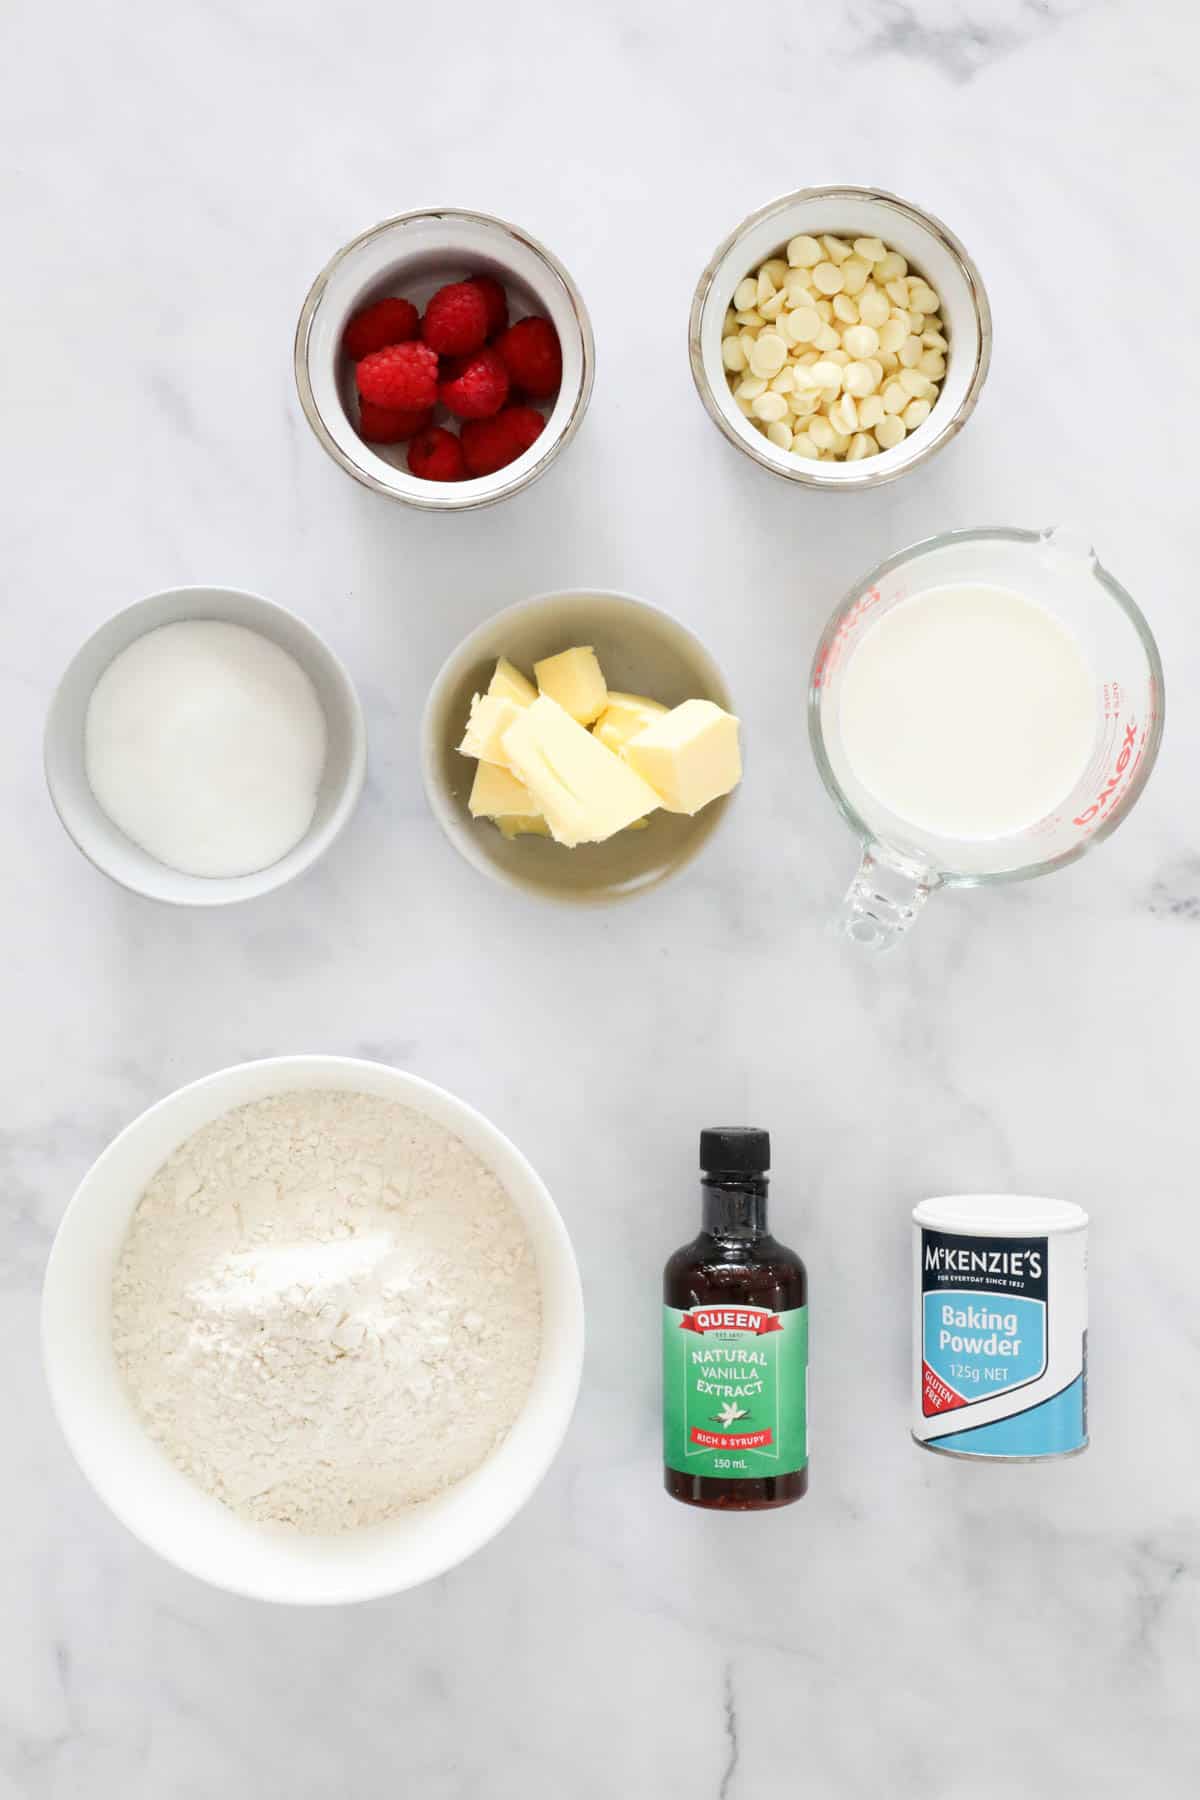
What You Need
Grab a punnet of delicious fresh raspberries, and enjoy these super summery scones!
Note: Scroll to the recipe card at the bottom for the ingredients quantities and full detailed method.
- Self raising flour – also known as self-rising flour. You can use store-bought self-raising flour or make your own using my homemade self-raising flour recipe.
- Baking powder – check the expiry on your baking powder and make sure that it is in-date otherwise it won’t be as effective.
- Caster sugar – also known as superfine sugar, it’s perfect for baking as it dissolves easily with the other ingredients.
- Butter – chilled. Make sure you use salted or unsalted butter, rather than margarine or butter substitutes, for the ultimate flavour and texture.
- Milk – I recommend using full-fat milk for the best scone results.
- Vanilla extract – or vanilla essence.
- White chocolate chips – choose a quality brand such as Nestle or Cadburys baking chocolate chips.
- Raspberries – I’ve used fresh raspberries in these scones. See FAQs about using frozen raspberries.
- Egg – lightly beaten, this is to glaze the tops of scones prior to baking.
Equipment Required
Basic baking equipment is all that’s required for a batch of these white chocolate raspberry scones.
- Square cake tin – placing scones close together in a cake tin helps them to rise, alternatively, if you don’t have one, you can bake your scones on a flat baking tray.
- Mixing bowl, flat knife – or use a Thermomix.
- Scone cutter – 5cm for large scones, 3cm for smaller ones. If you don’t have a scone cutter you can simply cut your scones with a knife into squares or rustic wedges.
- Oven – scones require baking quickly in a hot oven, therefore it’s important to have your oven preheated.
Step By Step Instructions
The most important tip for baking perfectly light and fluffy scones is not to over-handle the dough!
Note: Scroll to the recipe card at the bottom for the ingredients quantities and full detailed method.
Step 1 – Rub The Butter Into The Dry Ingredients
Preheat oven to 200 degrees celsius (fan-forced). Lightly grease a 20cm square cake tin and set aside.
Place the self raising flour, baking powder, caster sugar and chilled butter into a bowl.
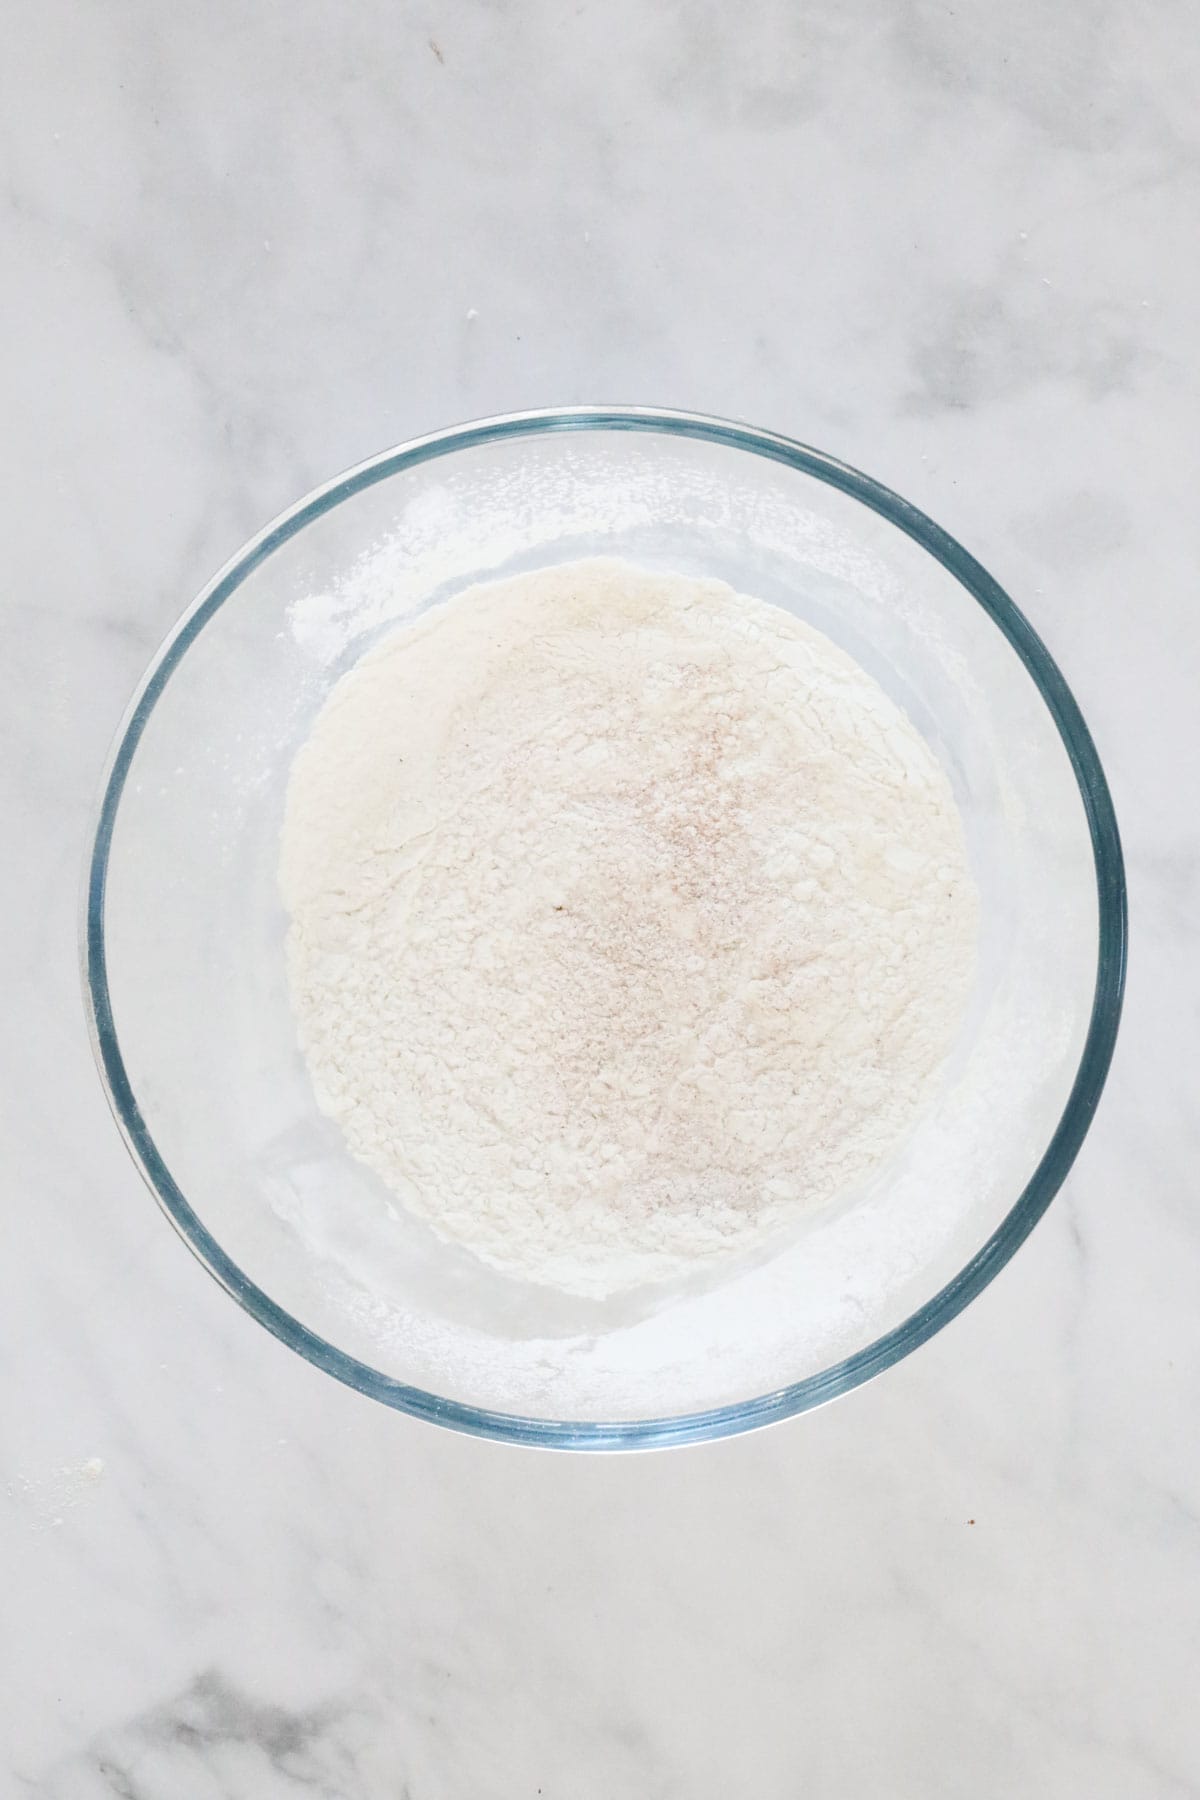
Mix with your fingertips until the mixture resembles fine crumbs.

Step 2 – Add The Milk
Make a well in the centre of the dry ingredients.
Add the milk and vanilla extract to the bowl.
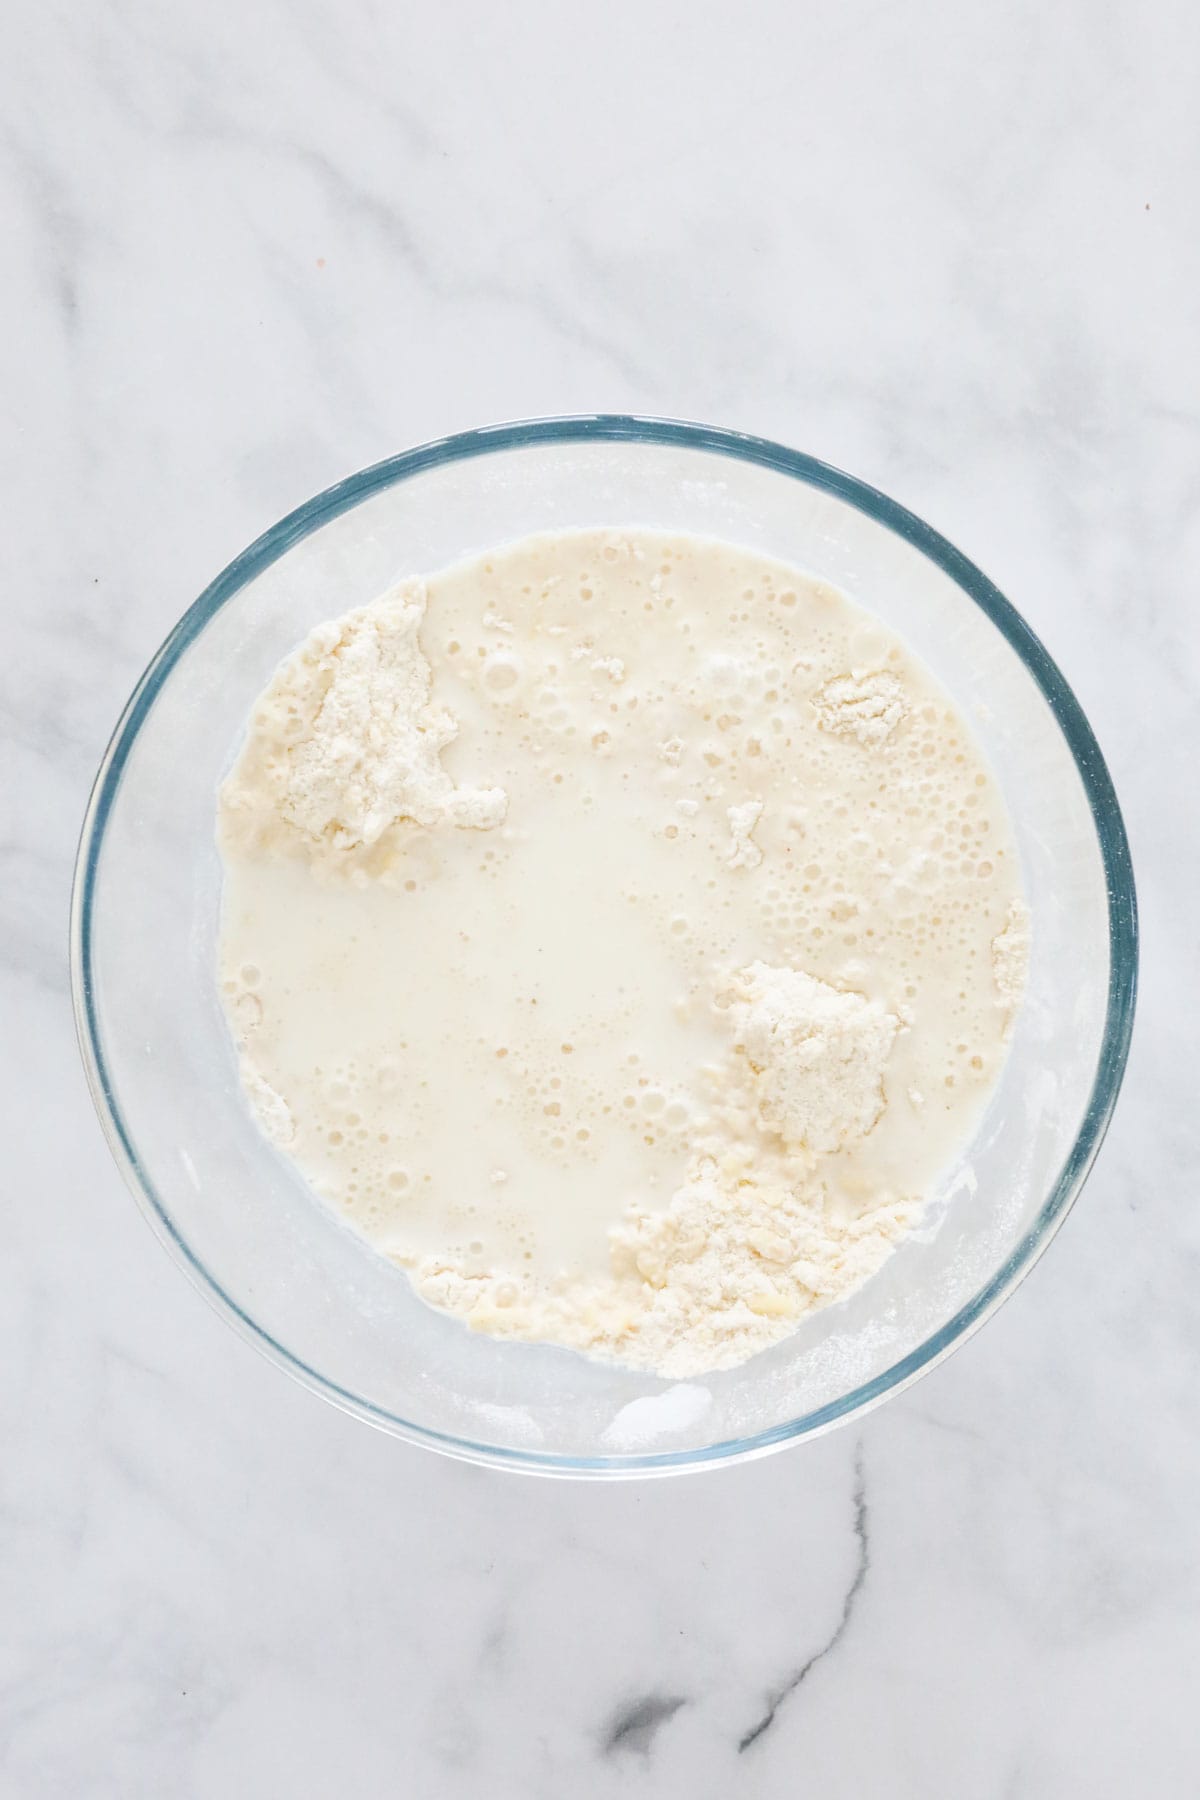
Use a flat butter knife to gently mix the ingredients until just combined.
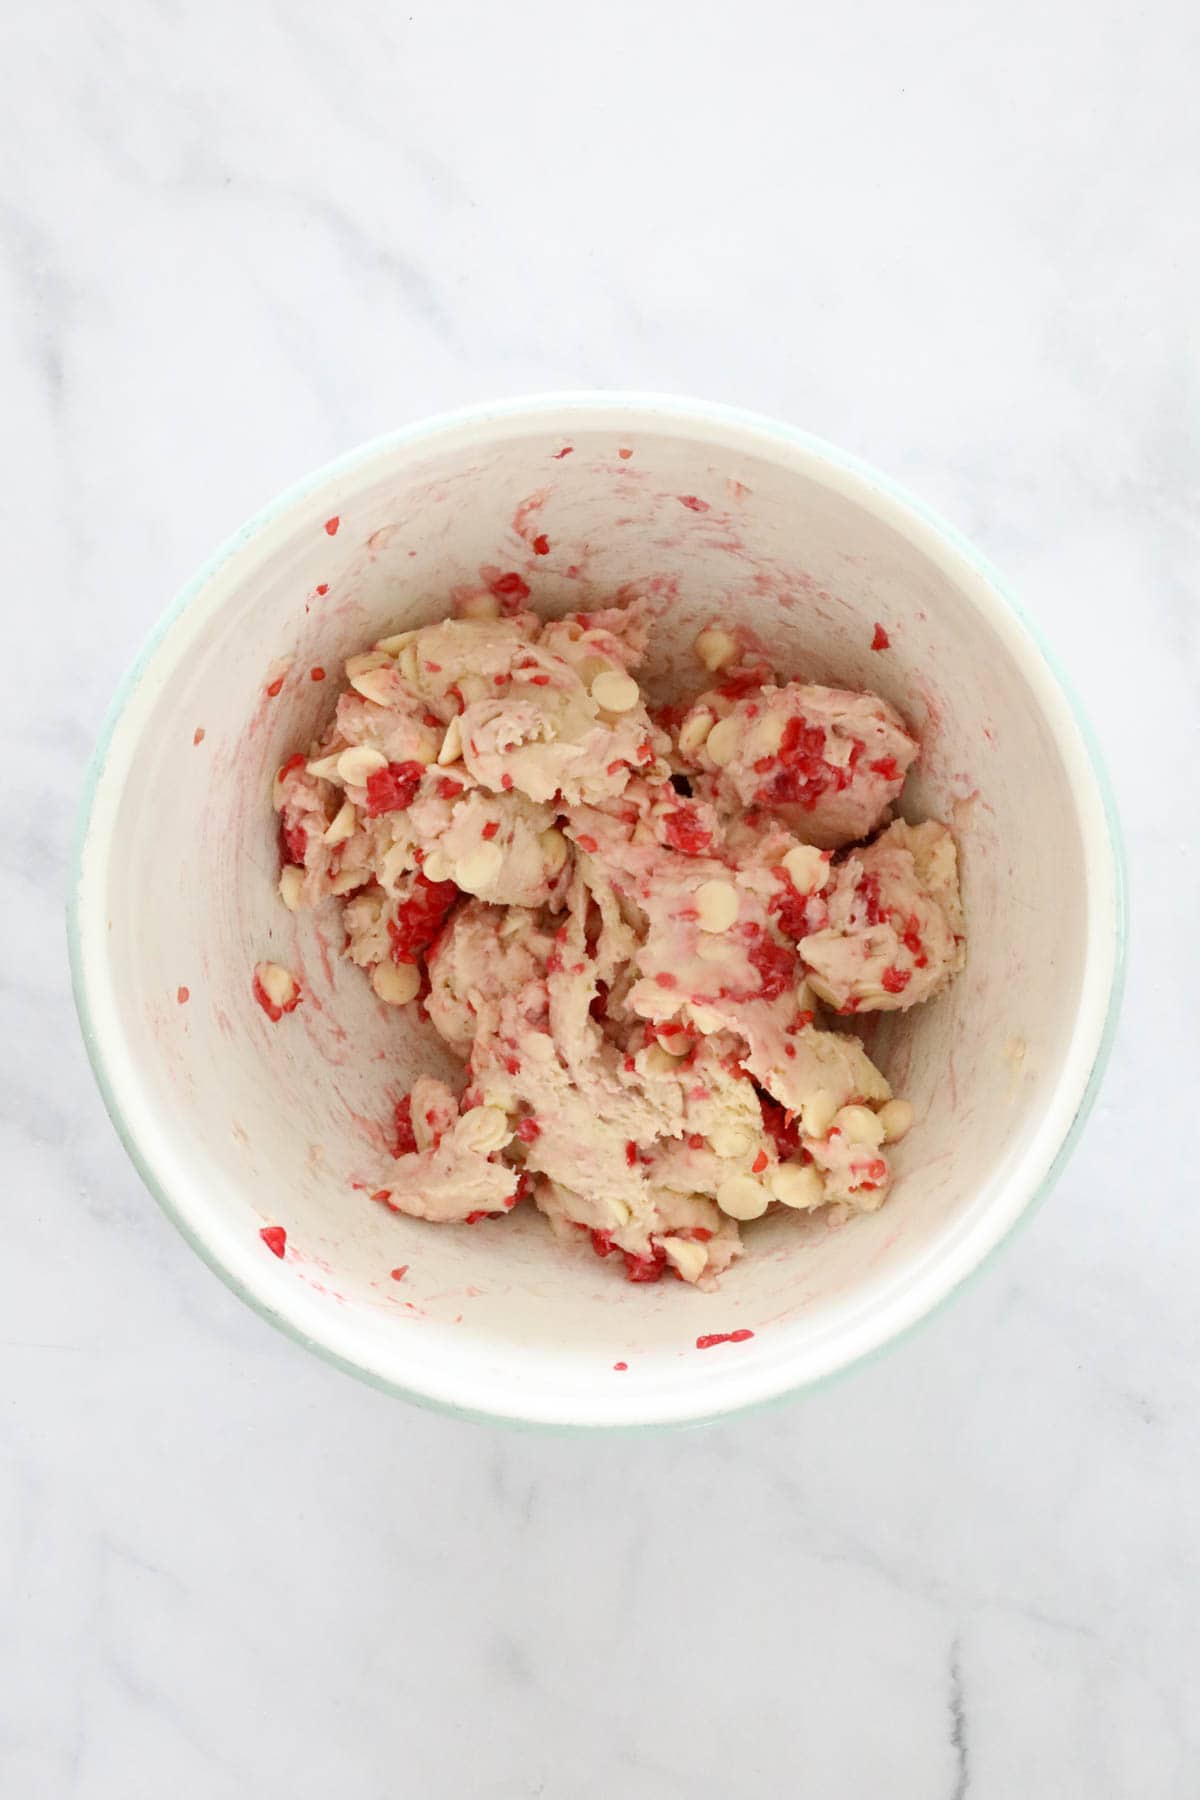
Step 3 – Add Raspberries And White Chocolate
Fold through the white chocolate chips and raspberries and mix through very gently with the butter knife.
Step 4 – Cut And Bake
Place the dough onto a lightly floured board.
With lightly floured fingers, press the mixture down to a thickness of approximately 3cm.
TIP: Handle the dough as little as possible, it’s important not to over-work it!
Using a 5cm scone cutter, cut rounds from the middle working outwards and place into the prepared cake tin (make sure that your scones are gently pressing up against one another as it will help them to rise).
Gently move the remaining dough together and cut out extra scones.

Once you’ve used all of the dough, use the lightly beaten egg to brush over the tops of the scones.
Place into the hot oven for 10-12 minutes. Once your white chocolate and raspberry scones are golden on top and cooked through, they’re ready.
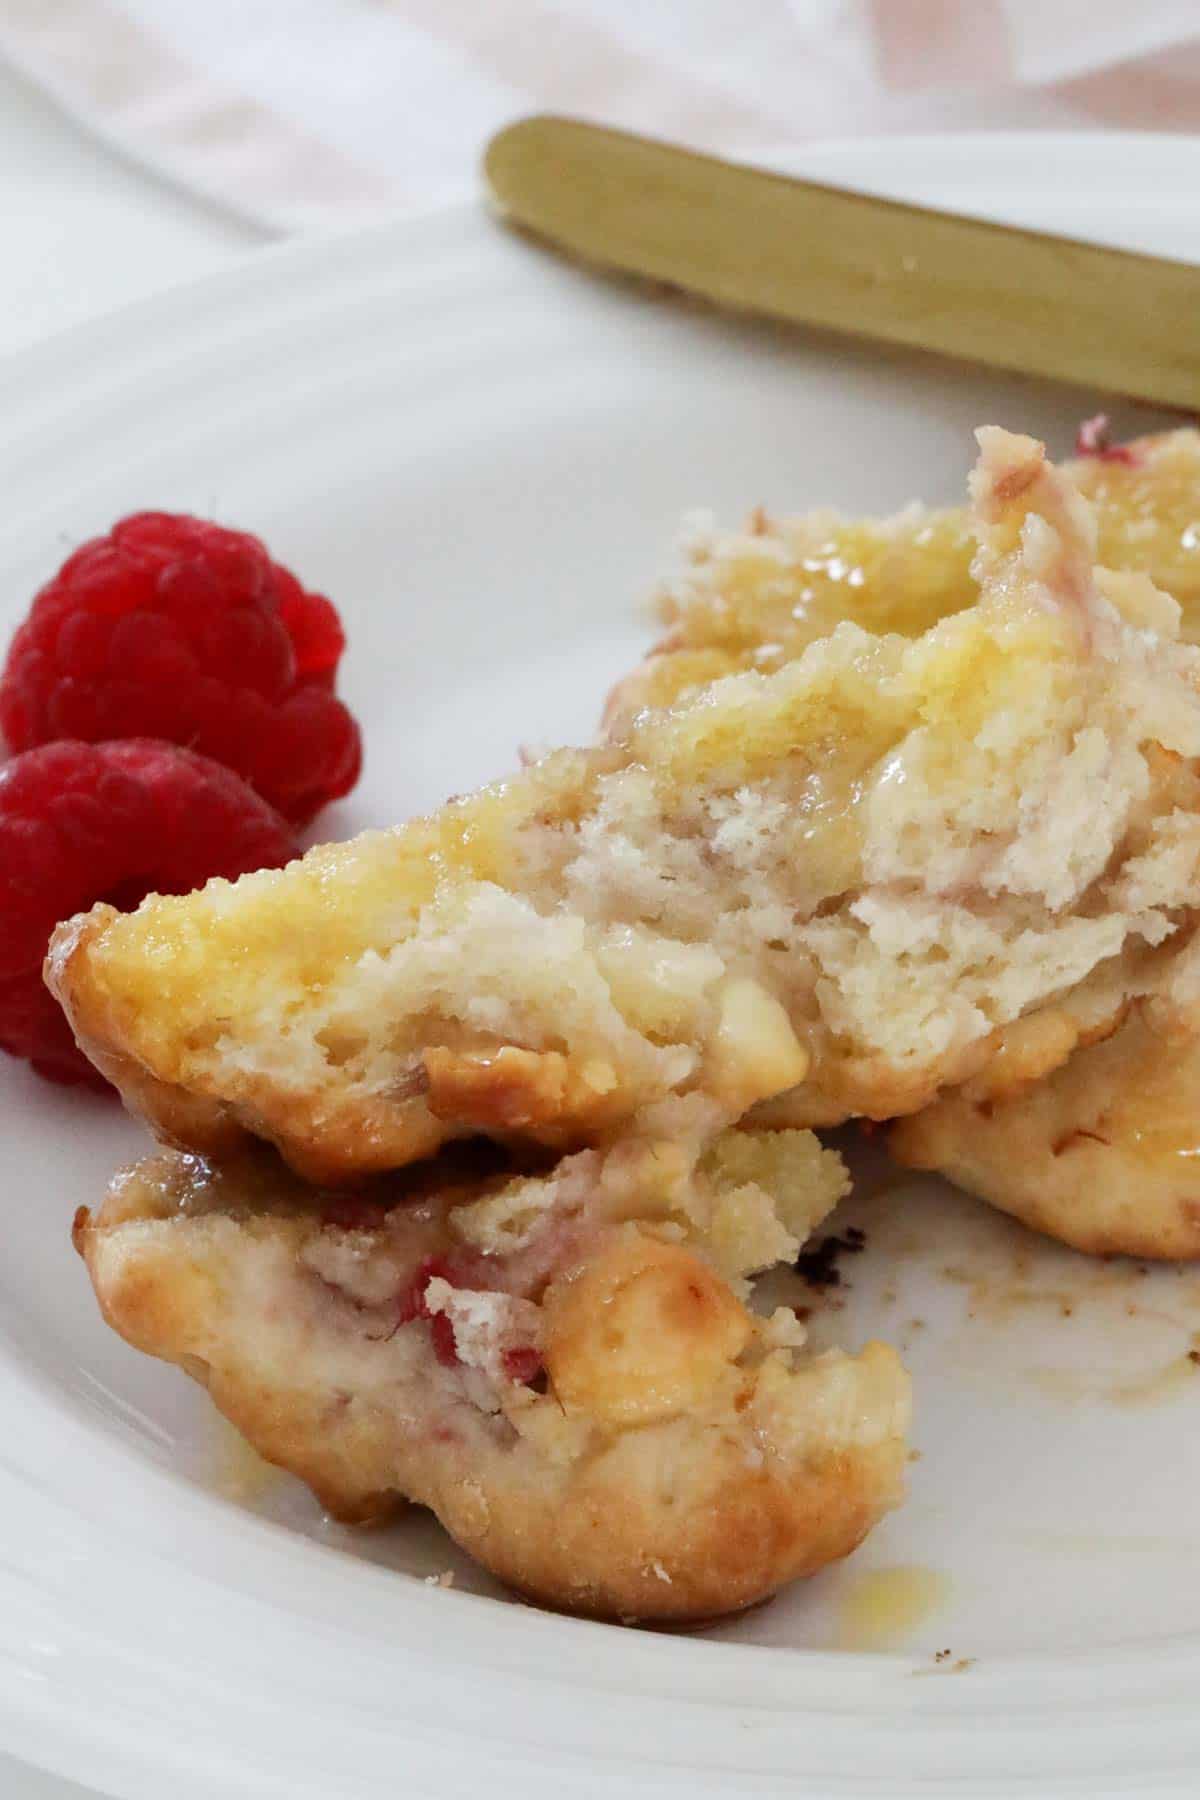
Serve warm with butter or add your favourite topping!
Expert Tips
A batch of scones is one of the easiest no-fuss recipes to bake, but there’s a few simple tips to make them the very best.
- Serves – 9 large x 5cm scones or 18 small x 3cm scones (if making smaller scones, reduce the cooking time accordingly).
- Use chilled butter, this prevents the butter melting prior to baking.
- Don’t over-mix the dough – over-mixed dough leads to hard and tough scones. I recommend using a knife rather than a spoon to fold the mixture together.
- Cutting the scones – the less you handle the dough, the softer and fluffier your scones will be. Just pat the dough down gently with your fingertips and then cut rounds using a scone cutter. Once you’ve cut as many rounds as you can, gently push the dough together and cut the remaining rounds.
- Flour your cutter – dip your scone cutter lightly in flour between cuts to prevent the mixture sticking. If you don’t have a cutter, you can always just cut the dough with a knife into squares or wedges.
- Use a hot oven – make sure your oven is pre-heated to 200 degrees celsius (fan-forced) before cooking your scones. As they only take a few minutes to cook, you need that high temperature to give a golden crumbly crust on the outside, while keeping the inside beautifully soft and fluffy.
- Place the scones slightly touching in the tin – this helps them to rise.
- Storing scones – scones are best served on the day that they’re cooked but will last up to 2-3 days (you might like to reheat them slightly if you’re not serving them on the day). Alternatively you can freeze them for up to 3 months.

FAQs
You can use frozen raspberries, and they actually help to chill the dough making it easier to handle and cut out the scones, however frozen raspberries may affect the baking time and therefore may require a few minutes longer to bake.
Softened butter can make the scones spread out as it can melt in the dough before baking.
Chilling the butter makes the dough hold together better when cutting, and means that the butter melts during the baking process instead, releasing moisture to create a light and fluffy scone texture.
Using a knife allows you to gently fold the ingredients together without developing too much gluten. Mixing the dough this way is best as it avoids over-mixing which can make the scones tough.
White chocolate and raspberries make such a divine flavour combo, I hope you try some of these other delicious recipes too!
WANT EVEN MORE DELICIOUS RECIPES? Subscribe to my newsletter or follow along on Facebook or Instagram. And if you love baking, then please come and join my Facebook cooking club group or subscribe to my YouTube channel.

White Chocolate Raspberry Scones
Deliciously sweet White Chocolate Raspberry Scones ready in less than 25 minutes!
Servings: 9 scones
Calories: 312kcal
Prevent your screen from going dark
Instructions
-
Preheat oven to 200 degrees celsius (fan-forced). Lightly grease a 20cm square cake tin and set aside.
-
Place the self raising flour, baking powder, caster sugar and butter into a bowl. Mix with your fingertips until the mixture resembles fine crumbs. Make a well in the centre of the dry ingredients. If using a Thermomix: Place the self raising flour, baking powder, caster sugar and butter into the Thermomix bowl. Mix for 10 seconds, Speed 7.
-
Add the milk and vanilla extract to the well in the centre of the dry ingredients. Use a flat butter knife to gently mix the ingredients until just combined.If using a Thermomix: Add the milk and vanilla extract and mix for 15 seconds, Speed 5.
-
Add the white chocolate chips and raspberries and mix through gently with the butter knife. If using a Thermomix: Add the white chocolate chips and raspberries and use the kneading/dough function to knead for 30 seconds.
-
Place the dough onto a lightly floured board.
-
With lightly floured fingers, press the mixture down to a thickness of 3cm (do not over-work the dough).
-
Using a 5cm scone cutter, cut rounds from the middle working outwards and place into the prepared cake tin (make sure that your scones are gently pressing up against one another as it will help them to rise).
-
Gently move the remaining dough together and cut out extra scones.
-
When you’ve used all of the dough, brush the tops of the scones with the whisked egg and place into the oven for 10-12 minutes.The scones are ready when they’re golden on top and cooked through.
-
Serve warm with your choice of fillings.
Notes
- Serves – 9 large 5cm scones or 18 small 3cm scones (if making smaller scones, reduce the cooking time accordingly).
- Use chilled butter, this prevents the butter melting prior to baking.
- Don’t over-mix the dough – over-mixed dough leads to hard and tough scones. I recommend using a knife rather than a spoon to fold the mixture through.
- Cutting the scones – the less you touch the dough, the softer and fluffier your scones will be. Just pat the dough down gently with your fingertips and then cut rounds using a scone cutter. Once you’ve cut as many rounds as you can, gently push the dough together and cut the remaining rounds.
- Flour your cutter – dip your scone cutter lightly in flour between cuts to prevent the mixture sticking. If you don’t have a cutter, you can always just cut the dough with a knife.
- Use a hot oven – make sure your oven is pre-heated to 200 degrees celsius (fan-forced) before cooking your scones. As they only take a few minutes to cook, you need that high temperature to give a golden crumbly crust on the outside, while keeping the inside beautifully soft and fluffy.
- Place the scones slightly touching in the tin – this helps them to rise.
- Storing scones – scones are best served on the day that they’re cooked but will last up to 2-3 days (you might like to reheat them slightly if you’re not serving them on the day). Alternatively you can freeze them for up to 3 months.
Nutrition
Calories: 312kcal | Carbohydrates: 42g | Protein: 7g | Fat: 13g | Saturated Fat: 8g | Polyunsaturated Fat: 1g | Monounsaturated Fat: 3g | Trans Fat: 0.3g | Cholesterol: 43mg | Sodium: 86mg | Potassium: 160mg | Fiber: 1g | Sugar: 14g | Vitamin A: 299IU | Vitamin C: 1mg | Calcium: 76mg | Iron: 1mg


