No-Bake Jelly Cheesecake – Bake Play Smile


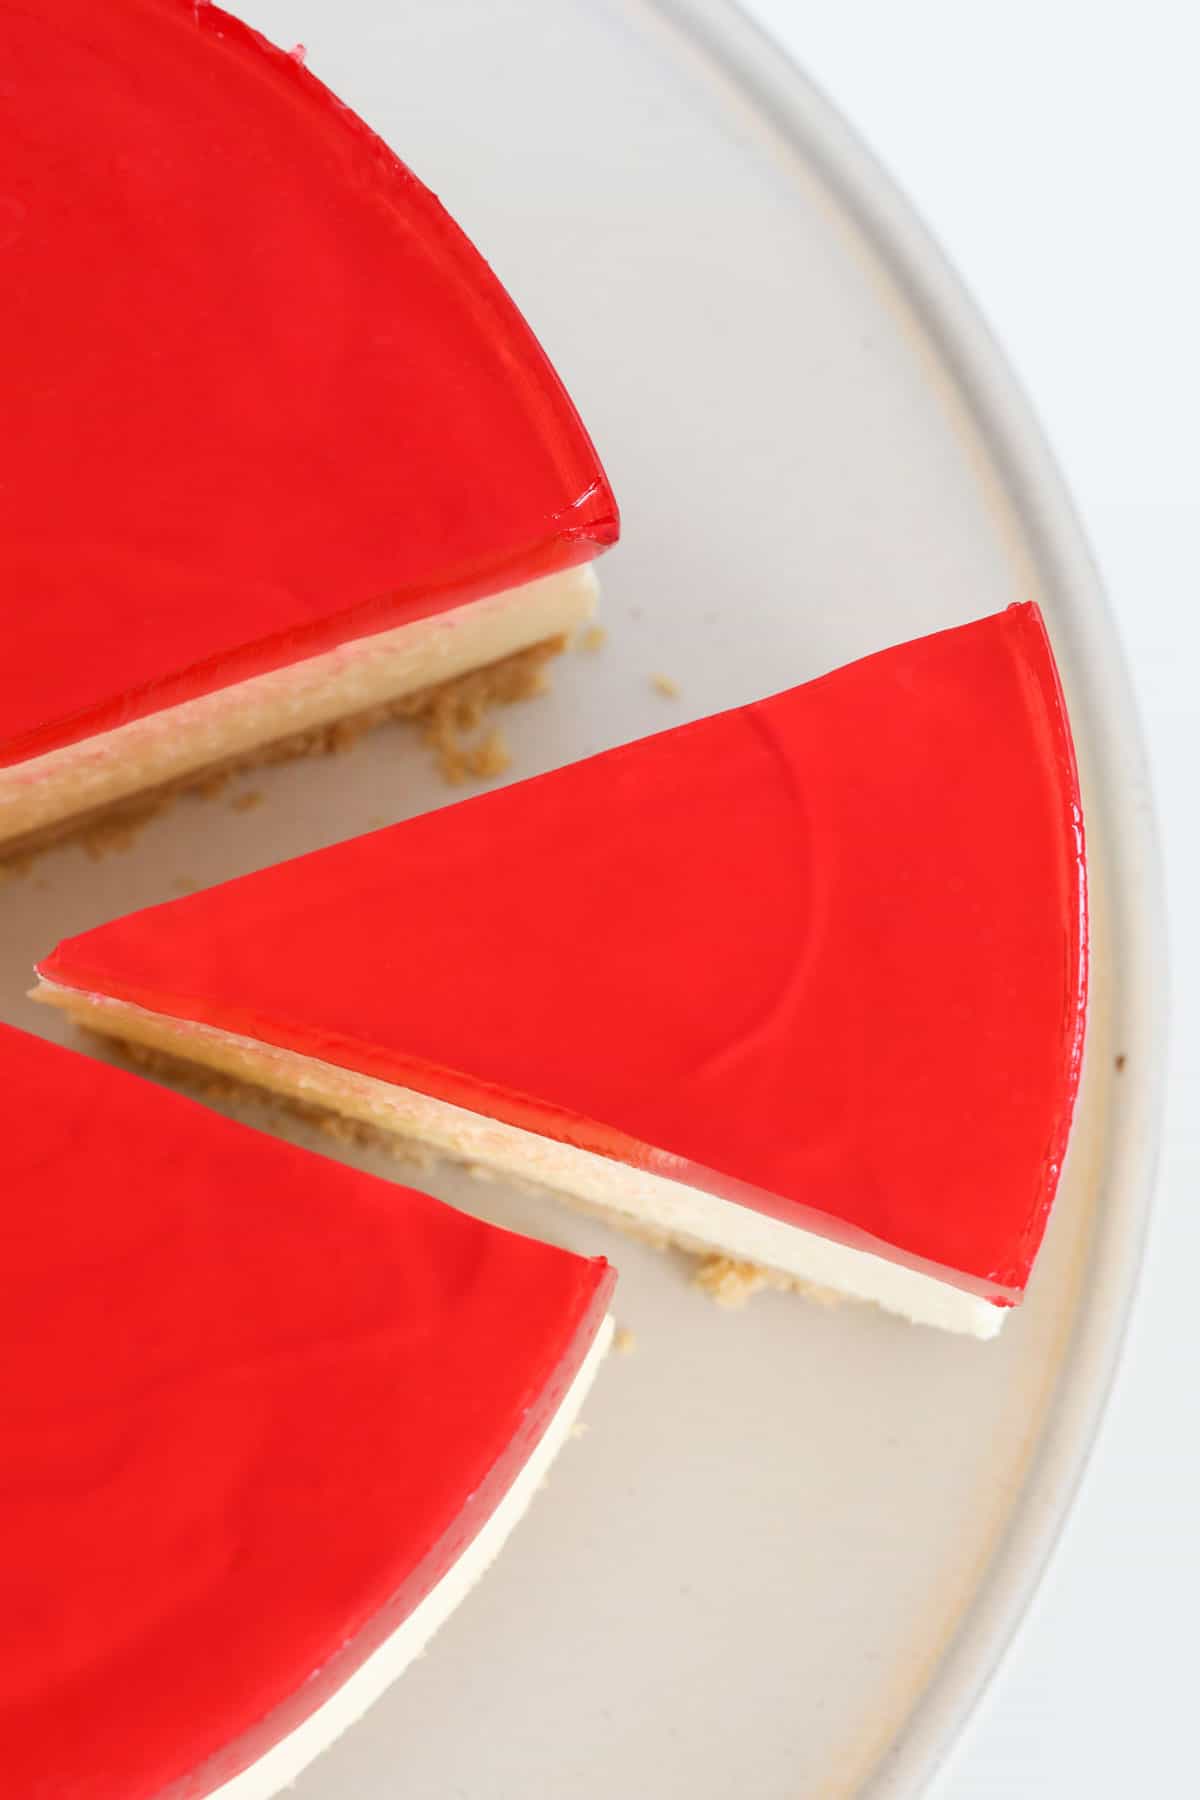
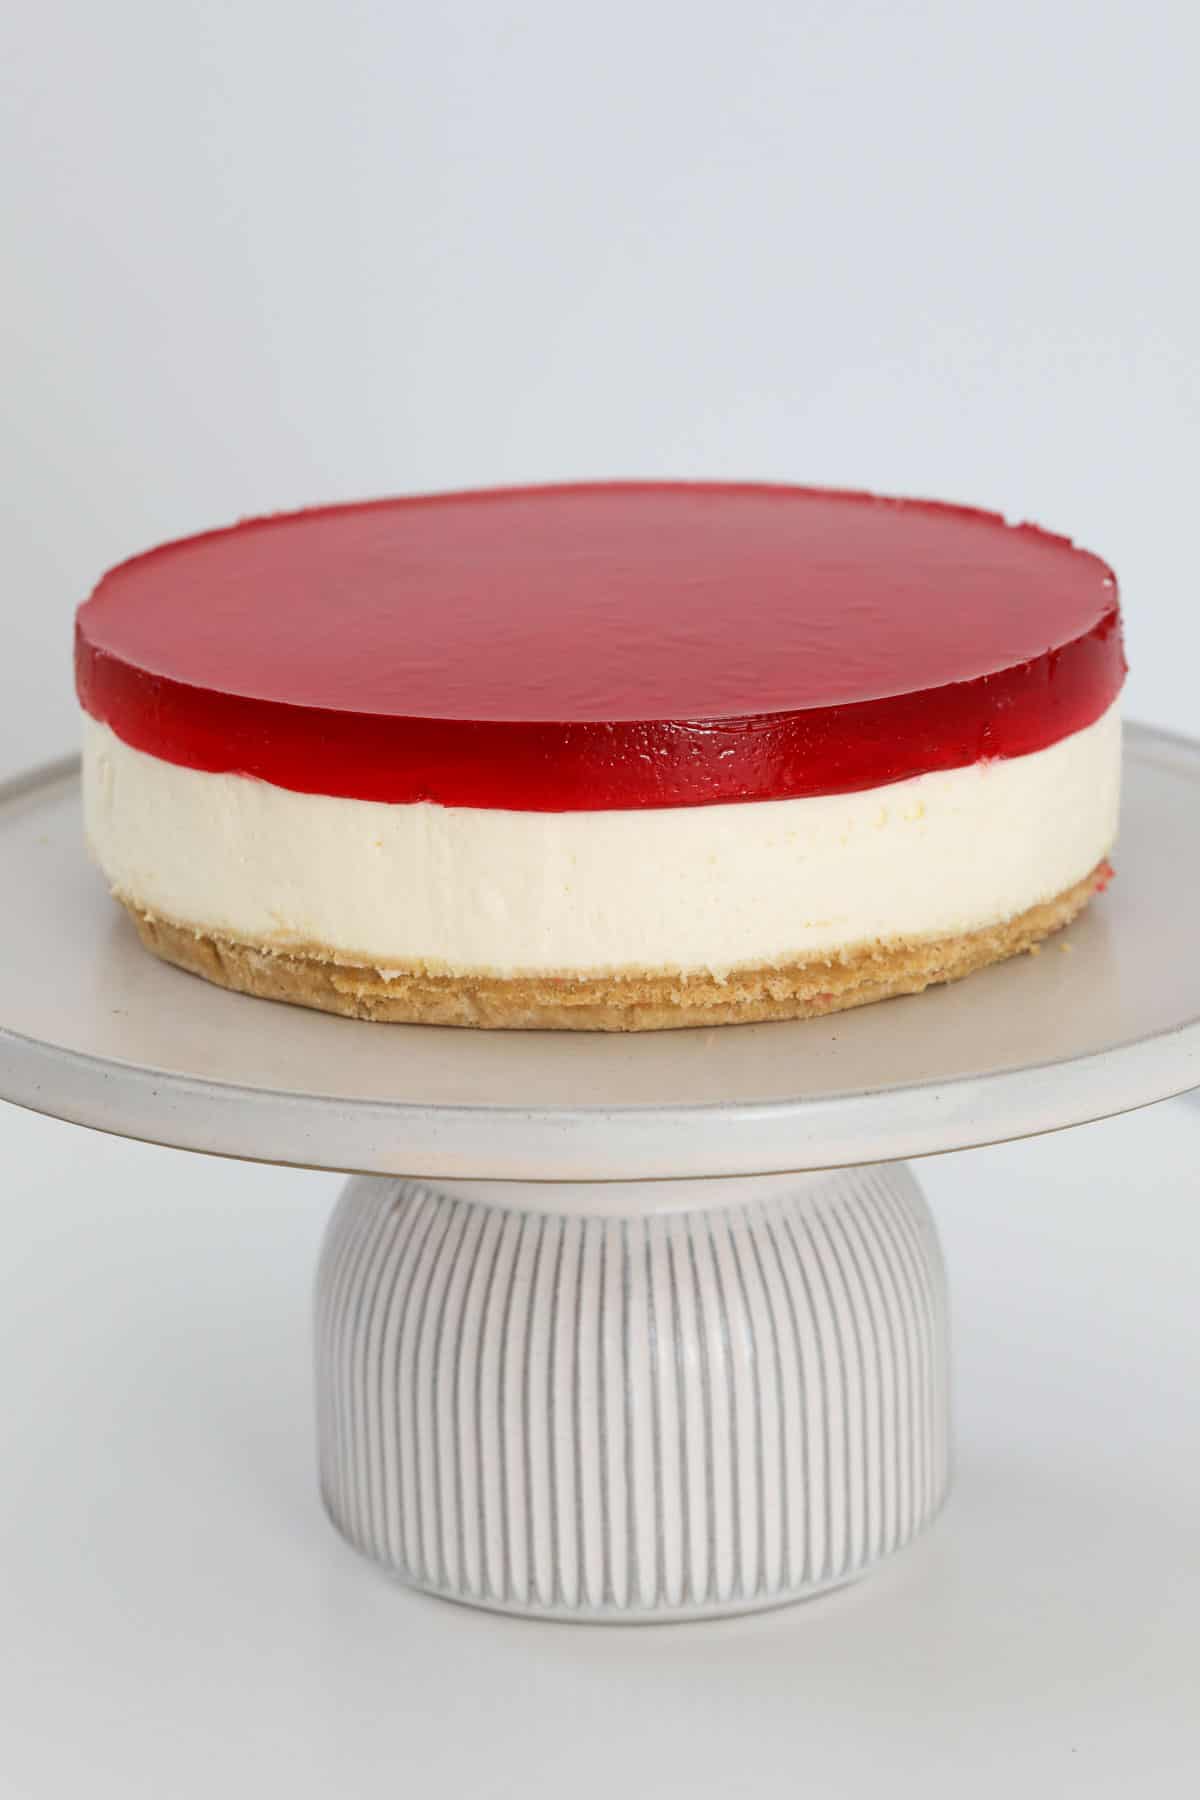
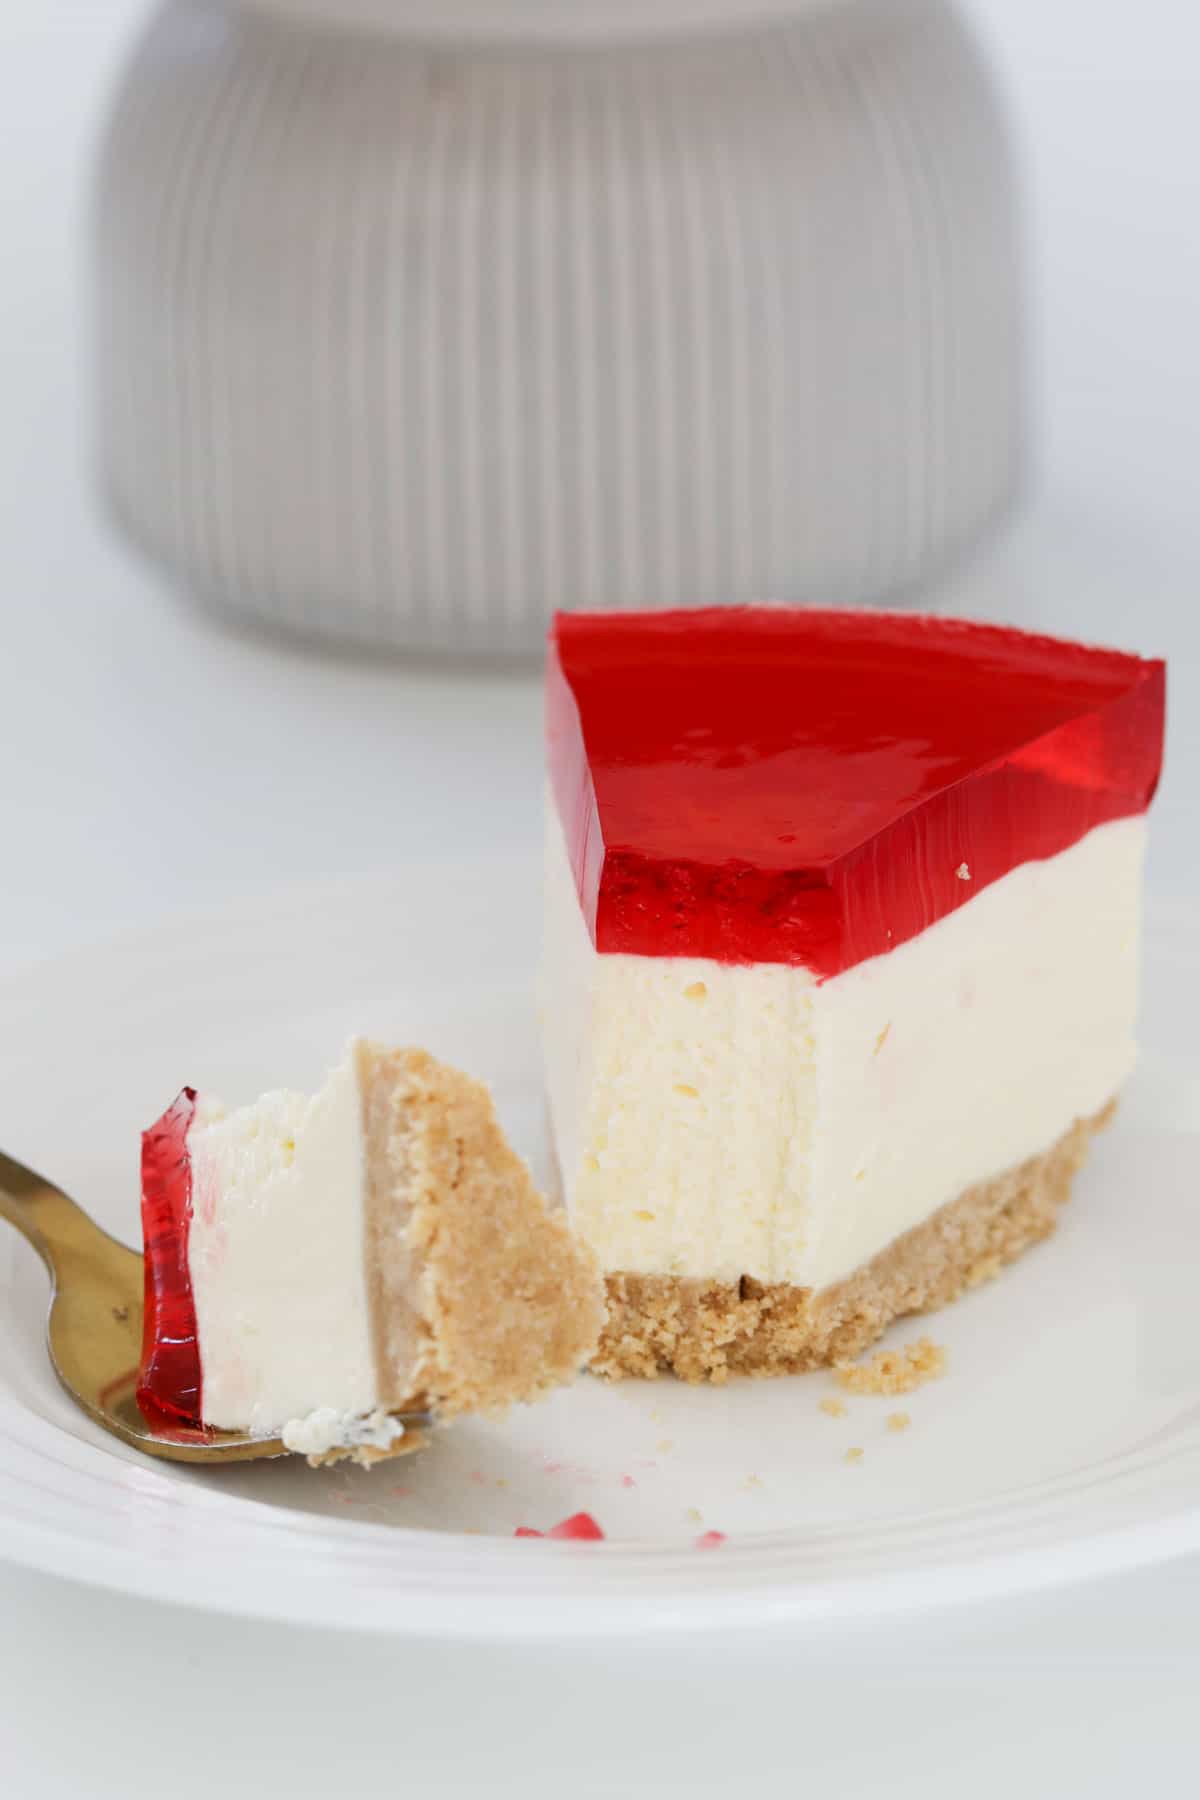
A super easy no-bake Jelly Cheesecake with three delicious layers… a crushed biscuit base, creamy cheesecake filling, and your favourite jelly flavour on top!
Taking just 30 minutes to prepare, this simple cheesecake is an absolute showstopper and will have everyone coming back for more!
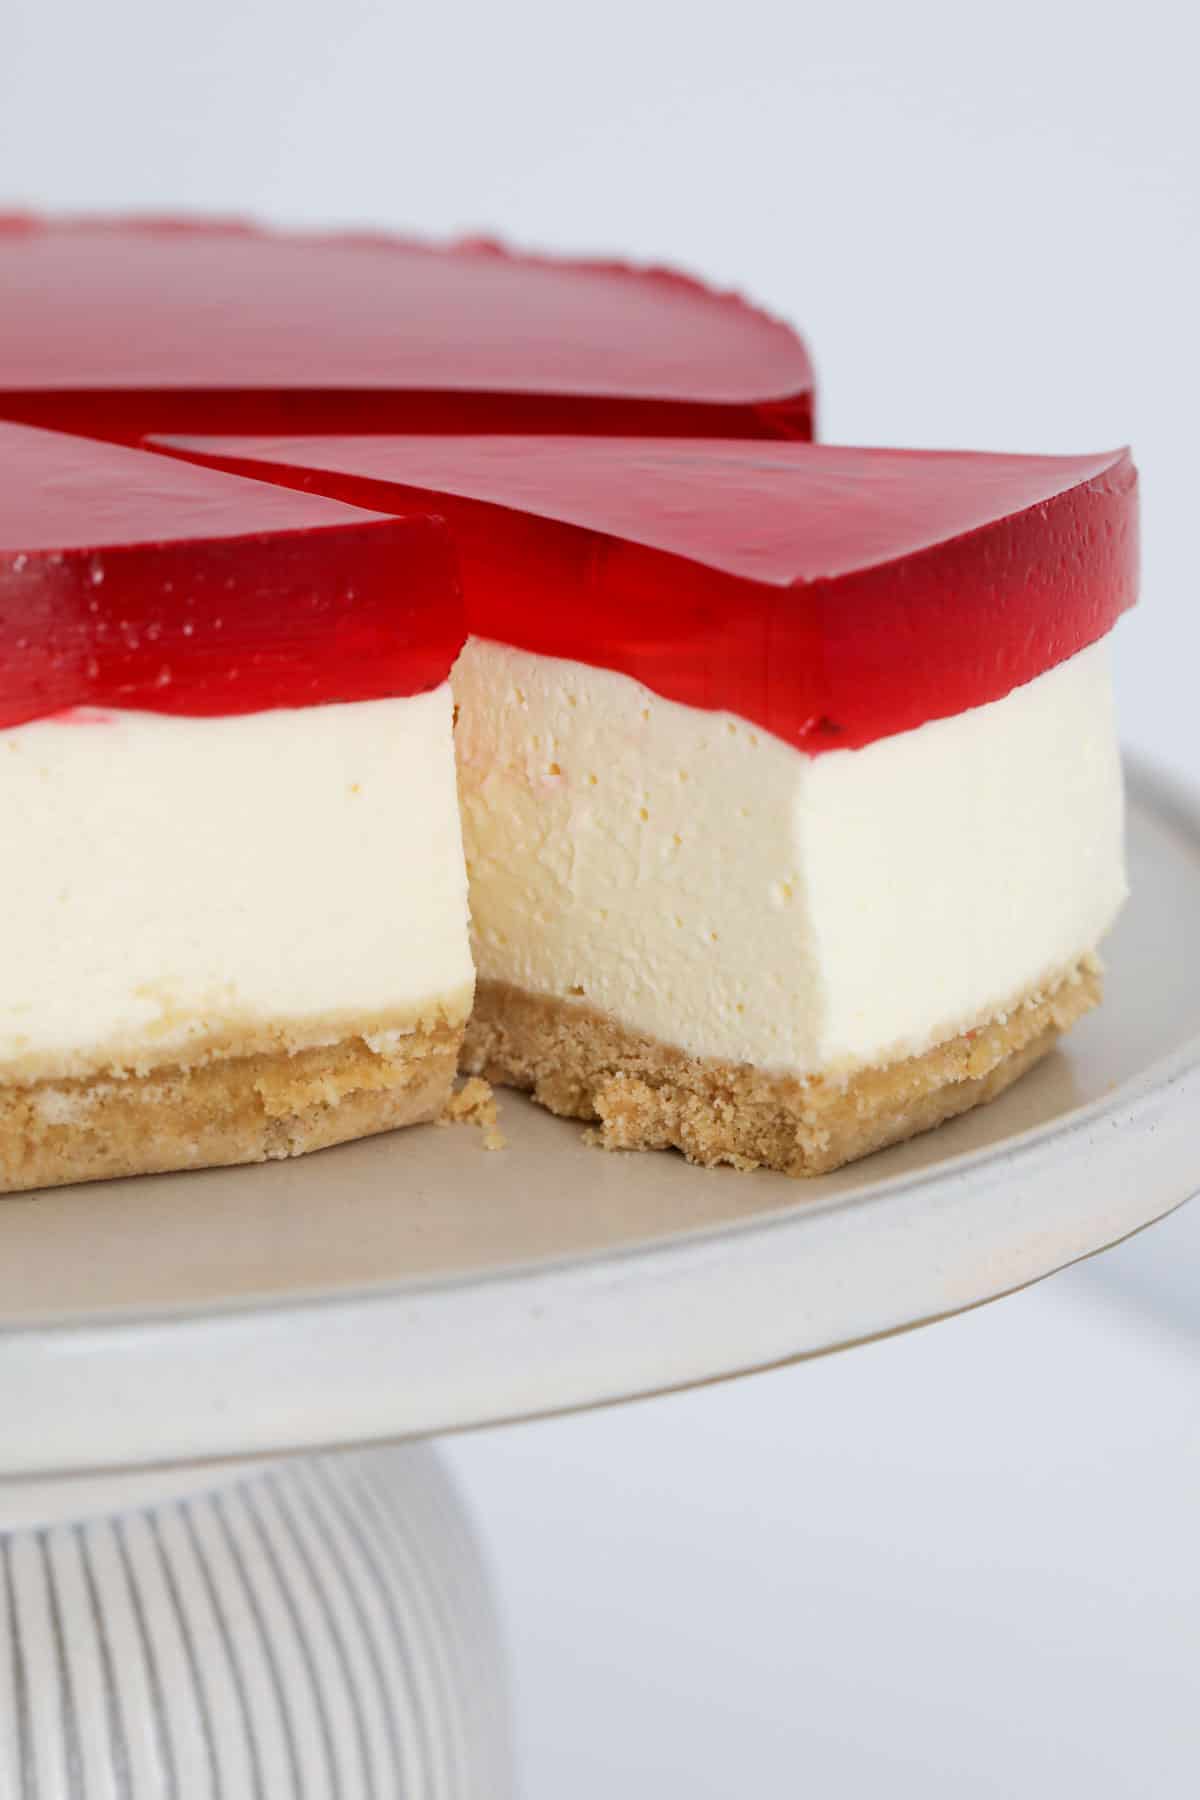
This stunning jelly cheesecake is based on the classic Australian jelly slice then made into a restaurant-quality dessert!
Taking just 30 minutes to prepare, this easy no-bake cheesecake is perfect for special occasions such as Christmas, parties, and family get togethers.
You simply cannot beat a homemade cheesecake to put a smile on everyone’s face! Whether it’s a classic baked cheesecake or simple no-bake cheesecake such as Biscoff cheesecake or this chocolate cheesecake, it’s guaranteed to be a popular dessert choice with young and old alike!
Why You’re Going To Love This Recipe
- No-bake – there is no need to turn the oven on to make this cheesecake recipe!
- Make ahead of time – this cheesecake needs to chill, so you can be super organised and make it a day ahead if you wish.
- Looks impressive – but is SO easy to prepare!
- Perfect for entertaining – this cheesecake feeds a crowd and is perfect for parties or other special occasions!
- Conventional and Thermomix – both methods are written in the recipe card at the end of the post.
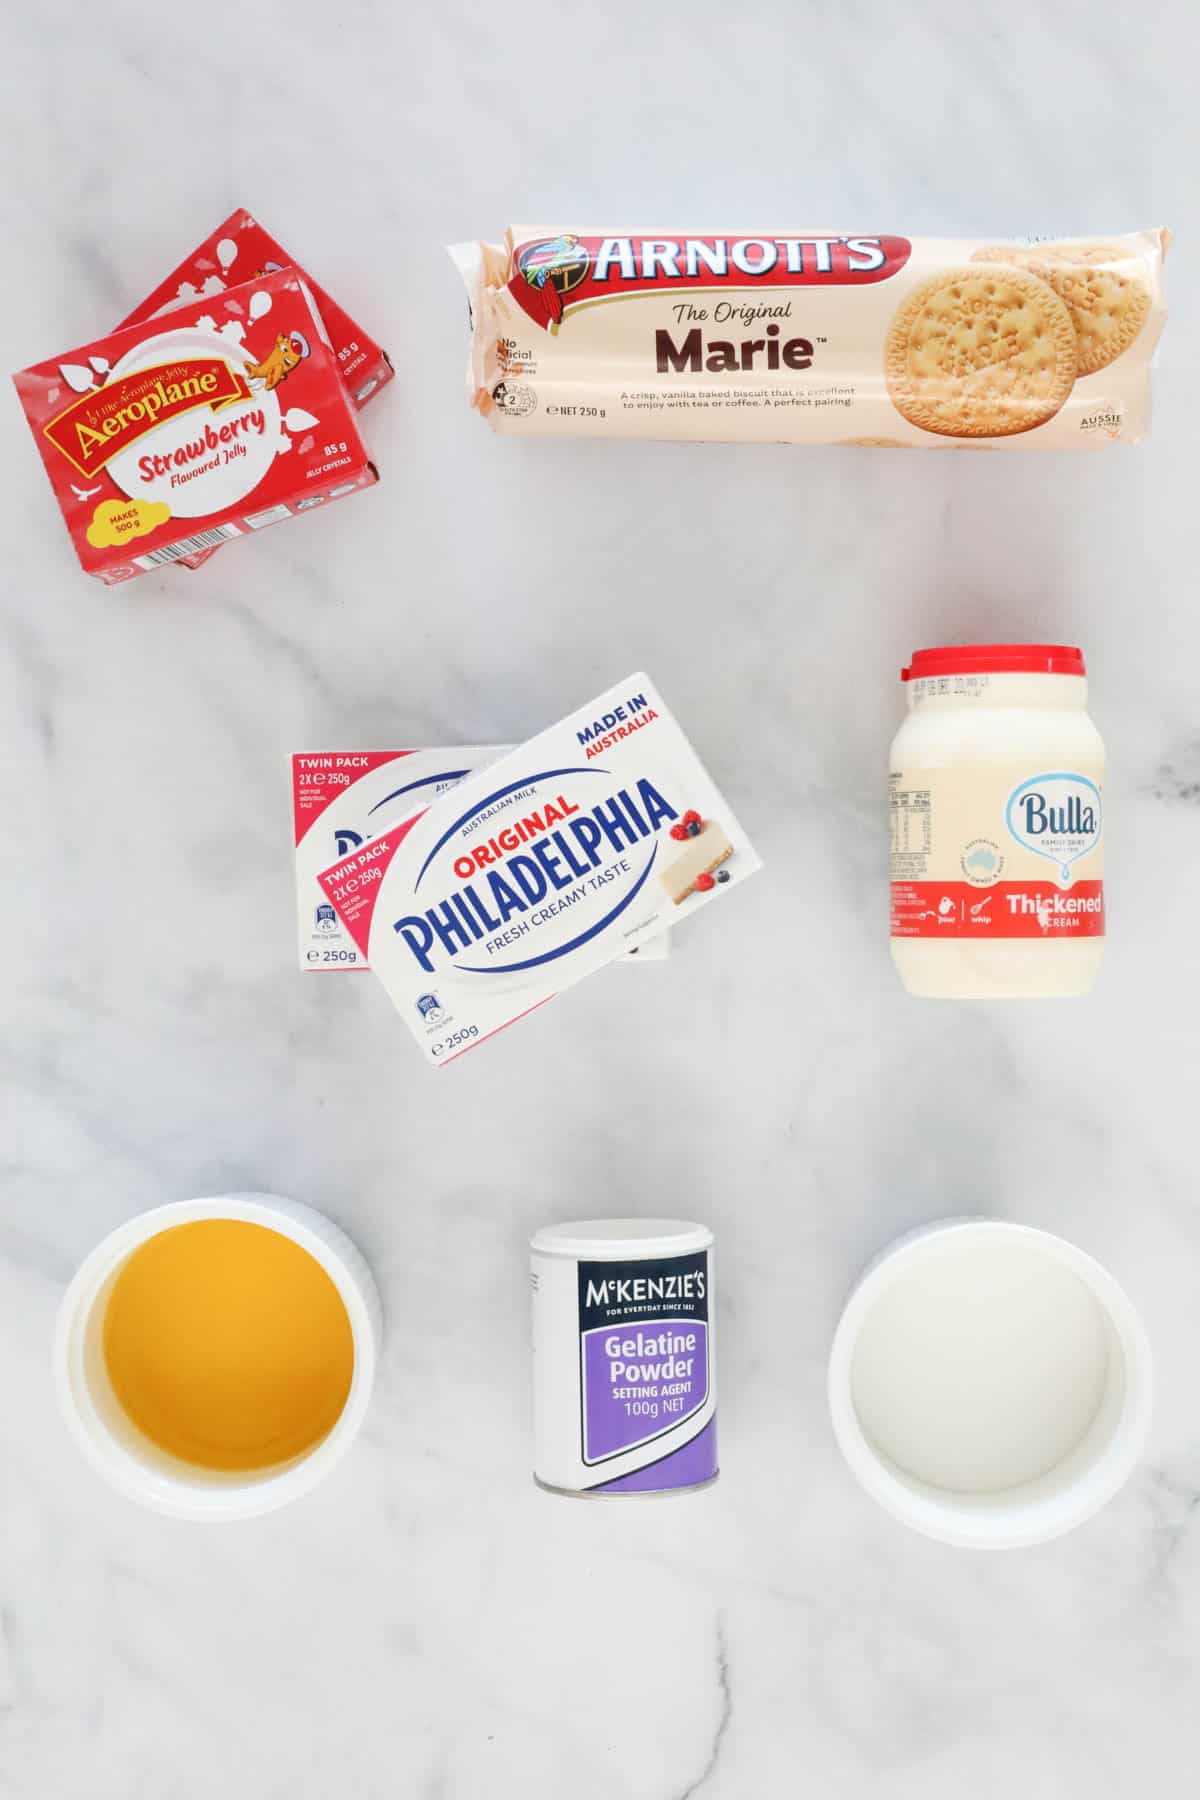
What You Need
This strawberry jelly cheesecake is made with just a handful of easy to find ingredients!
Note: Scroll to the recipe card at the bottom for the ingredients quantities and full detailed method.
For The Base:
- Plain sweet biscuits – I like to use Arnotts Marie, but you can use any other sweet plain biscuit you like, such as Digestives or Scotch Finger.
- Butter – salted butter or unsalted butter both work in this recipe.
For The Filling:
- Gelatine powder – this is dissolved in boiling water. I generally use McKenzies gelatine powder. Gelatine helps the cheesecake to hold its shape when served.
- Cream cheese – use full fat cream cheese for the creamiest cheesecake. I recommend using a block cream cheese like Philadelphia block cream cheese, and make sure it is at room temperature before using.
- Caster sugar – also known as superfine sugar.
- Thickened cream – or heavy cream or whipping cream.
- Lemon juice – either freshly squeezed lemon juice or store-bought lemon juice.
For The Jelly Layer:
- Red jelly crystals – Aeroplane jelly is a brand I like to use in Australia, but you can use any brand or flavour or jelly you prefer.
- Boiling water – to dissolve the jelly crystals.
- Cold water – added to the jelly once the jelly crystals have dissolved to obtain the desired consistency.
Equipment Required
- Food processor, Thermomix or a rolling pin – to crush the biscuits.
- 23cm round springform tin.
- And of course, a fridge!
Step By Step Instructions
Taking just 30 minutes to prepare, this cheesecake with jelly is such an easy make-ahead dessert!
Note: Scroll to the recipe card at the bottom for the ingredients quantities and full detailed method.
Step 1 – Prepare The Cheesecake Base
Grease and line a 23cm round springform tin with baking paper and set aside.
Crush the biscuits in a food processor and place into a separate bowl. Add the melted butter and mix until well combined.
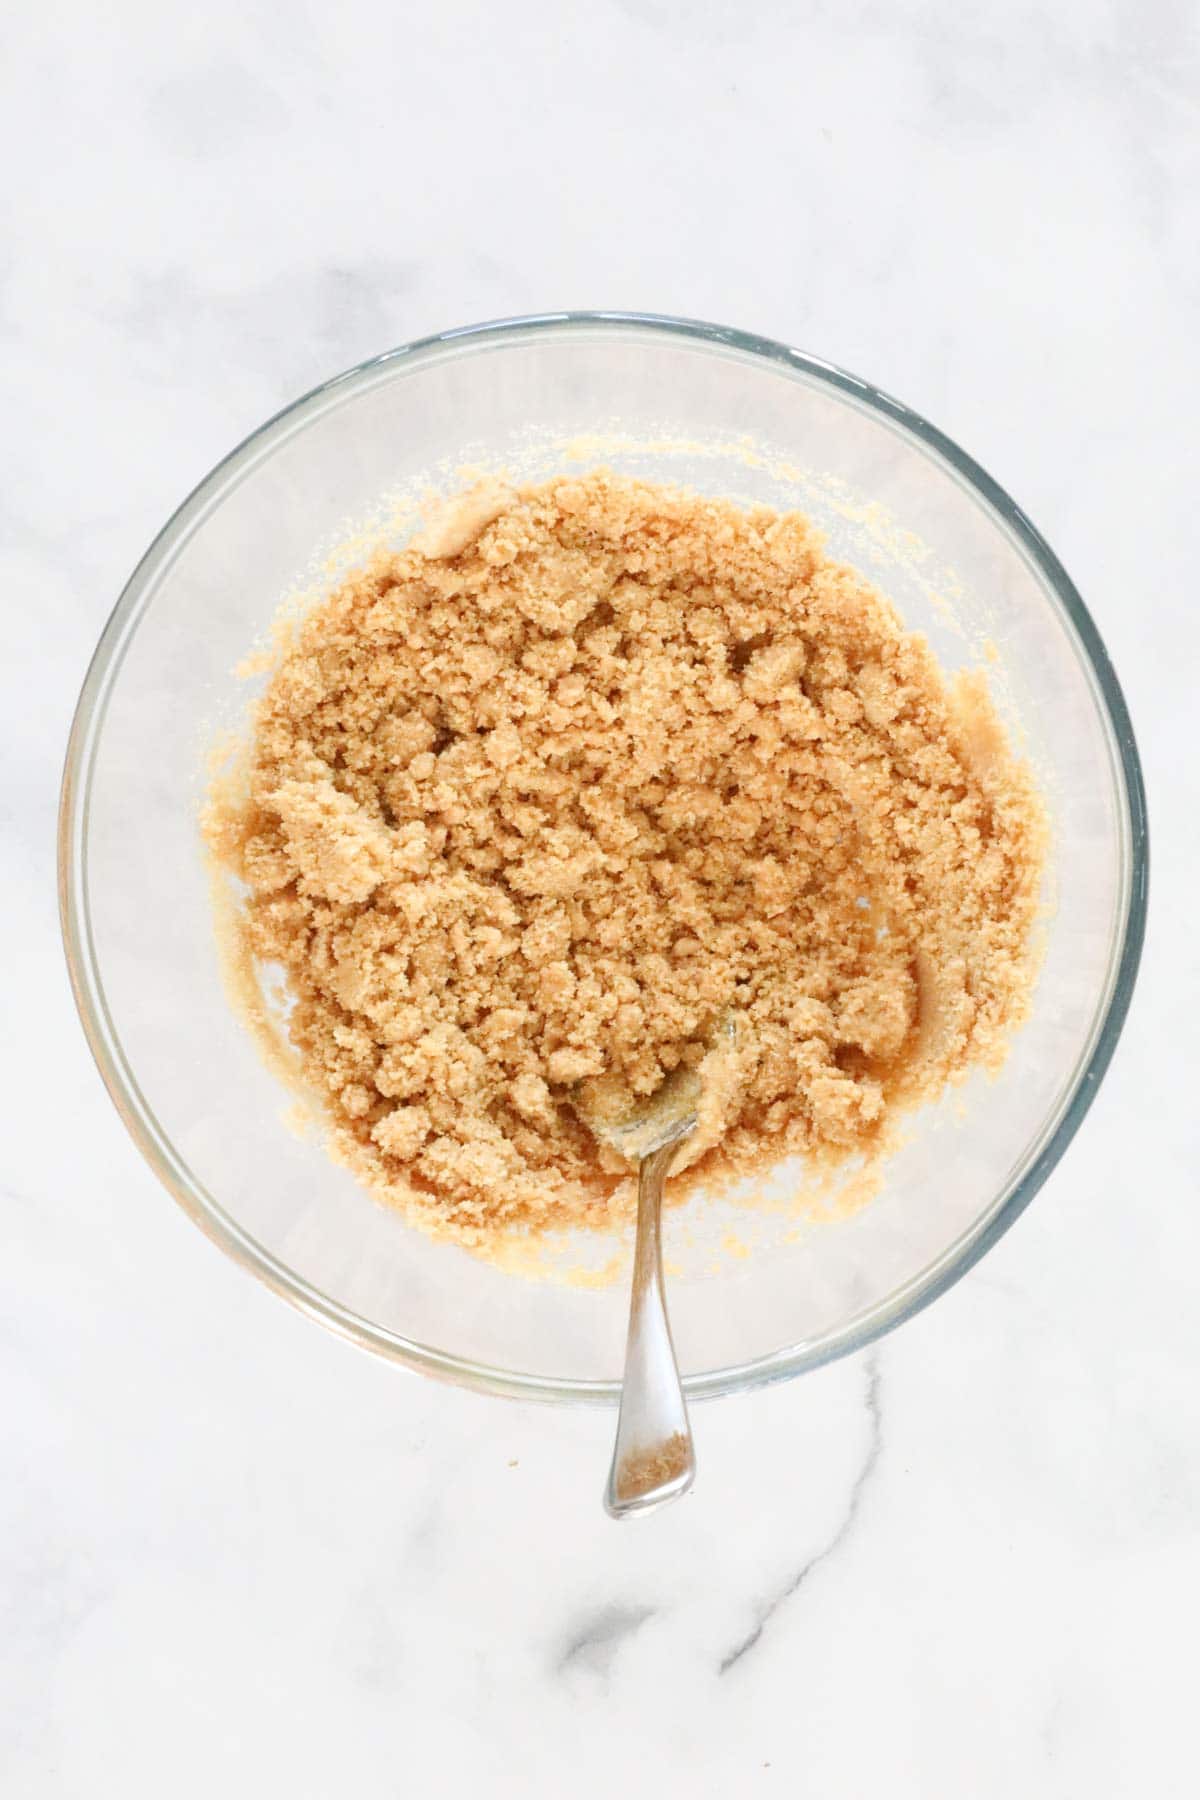
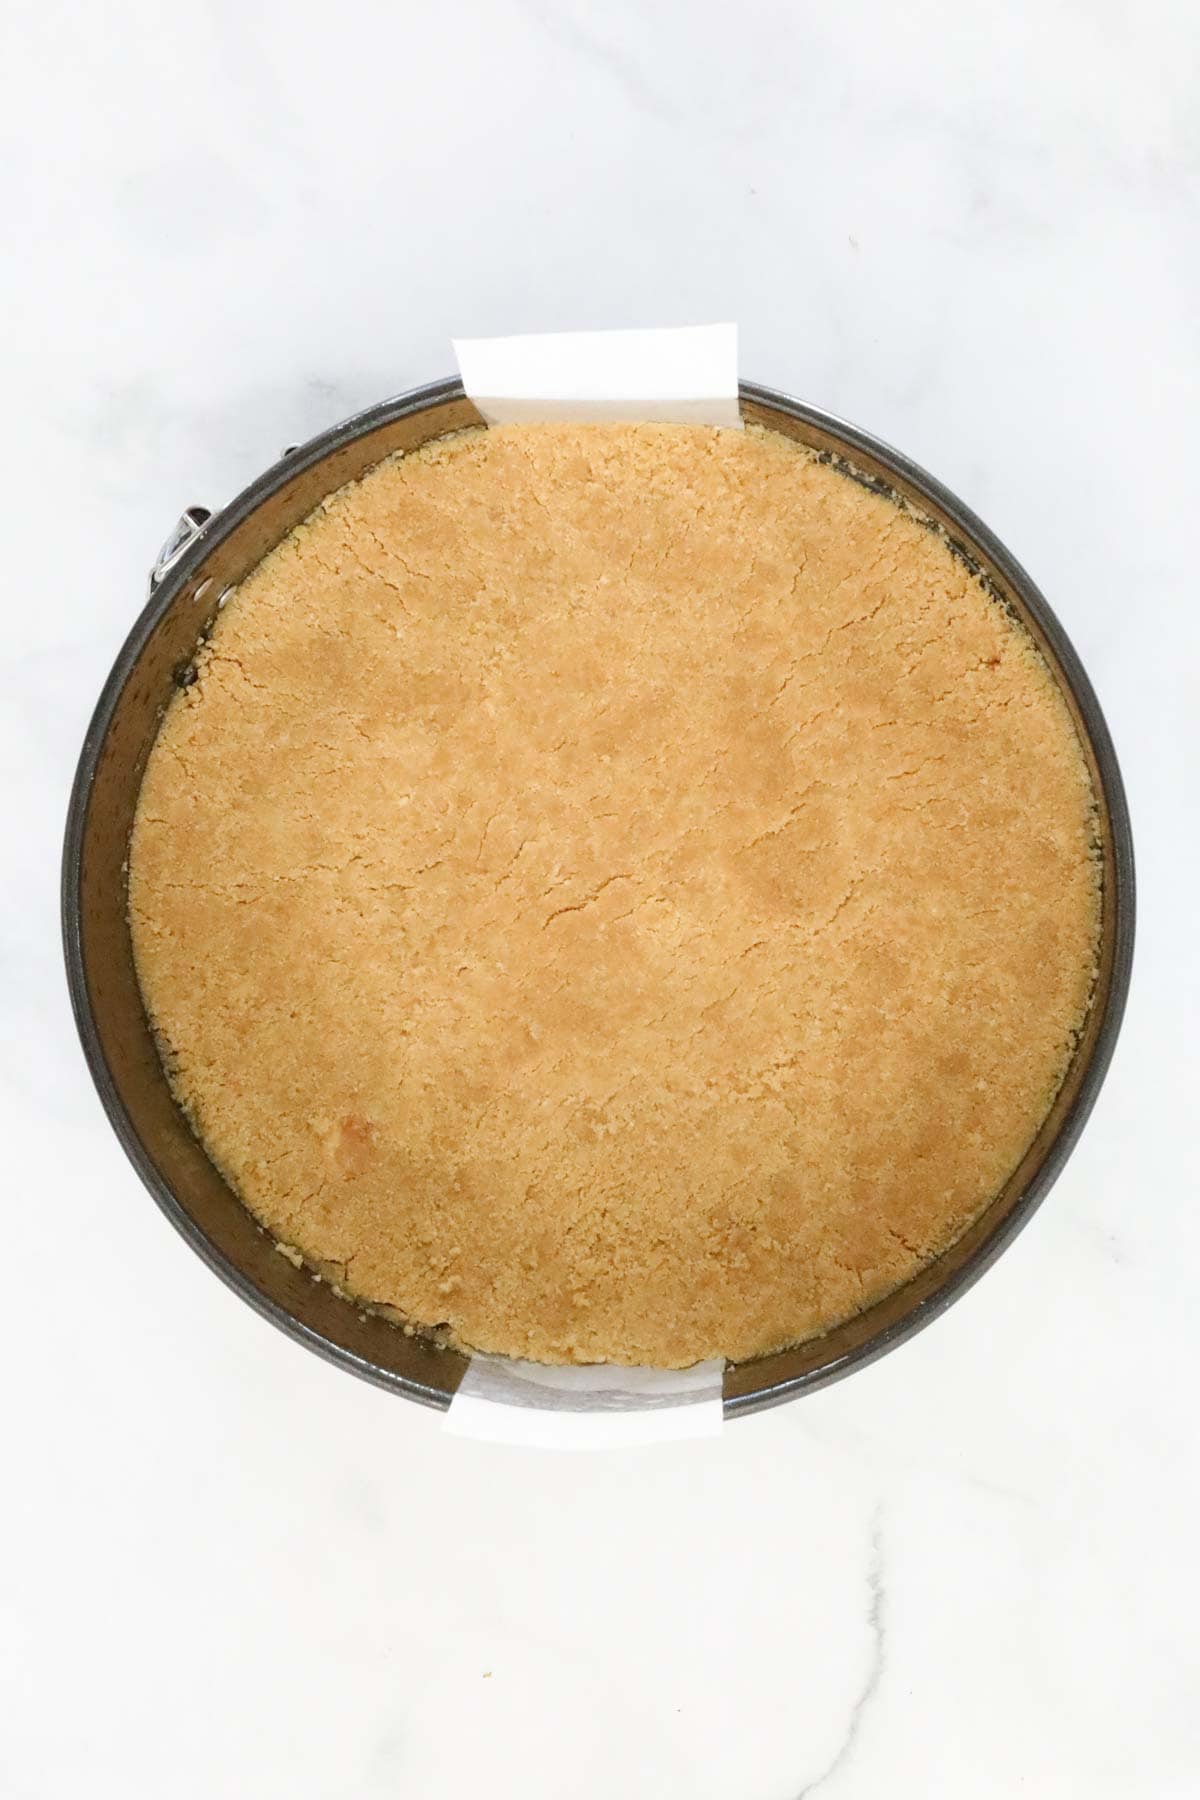
Firmly press the mixture into the bottom of the prepared tin and then place it in the fridge to chill and firm.
Step 2 – Make The Cheesecake Filling
Dissolve the gelatine powder in the boiling water (see Expert Tips below). Set aside.
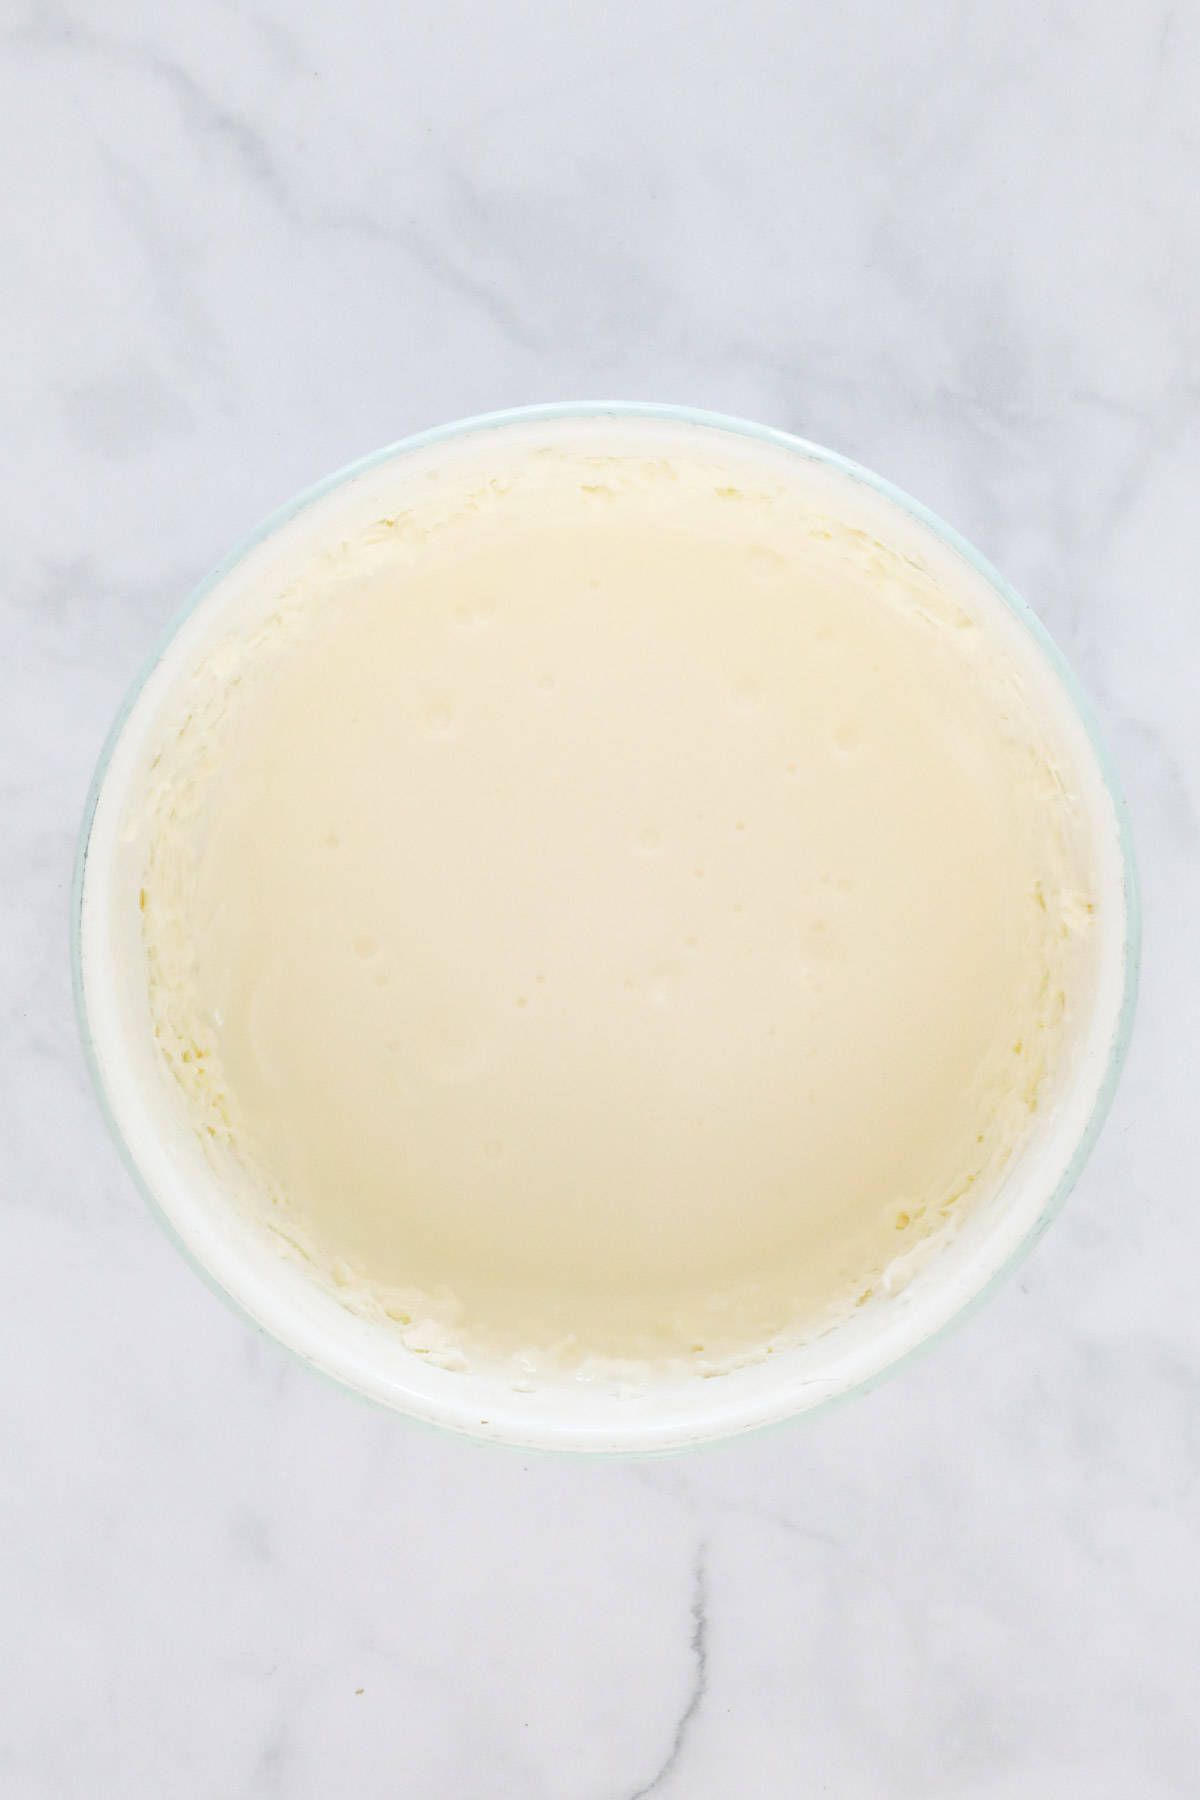
Place the cream cheese and caster sugar in a large bowl.
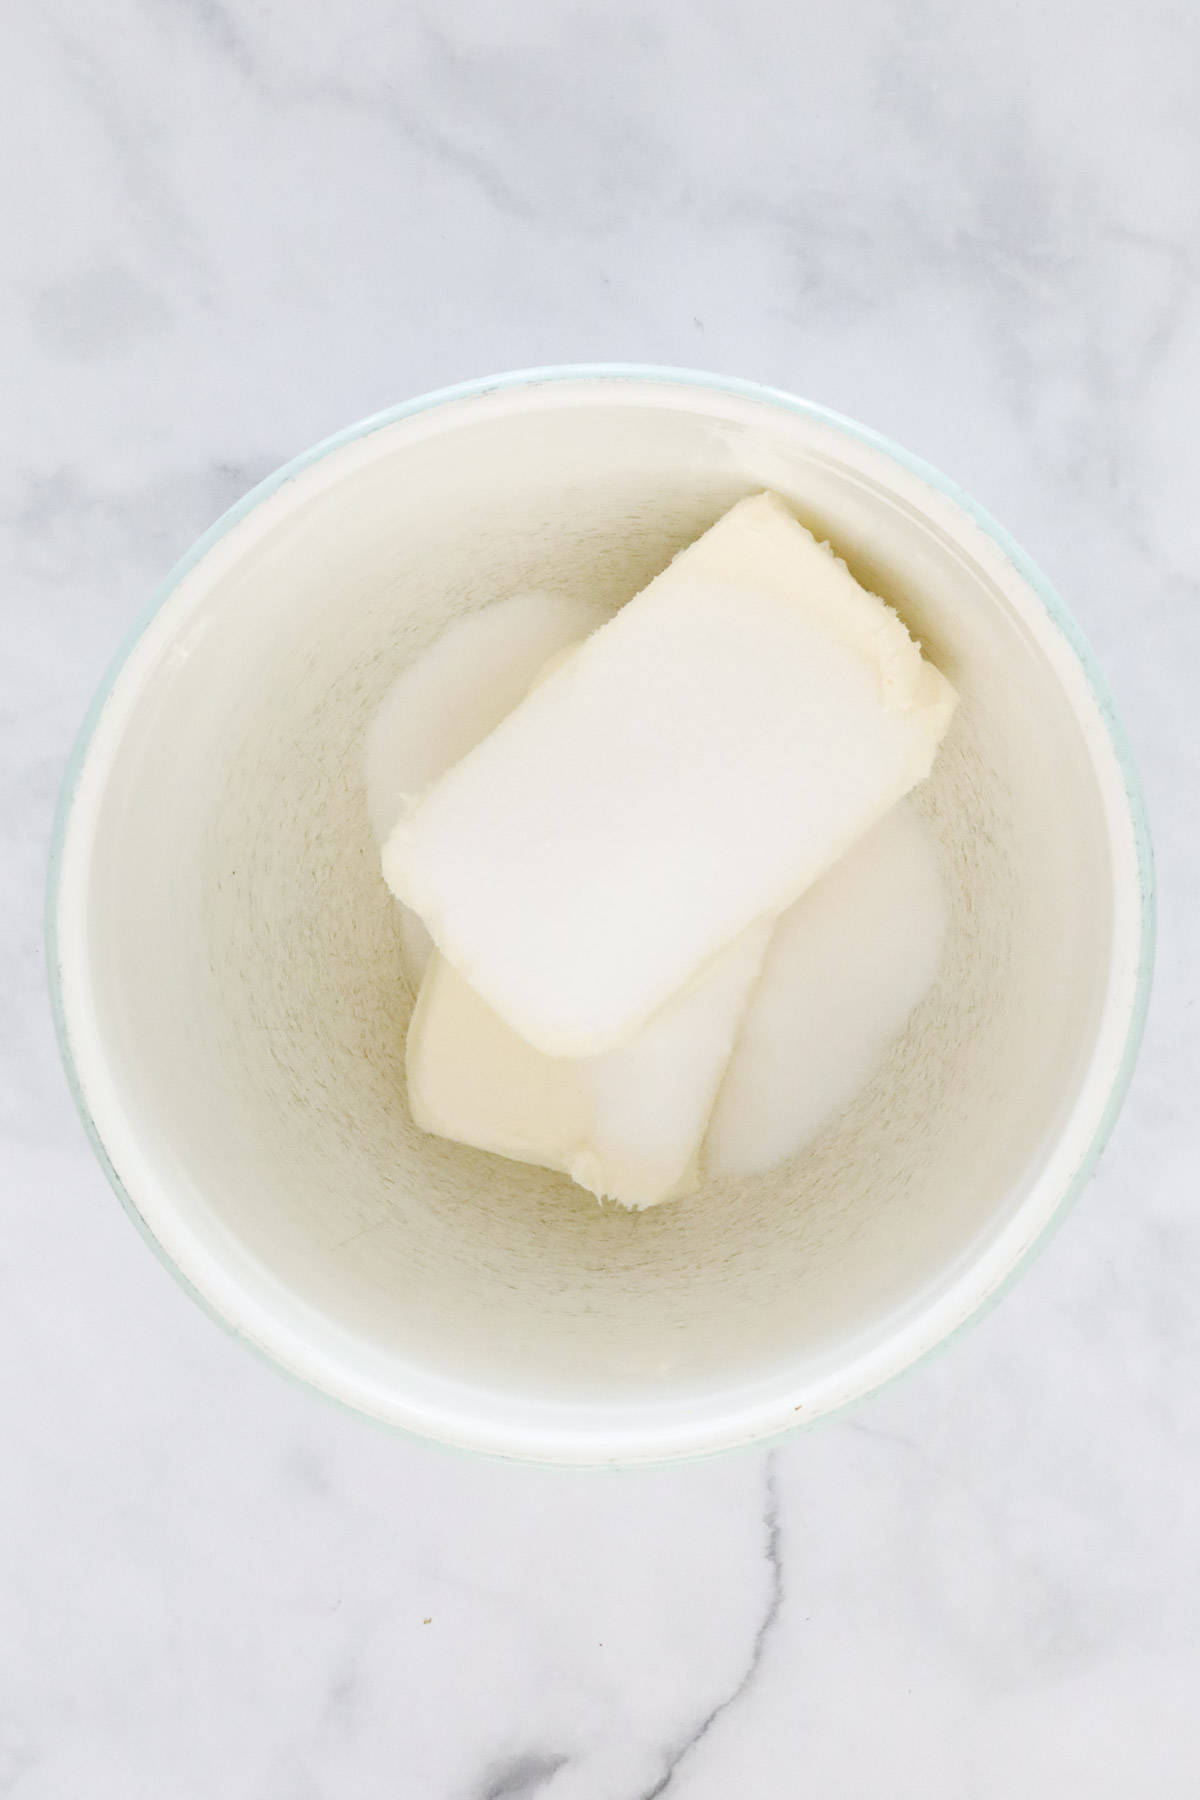
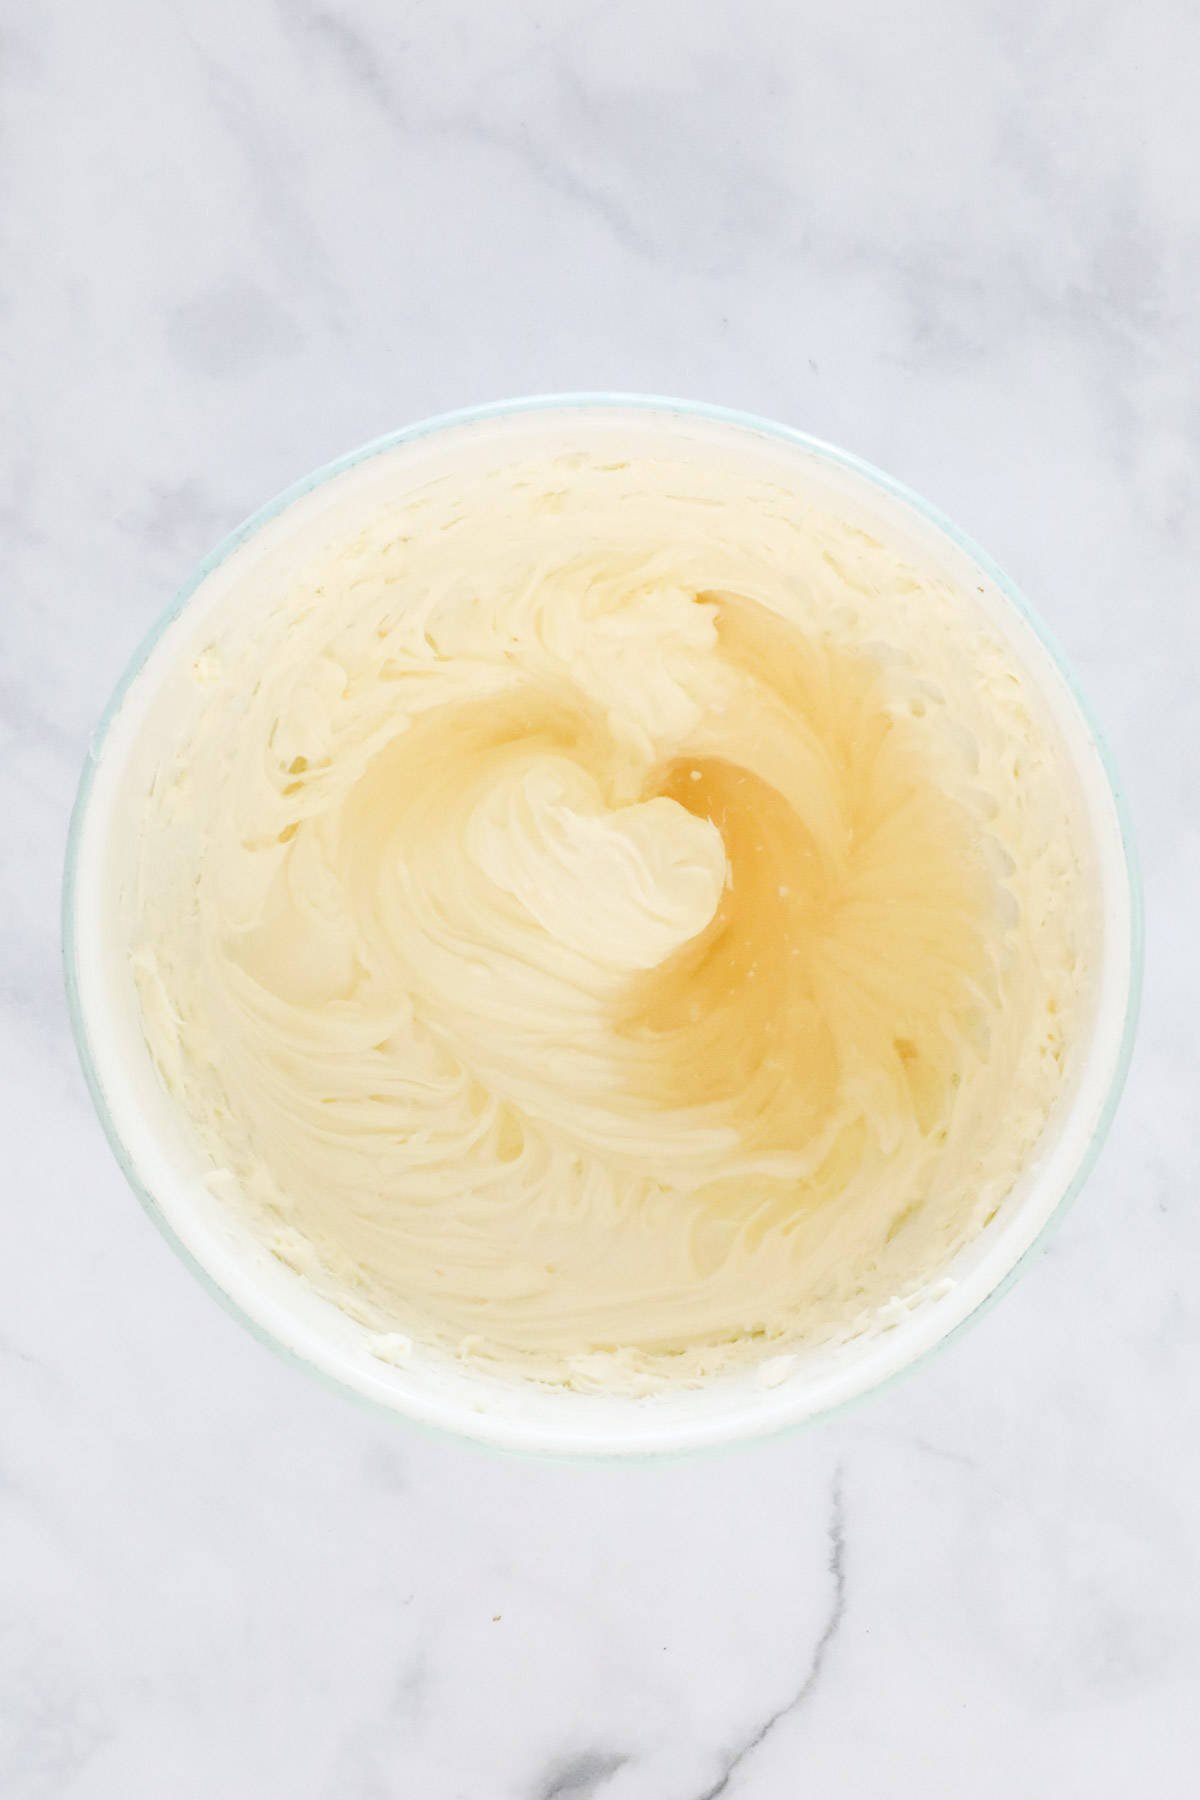
Use hand-held beaters or a stand mixer to beat the cream cheese and caster sugar until smooth and creamy.
Add the dissolved gelatine and beat through.
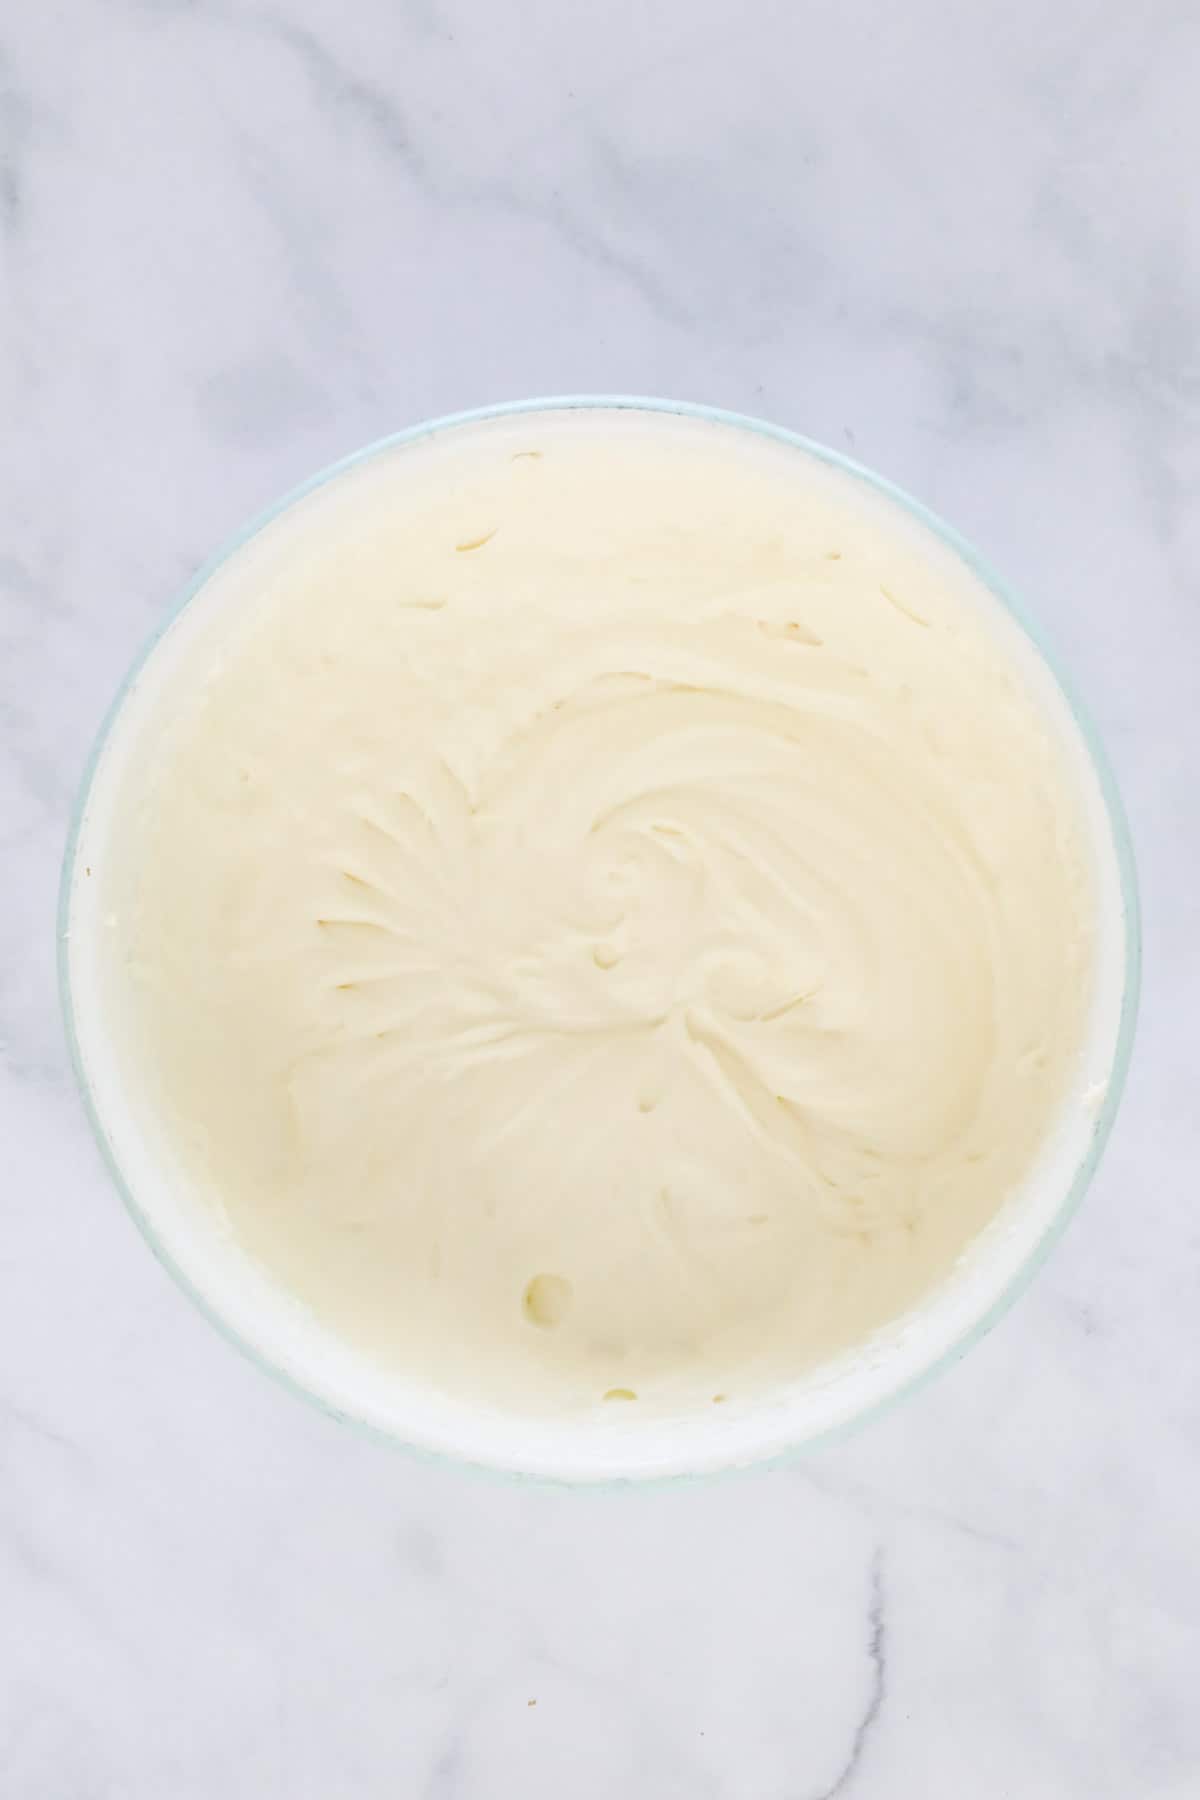
Add the cream and lemon juice and beat for 2 minutes or until slightly thickened.
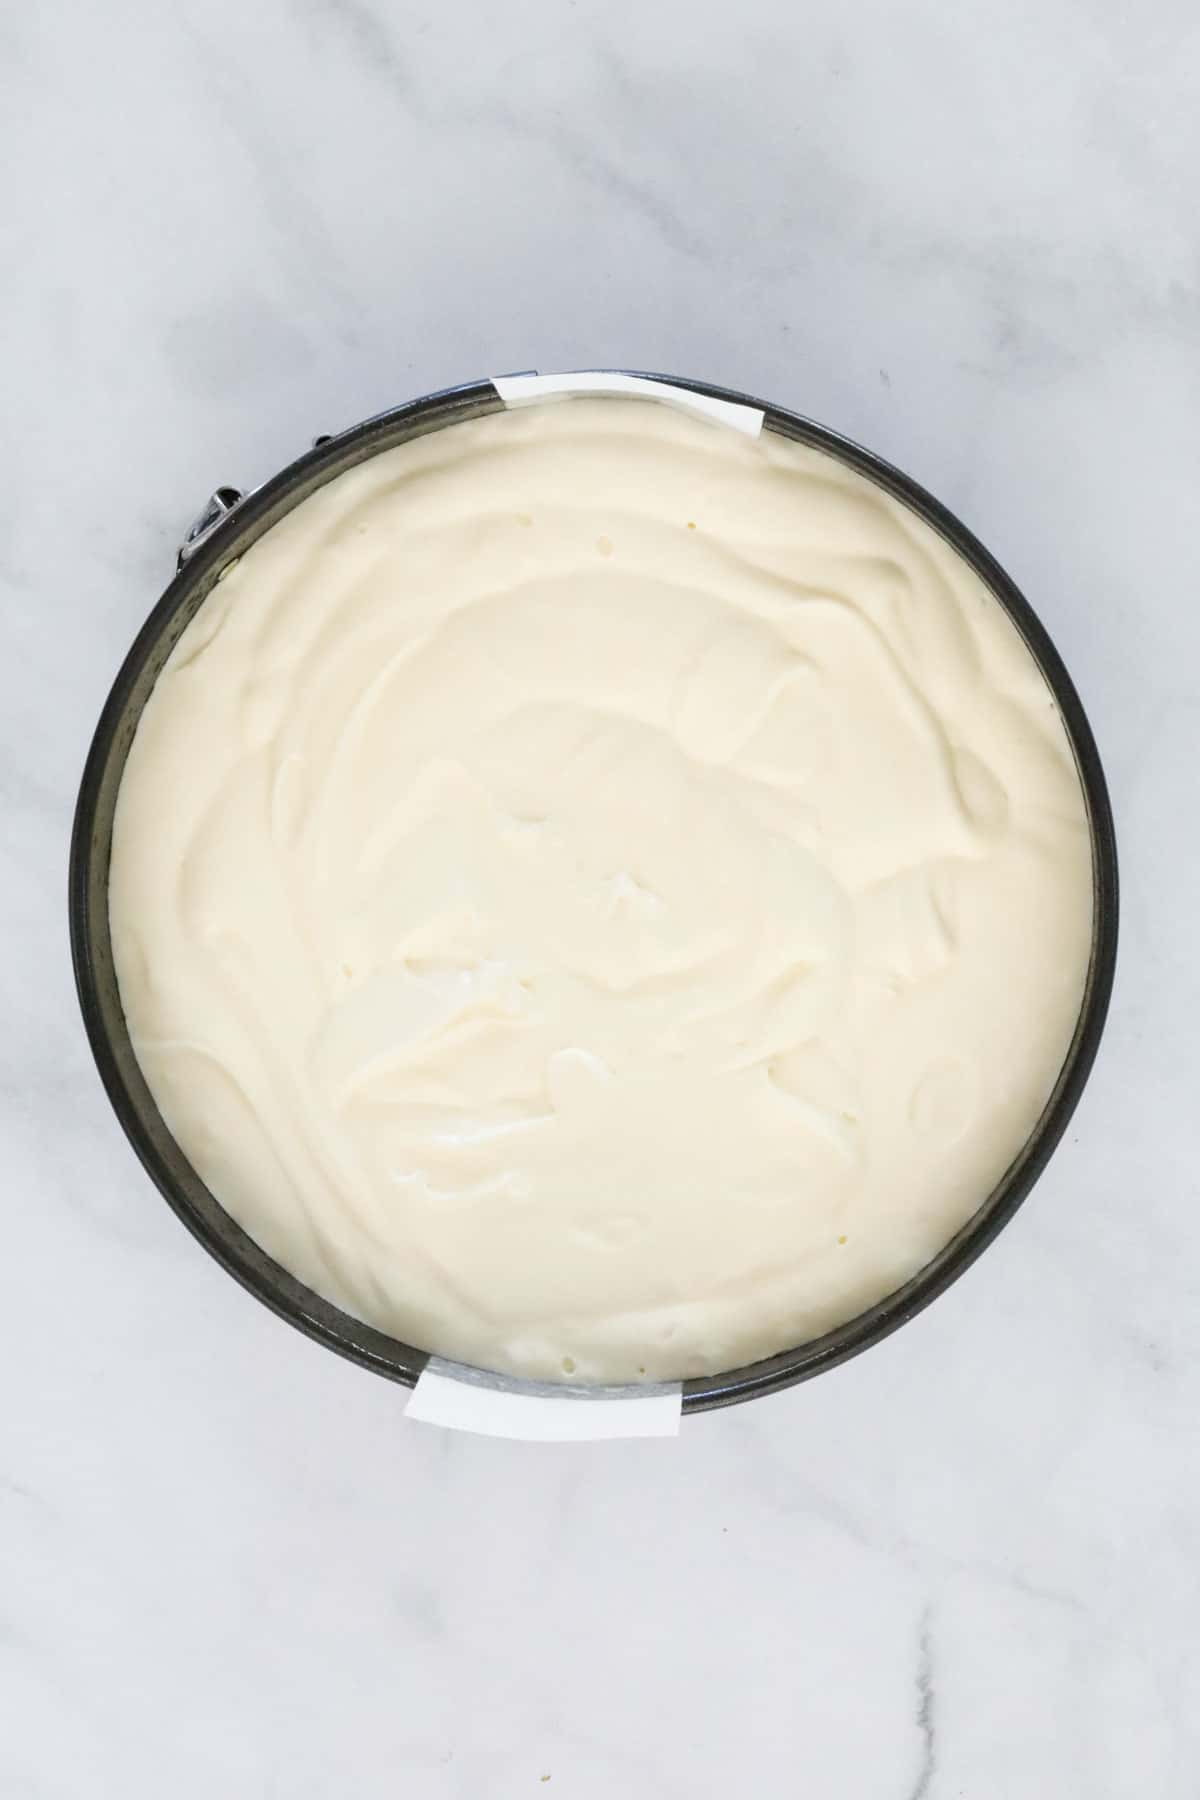
Step 3 – Chill
Pour the mixture over the prepared base and place into the fridge for 1-2 hours or until set.
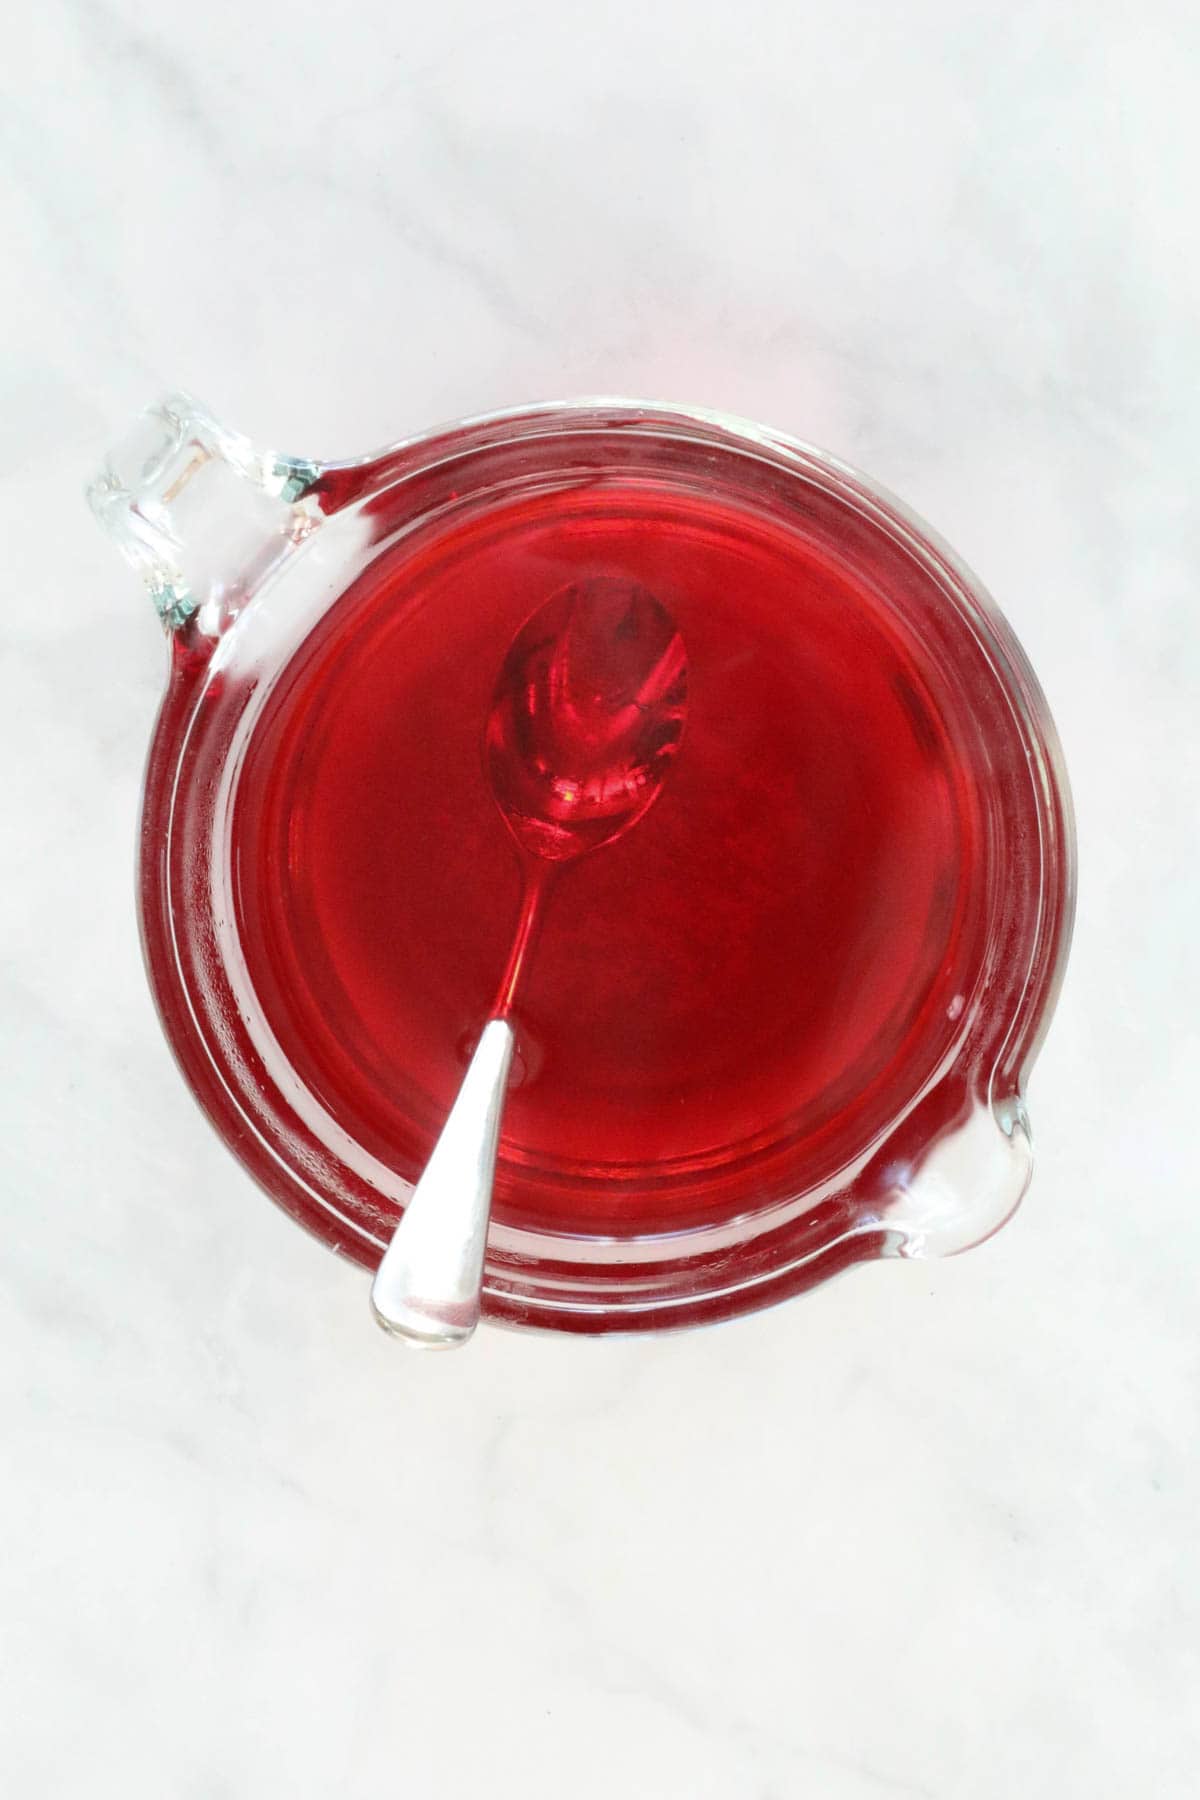
Step 4 – Make The Jelly Layer
Meanwhile, prepare the jelly by placing the two sachets of jelly crystals into a large bowl.
Add 500ml of boiling water and mix until dissolved. Add 200ml of cold water and mix. Leave the jelly on the bench (do NOT place into the fridge).
Once the cheesecake filling has set, very gently pour the jelly over the top and return cheesecake to the fridge for 4 hours or until set.
Expert Tips
- Baking tin – a round springform tin is needed for this recipe. This allows for easy removal of the jelly cheesecake once set. Grease and line it with baking paper before using.
- Dissolving gelatine – place 2 tsp of gelatine powder into a small bowl filled with ⅓ cup lukewarm water. Place that small bowl into a large bowl and fill the larger bowl with boiling water (do not allow the boiling water to enter the smaller bowl). Allow the boiling water to slowly heat the smaller bowl and dissolve the gelatine (this will take a couple of minutes).
- If you don’t have time to wait for the cream cheese to soften to room temperature – place it in the microwave for 30-60 seconds or until softened.
- Chill the cheesecake for a minimum of 4 hours (or overnight), to ensure it has set before serving.
FAQs
Yes, as this cheesecake is not baked, the gelatine helps the filling to hold it’s shape in this recipe.
Absolutely! Strawberry or raspberry jelly are the classic flavours, but feel free to use your favourite flavour of jelly!
No, I do not recommend freezing this jelly cheesecake.
Love an easy no-bake cheesecake? Me too! Here are some more of my favourite no-bake cheesecake recipes:
WANT EVEN MORE DELICIOUS RECIPES? Subscribe to my newsletter or follow along on Facebook or Instagram. And if you love baking, then please come and join my Facebook cooking club group or subscribe to my YouTube channel.
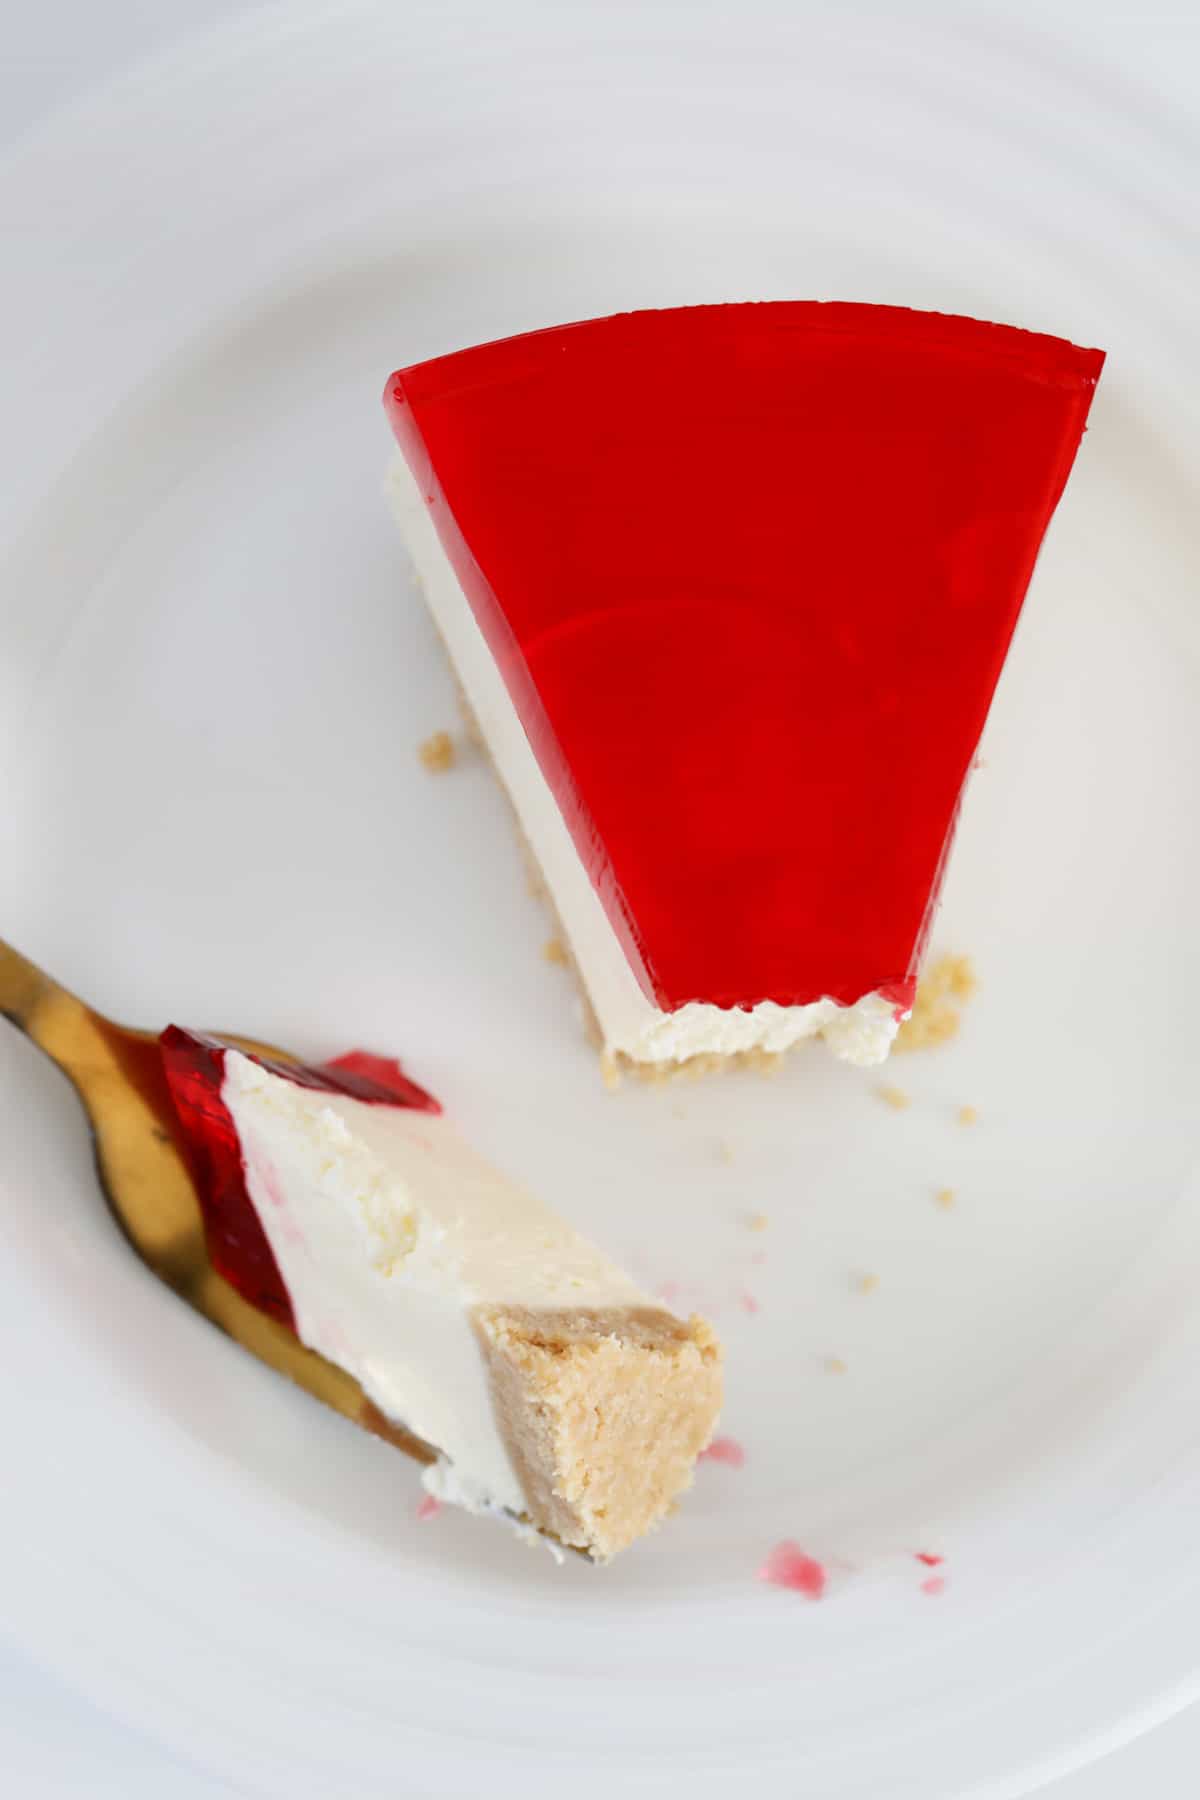
Jelly Cheesecake
A triple layered no-bake Jelly Cheesecake with a sweet and creamy filling!
Servings: 16 serves
Calories: 331kcal
Prevent your screen from going dark
Instructions
-
Grease and line a 23cm round springform tin with baking paper and set aside.
-
Crush the biscuits in a food processor and place into a separate bowl. Add the melted butter and mix until well combined.If using a Thermomix: Place the butter into the Thermomix bowl and melt for 2 minutes, 80 degrees, Speed 2. Add the biscuits and mix for 10 seconds, Speed 8.
-
Firmly press the mixture into the bottom of the prepared tin and then place it into the fridge.
-
Dissolve the gelatine powder in the boiling water (see notes). Set aside.
-
Use hand-held beaters or a stand mixer to beat the cream cheese and caster sugar until smooth and creamy. If using a Thermomix: Mix the cream cheese and caster sugar for 30 seconds, Speed 5. Scrape down the sides with a spatula and repeat until smooth and creamy.
-
Add the dissolved gelatine and beat through. If using a Thermomix: Add the cooled, dissolved gelatine to the mix and mix for 30 seconds on Speed 5.
-
Add the cream and lemon juice and beat for 2 minutes or until slightly thickened. If using a Thermomix: Add the cream and lemon juice and mix for 2 minutes, Speed 3 or until thickened.
-
Pour the mixture over the prepared base and place into the fridge for 1-2 hours or until set.
-
Meanwhile, prepare the jelly by placing the two sachets of jelly crystals into a bowl. Add 500ml of boiling water and mix until dissolved. Add 200ml of cold water and mix.Leave the jelly on the bench (do NOT place into the fridge).
-
Once the cheesecake filling has set, gently pour the jelly over the top and return to the fridge for 4 hours or until set.
Notes
- Baking tin – a round springform tin is needed for this recipe. This allows for easy removal of the jelly cheesecake once set. Grease and line it with baking paper before using.
- Equipment – you’ll need a food processor, a Thermomix or a rolling pin to crush the biscuits. And of course, a fridge!
- Cream cheese – have your cream cheese at room temperature.
- Dissolving gelatine – place 2 tsp of gelatine powder into a small bowl filled with ⅓ cup lukewarm water. Place that small bowl into a large bowl and fill the larger bowl with boiling water (do not allow the boiling water to enter the smaller bowl). Allow the boiling water to slowly heat the smaller bowl and dissolve the gelatine (this will take a couple of minutes). Stir quickly until gelatine has completely dissolved.
- Chill for a minimum of 4 hours (or overnight) prior to serving.
Nutrition
Calories: 331kcal | Carbohydrates: 17g | Protein: 4g | Fat: 28g | Saturated Fat: 16g | Polyunsaturated Fat: 2g | Monounsaturated Fat: 7g | Trans Fat: 0.3g | Cholesterol: 70mg | Sodium: 212mg | Potassium: 76mg | Fiber: 0.2g | Sugar: 10g | Vitamin A: 906IU | Vitamin C: 0.5mg | Calcium: 48mg | Iron: 1mg


