

Proper chip shop style mushy peas are a British classic! A staple side dish for crispy fried fish and chips.
A simple overnight soak, then you can boil them up to mushy perfection!

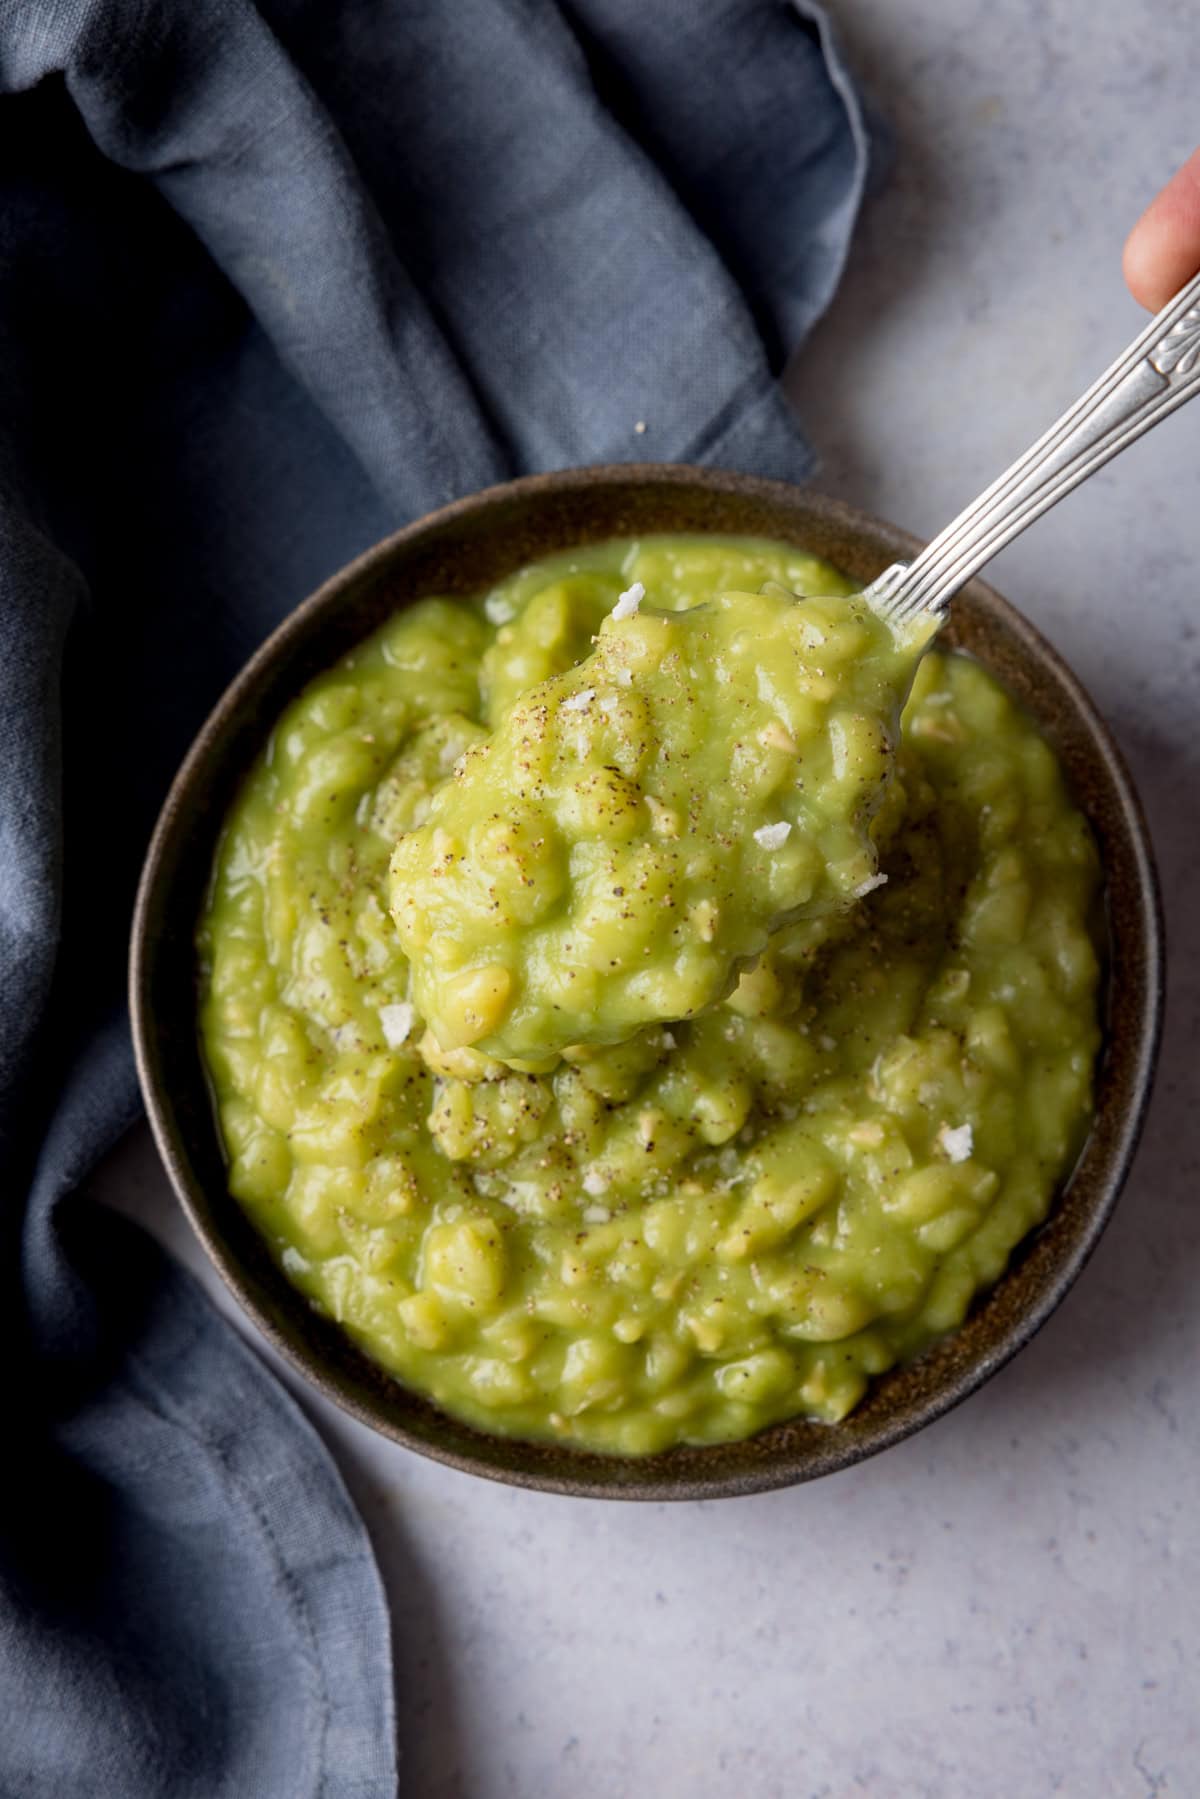
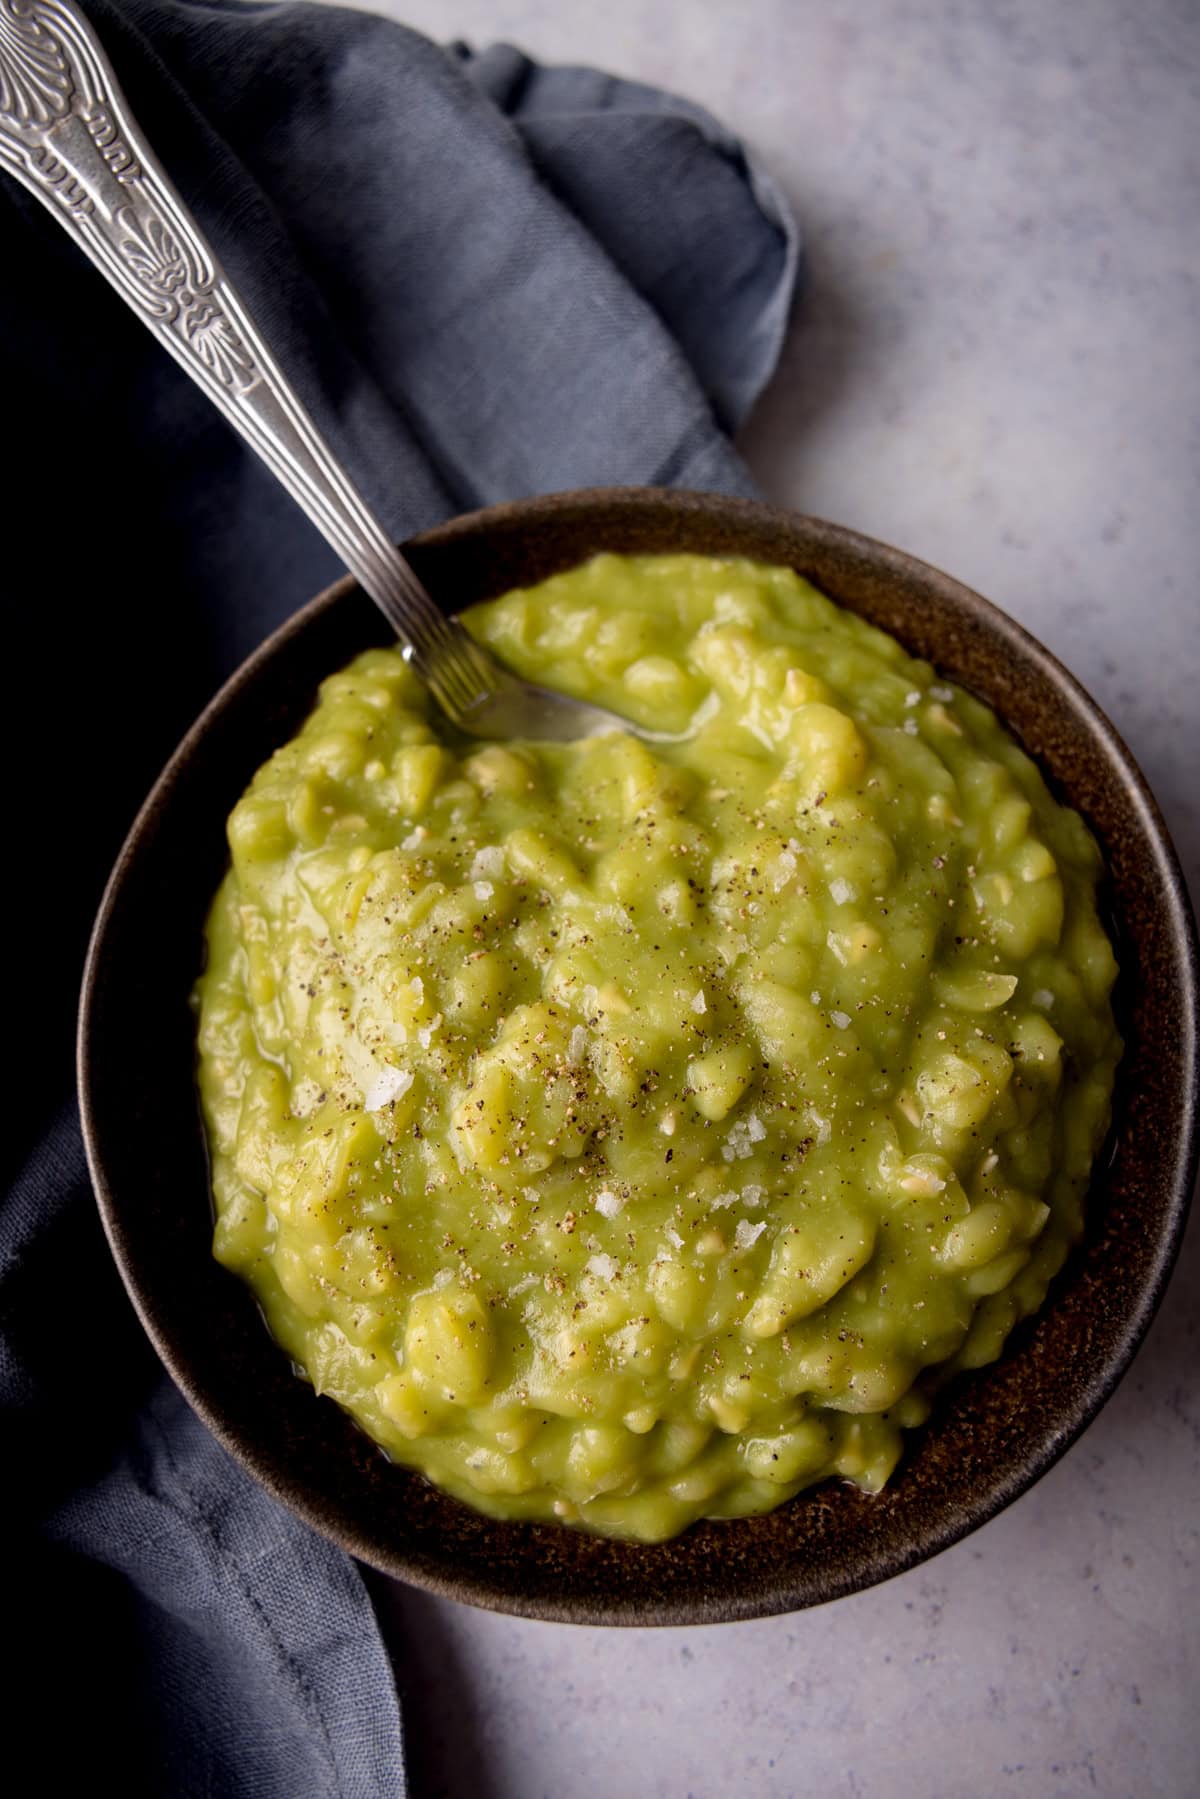
If it isn’t slightly murky green and lumpy then it’s not proper mushy peas! No food colouring please – we want to savour that greenish swamp colour 😄
There is literally no way you can dress up how mushy peas look. But let us not judge a book by its cover!
They’re delicious! – A classic accompaniment to fish and chips!
I like to squeeze a little lemon juice over the top for some tangy freshness and dip in some lovely salty chippy chips.
📋 Ingredients
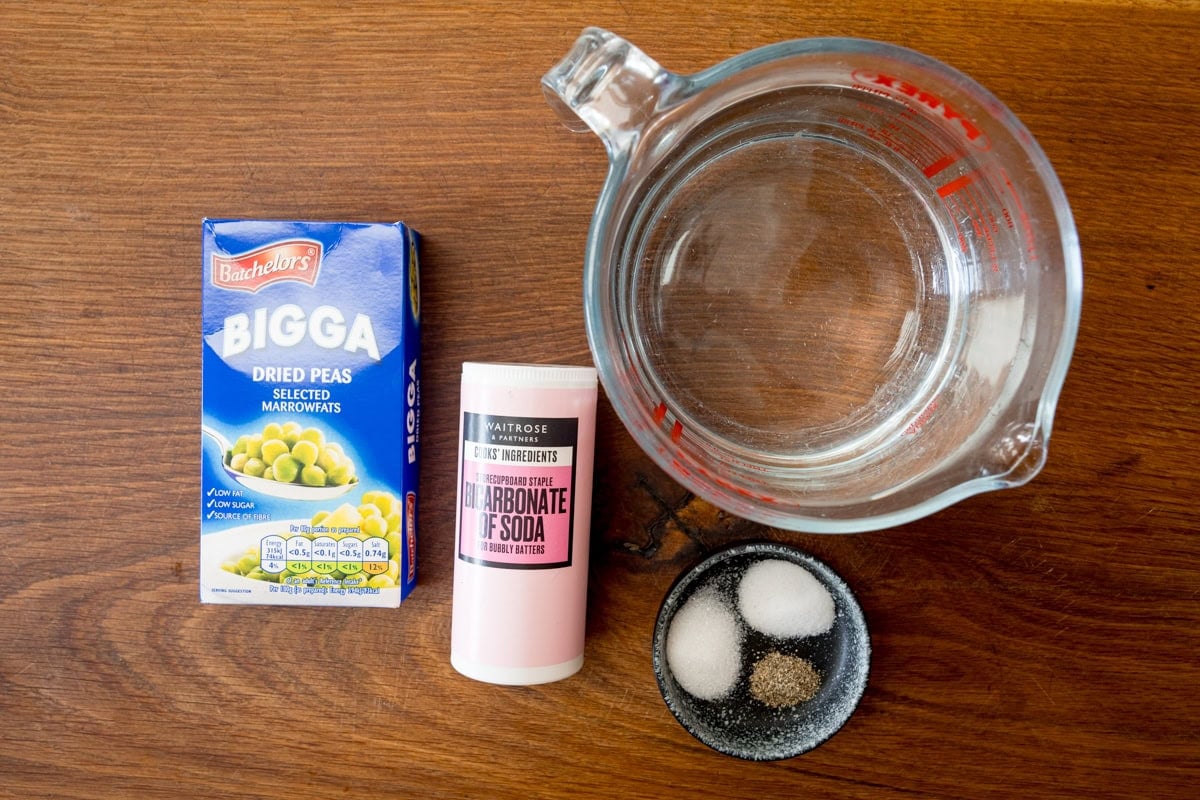
Dried Marrowfat Peas – Using dried peas is best because when they dry, they get more starchy texture, which is what gives mushy peas that lovely creaminess. You can buy dried marrowfat peas at any large supermarket (Tesco, Sainsbury’s, Walmart etc.) or whole foods shop.
How to make mushy peas
Full recipe with detailed steps in the recipe card at the end of this post.
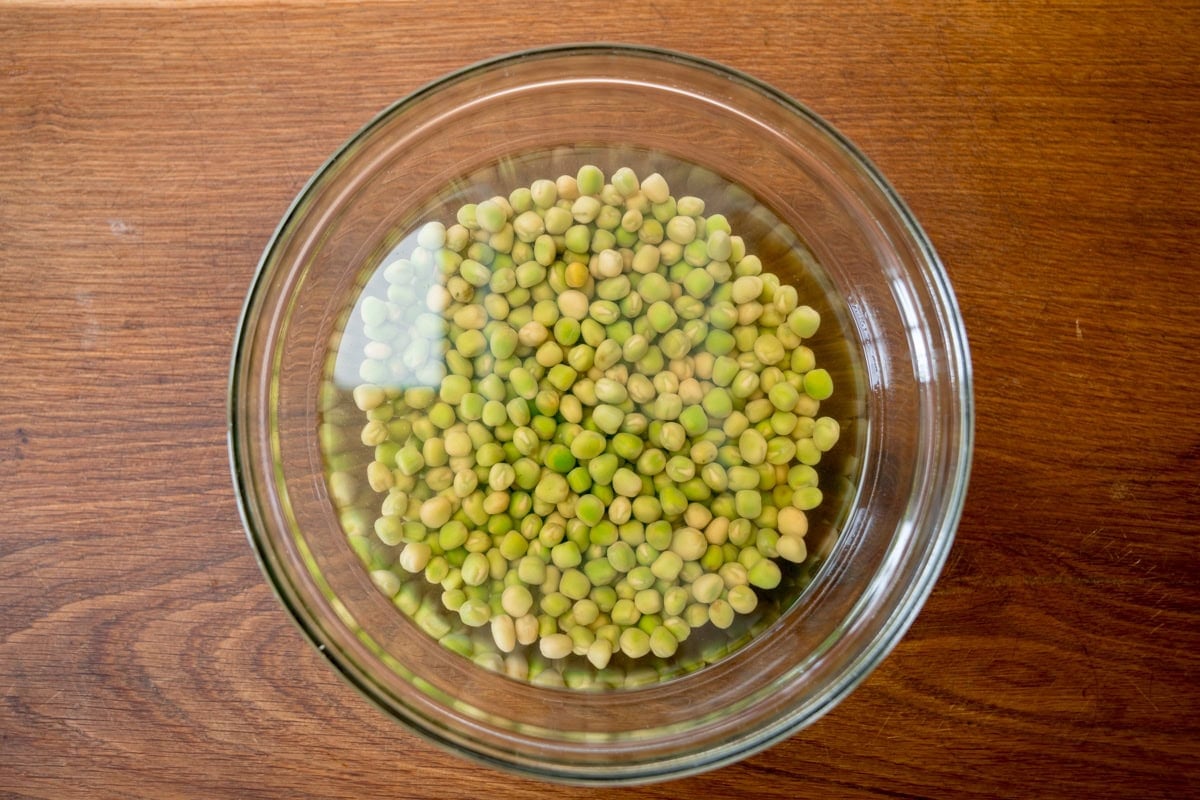
Soak the peas with boiling water and bicarbonate of soda. I like to soak them overnight.
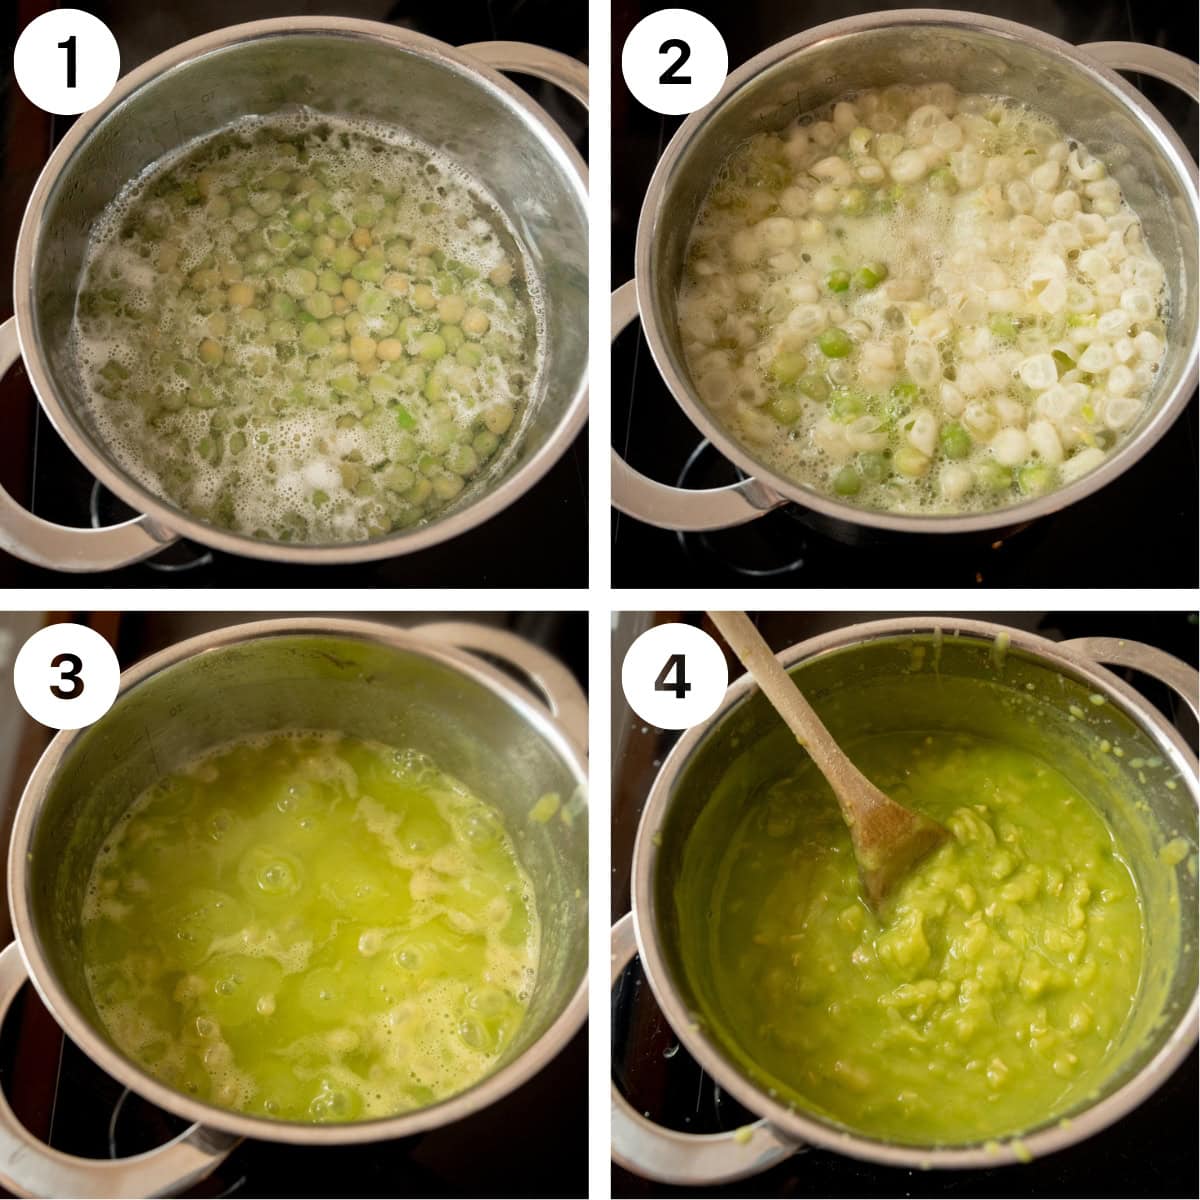
Drain and rinse them, then boil in water, stirring occasionally until perfectly mushy.
Here’s how they look during cooking. It took about 30 minutes to get to the texture in the final image.
Stir in salt, pepper and sugar and serve!
Pro Tip
You can adjust or add seasoning to your own taste. I like to add a little squirt a little lemon juice after serving for a tangy twist!
This dish is a staple in chippys across the UK.
Pin this now to find it later
🍽️ What to serve it with
I take after my dad in my love for mushy peas!
🍲 More fantastic side dishes
Stay updated with new recipes!
Subscribe to the newsletter to hear when I post a new recipe. I’m also on YouTube (new videos every week) and Instagram (behind-the-scenes stories & beautiful food photos).
-
Place the dried peas into a large bowl. Add the bicarbonate of soda and pour over the just boiled water.
250 g (8.8oz) dried marrowfat peas, 2 tsp bicarbonate of soda, 850 ml (1.5 pints) just boiled water
-
Stir together, cover, and leave the peas to soak for 12-16 hours (no need to refrigerate).
-
Drain and rinse the peas.
-
Add the water to a medium-sized saucepan. Bring to the boil and add the drained peas.
600 ml (1 pint) water
-
Stir together, bring back to the boil and simmer for 25-35 minutes until the thickness is to your liking. Be sure to stir occasionally, and mush them down a little with a wooden spoon during cooking. You’ll need to stir more often in the last 10-15 minutes, to prevent the peas sticking/catching on the base of the pan.
-
You can add a little more water if you like a thinner consistency.
-
Stir in the sugar, salt and pepper.
½ tsp sugar, ½ tsp salt, ¼ tsp black pepper
-
Have a taste and add a little more seasoning if desired, then serve.
Cooking time
How do you like your mushy peas? Adjust your simmering time to suit you preference. If you find you go too far and the peas are a bit too thick, you can add a splash of water to loosen up.
- 25 minutes – fairly runny mushy peas
- 30 minutes – thick, spoonable mushy peas
- 35 minutes – quite stiff mushy peas
Pea shells and foam
You may notice that after 10-15 minutes of simmering, some of the shells from the peas and a bit of foam rise to the top of the pan. You can skim this off if you prefer, but I find it doesn’t alter the look or taste of the finished mushy peas, so I don’t skim.
Make ahead
You can make this ahead and refrigerate. First, you make up the mushy peas as per the instructions, then, quickly cool, cover and refrigerate for up to 3 days. To reheat, pour into a pan, and cook on a low heat, stirring often, if you like you can add a splash of water at this stage to loosen it up. Once it is piping hot throughout, serve.
How to scale up and scale down this recipe
This recipe can be doubled up for a crowd or halved for a few people, sticking to the same ingredient ratios.
Nutritional information is approximate, per serving, based on this recipe serving 6 people.
Calories: 144kcal | Carbohydrates: 26g | Protein: 10g | Fat: 0.5g | Saturated Fat: 0.1g | Polyunsaturated Fat: 0.2g | Monounsaturated Fat: 0.1g | Sodium: 565mg | Potassium: 410mg | Fiber: 11g | Sugar: 4g | Vitamin A: 63IU | Vitamin C: 1mg | Calcium: 23mg | Iron: 2mg
Nutrition information is automatically calculated, so should only be used as an approximation.
Some of the links in this post may be affiliate links – which means if you buy the product I get a small commission (at no extra cost to you). If you do buy, then thank you! That’s what helps us to keep Kitchen Sanctuary running. The nutritional information provided is approximate and can vary depending on several factors. For more information please see our Terms & Conditions.
Discover more from reviewer4you.com
Subscribe to get the latest posts to your email.


