
If you are an aviation enthusiast or a spotter, RadarBox.com has an exciting new feature that allows you to showcase your aviation photography skills like never before! With the RadarBox.com Photo Gallery, you can now easily upload your aviation photos, explore a wealth of information associated with each image, and share your passion with fellow aviation enthusiasts worldwide. In this tutorial, we will guide you through the simple process of accessing the RadarBox.com Photo Gallery and making the most of this fantastic new feature.
Step 1: Accessing RadarBox.com and Navigating to the Photo Gallery
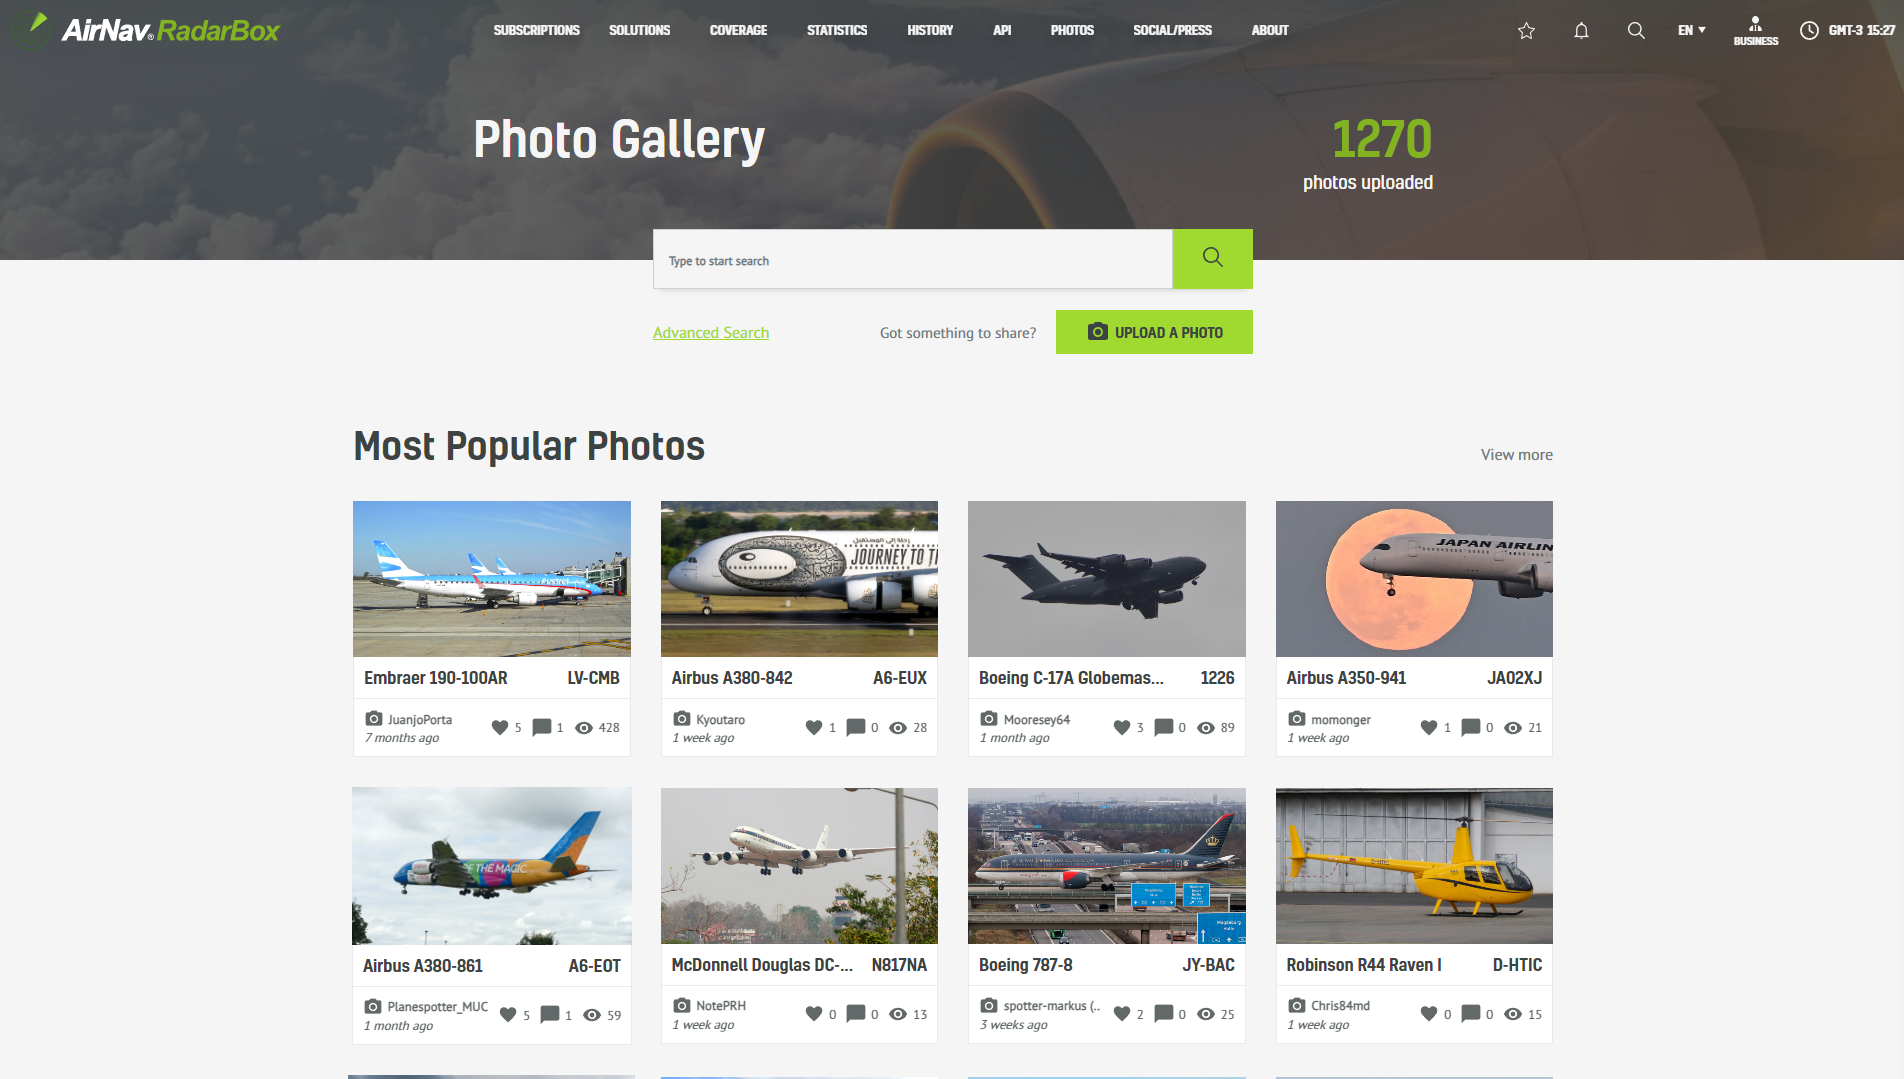
To begin, open your web browser and visit RadarBox.com. Once on the website, follow these simple steps:
1. Look for the “Photos” tab in the top navigation menu. Click the dropdown menu for the “Gallery Home” option, then select it to proceed.
-1.png)
Step 2: Uploading Your Aviation Photos
You’ve arrived at the RadarBox.com Photo Gallery! Now, let’s get started with sharing your aviation shots:
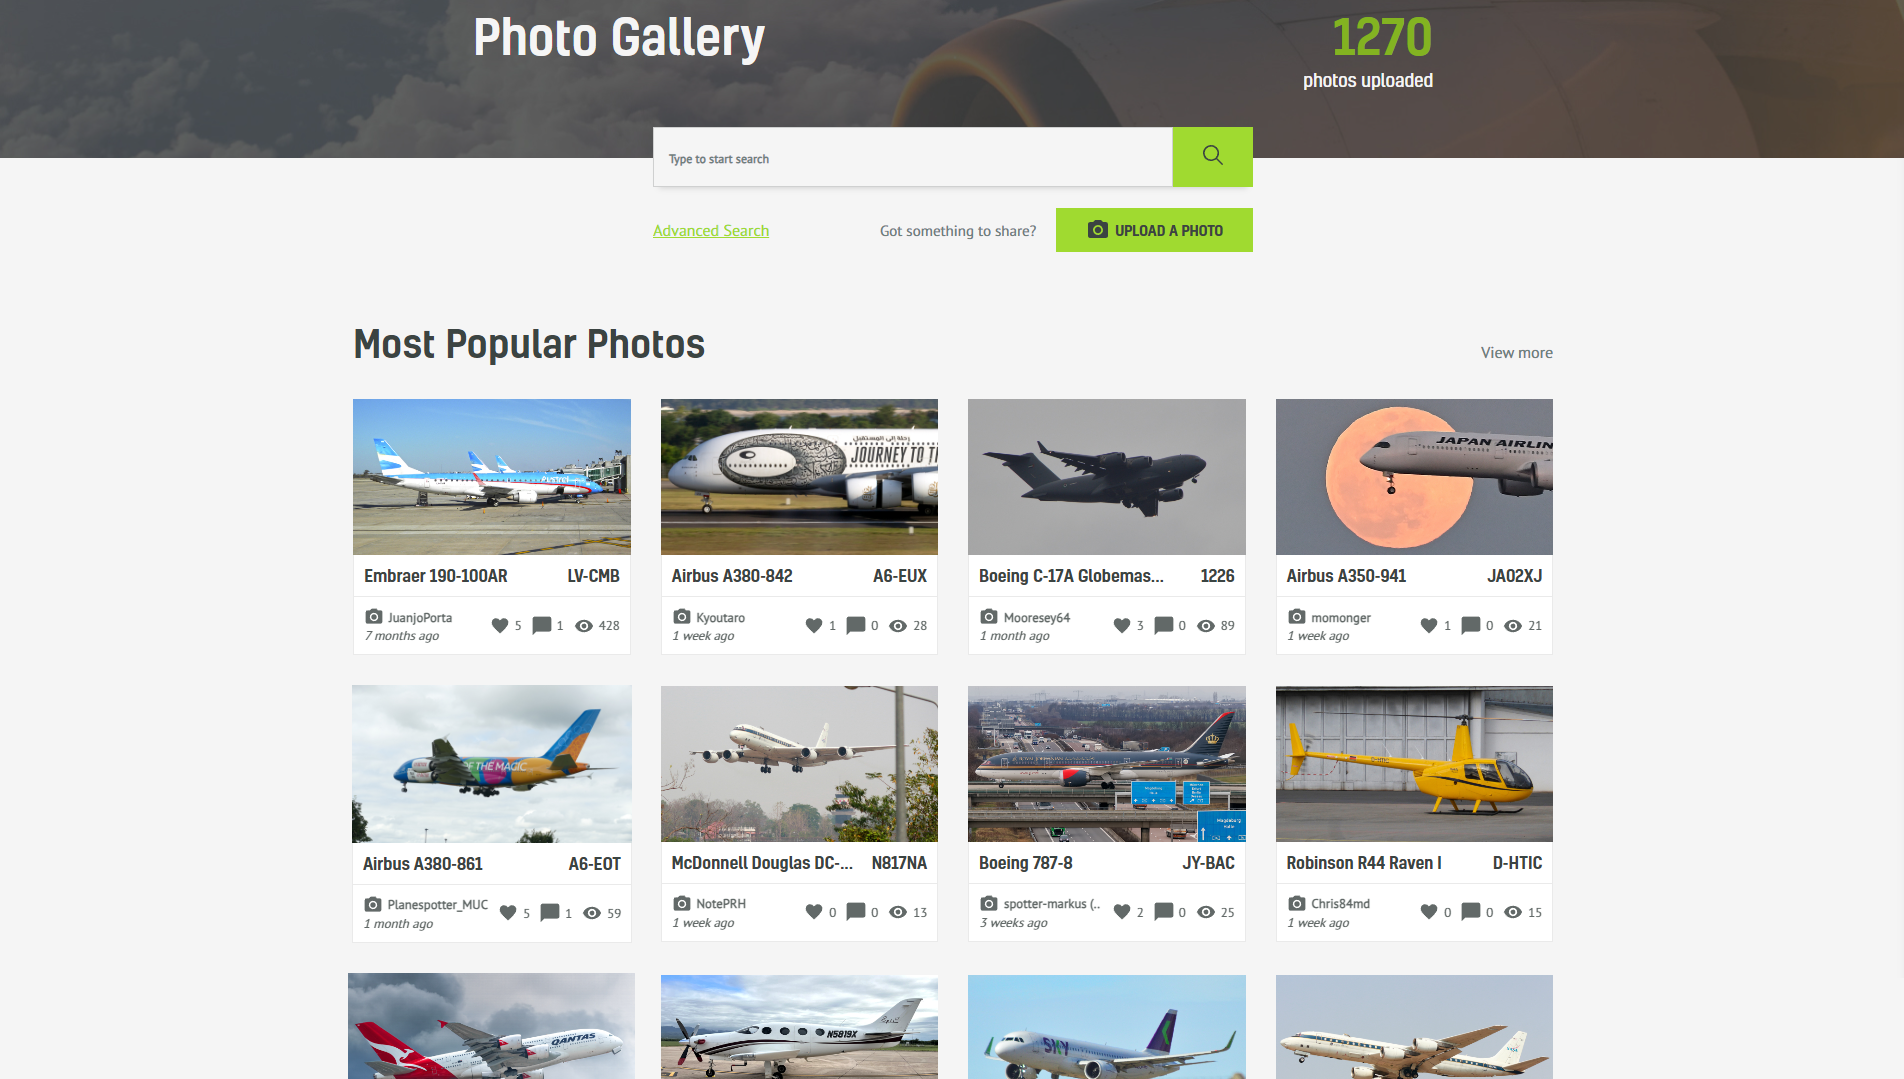
2. Are you excited to showcase your best aviation photos? Click on “Upload a Photo” to initiate the upload process.

3. Select the aviation photo you want to share from your device’s gallery.
Step 3: Adding Essential Information to Your Photo
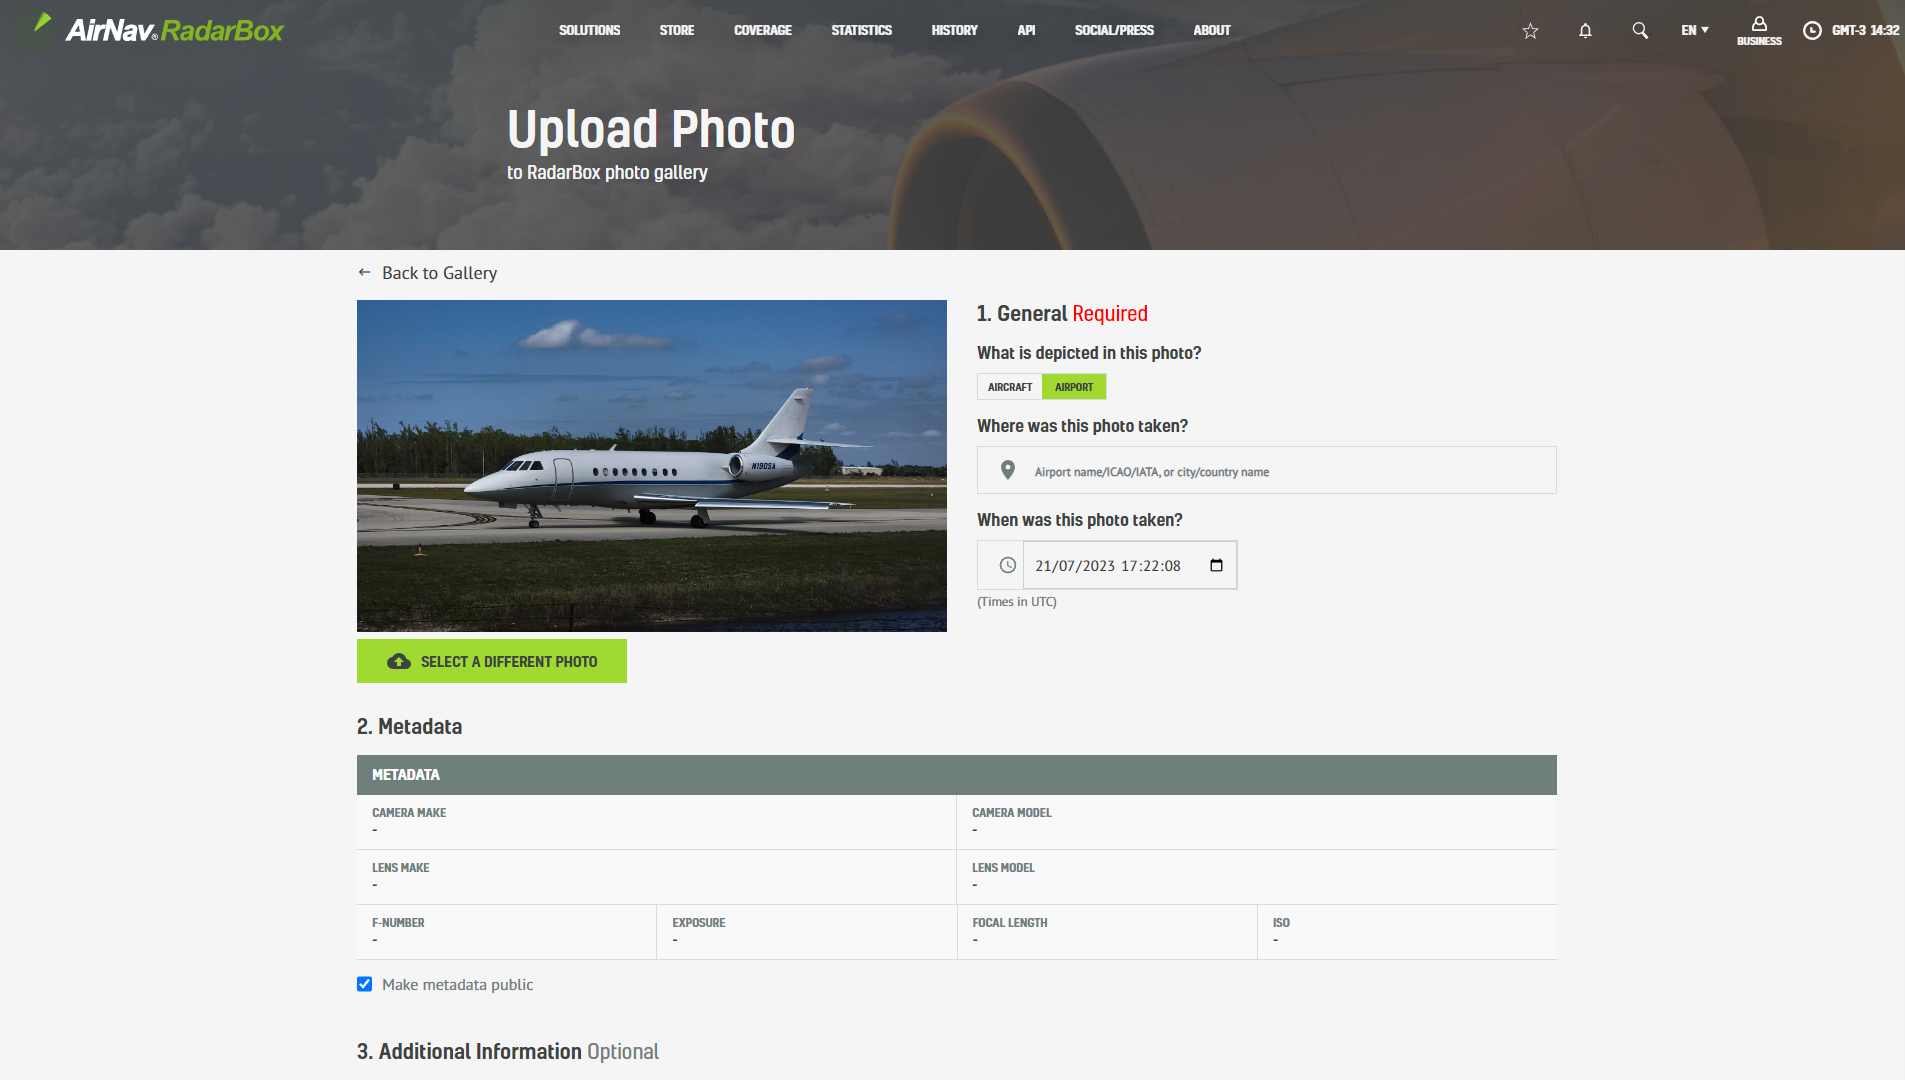
Now that your photo has been selected, let’s provide some essential details about the image. You’ll be prompted to add general information related to the photo. Choose the “Aircraft” option that best matches the photo, or select “Airport” to put where the photo was taken.
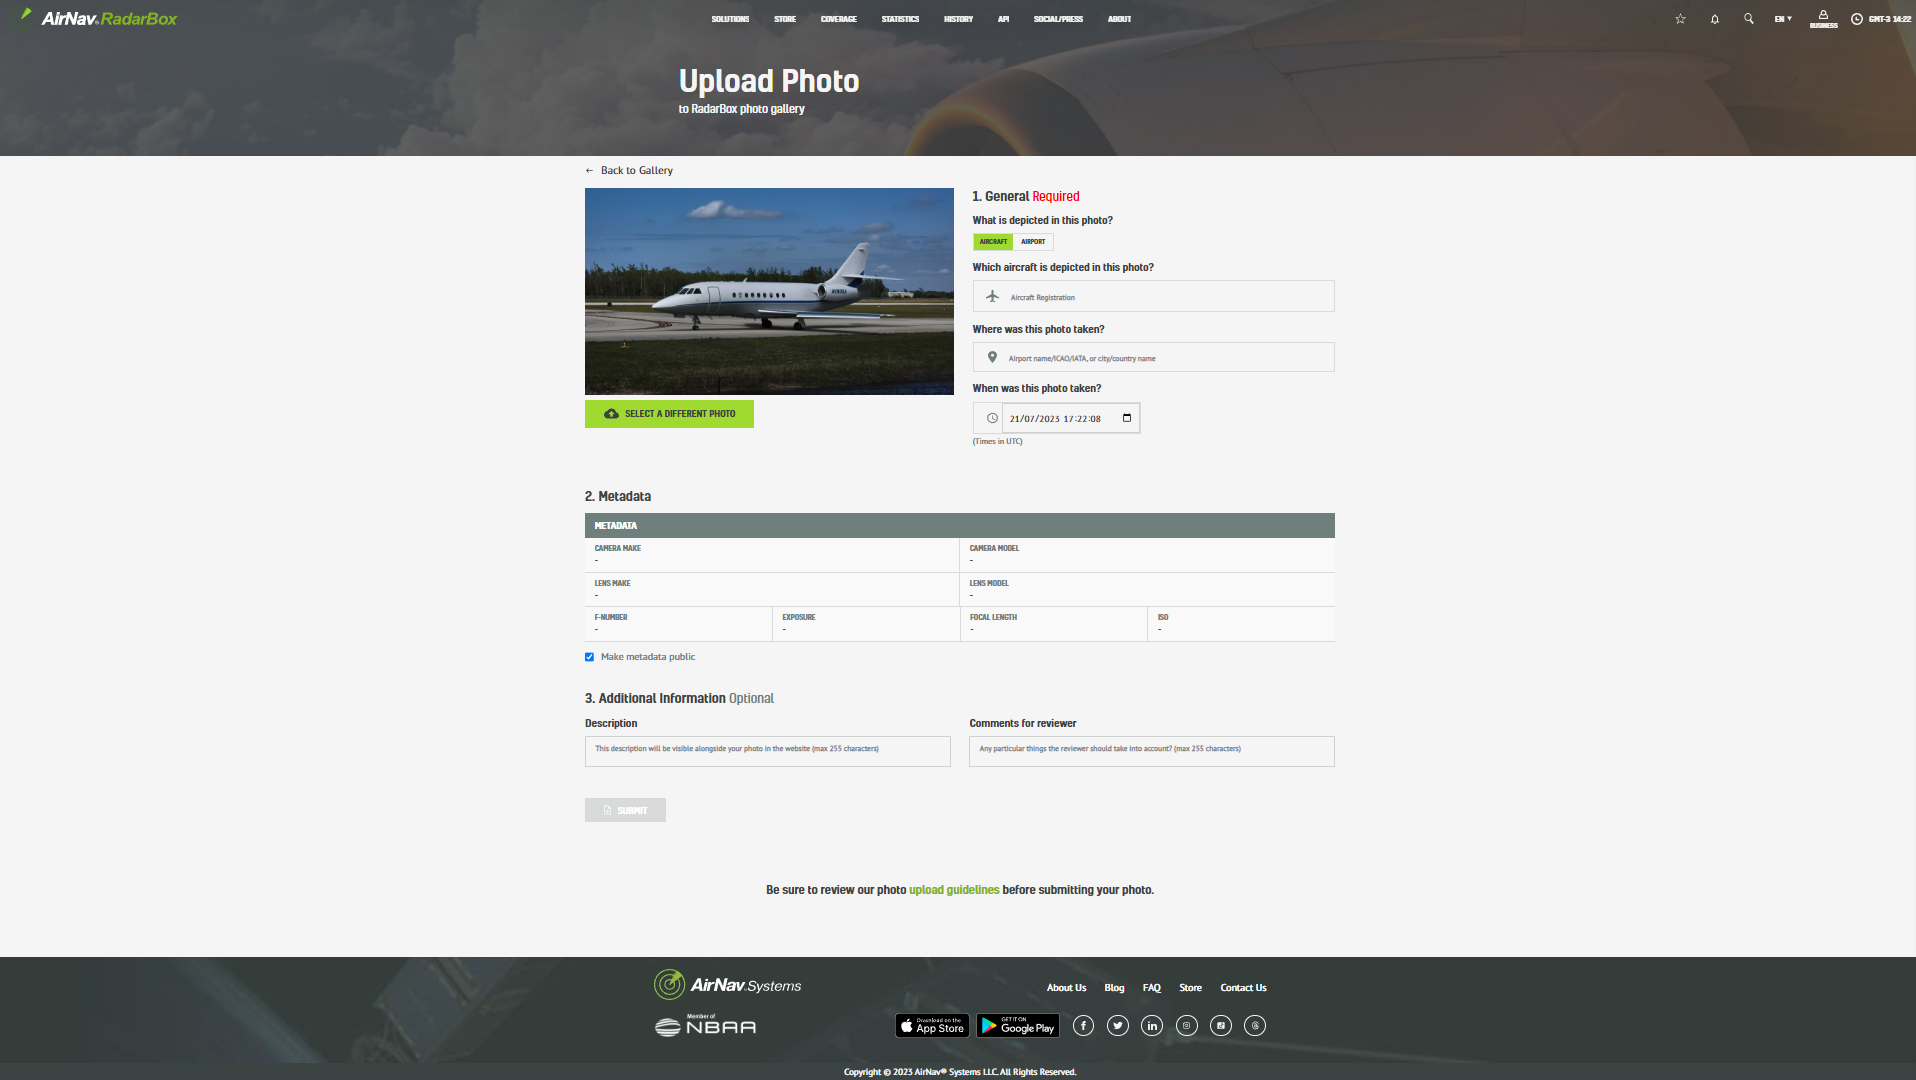
Step 4: Metadata and Reviewing Information
You cannot add the metadata manually, and it is not derived from what the user has entered in the previous inputs. The metadata is part of the photo and is automatically displayed in the details.
3. Lastly, specify the aircraft’s registration number displayed in the photo.
5. Provide the date on which the photo was taken to give context to viewers.
3. Don’t forget to include the name of the airport or the precise location where the photo was captured.
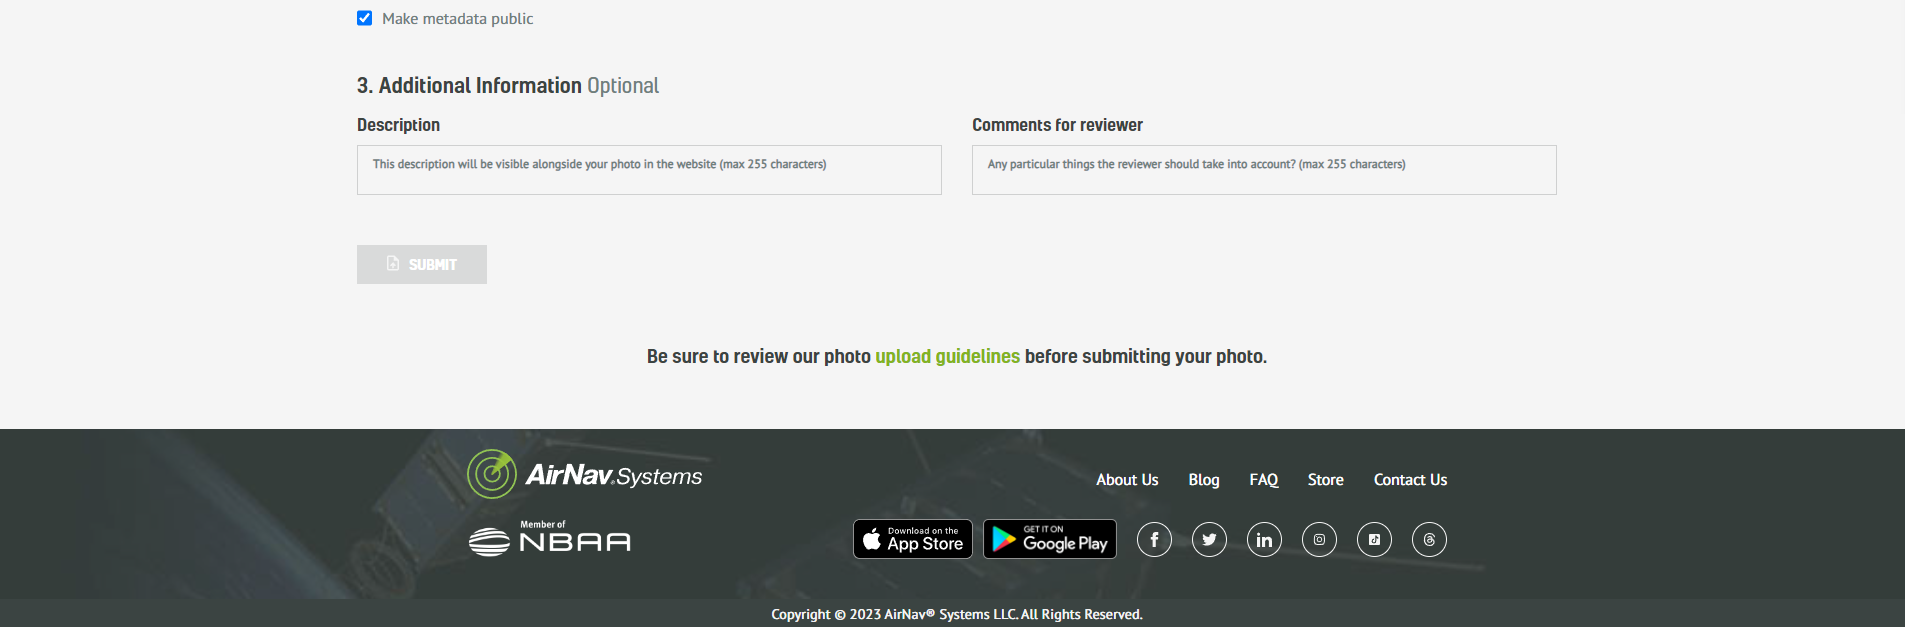
Step 5: Including Additional Information (Optional)
Want to add more depth and context to your aviation photo? Feel free to include a description (photo description) or comments (about the aircraft, for example, that it’s an old photo and you don’t have the plane’s registration) for the reviewer. While this step is optional, it can significantly enhance the understanding and appeal of your photo to others.
Step 6: Uploading More Photos and Searching for Aircraft Images
Do you have a treasure trove of aviation photos? Perfect! You can continue uploading by selecting “Select a Different Photo” to use or upload a different photo. Additionally, you can leverage RadarBox.com’s powerful search feature to find specific aircraft photos. Type the aircraft registration or airline name, location, etc., into the search bar and explore a vast collection of aviation images. After uploading the photo, a screen will displayed for you to review the information. Then, an upload success message will be displayed, and you will be redirected to the photo upload page again.
-2.png)
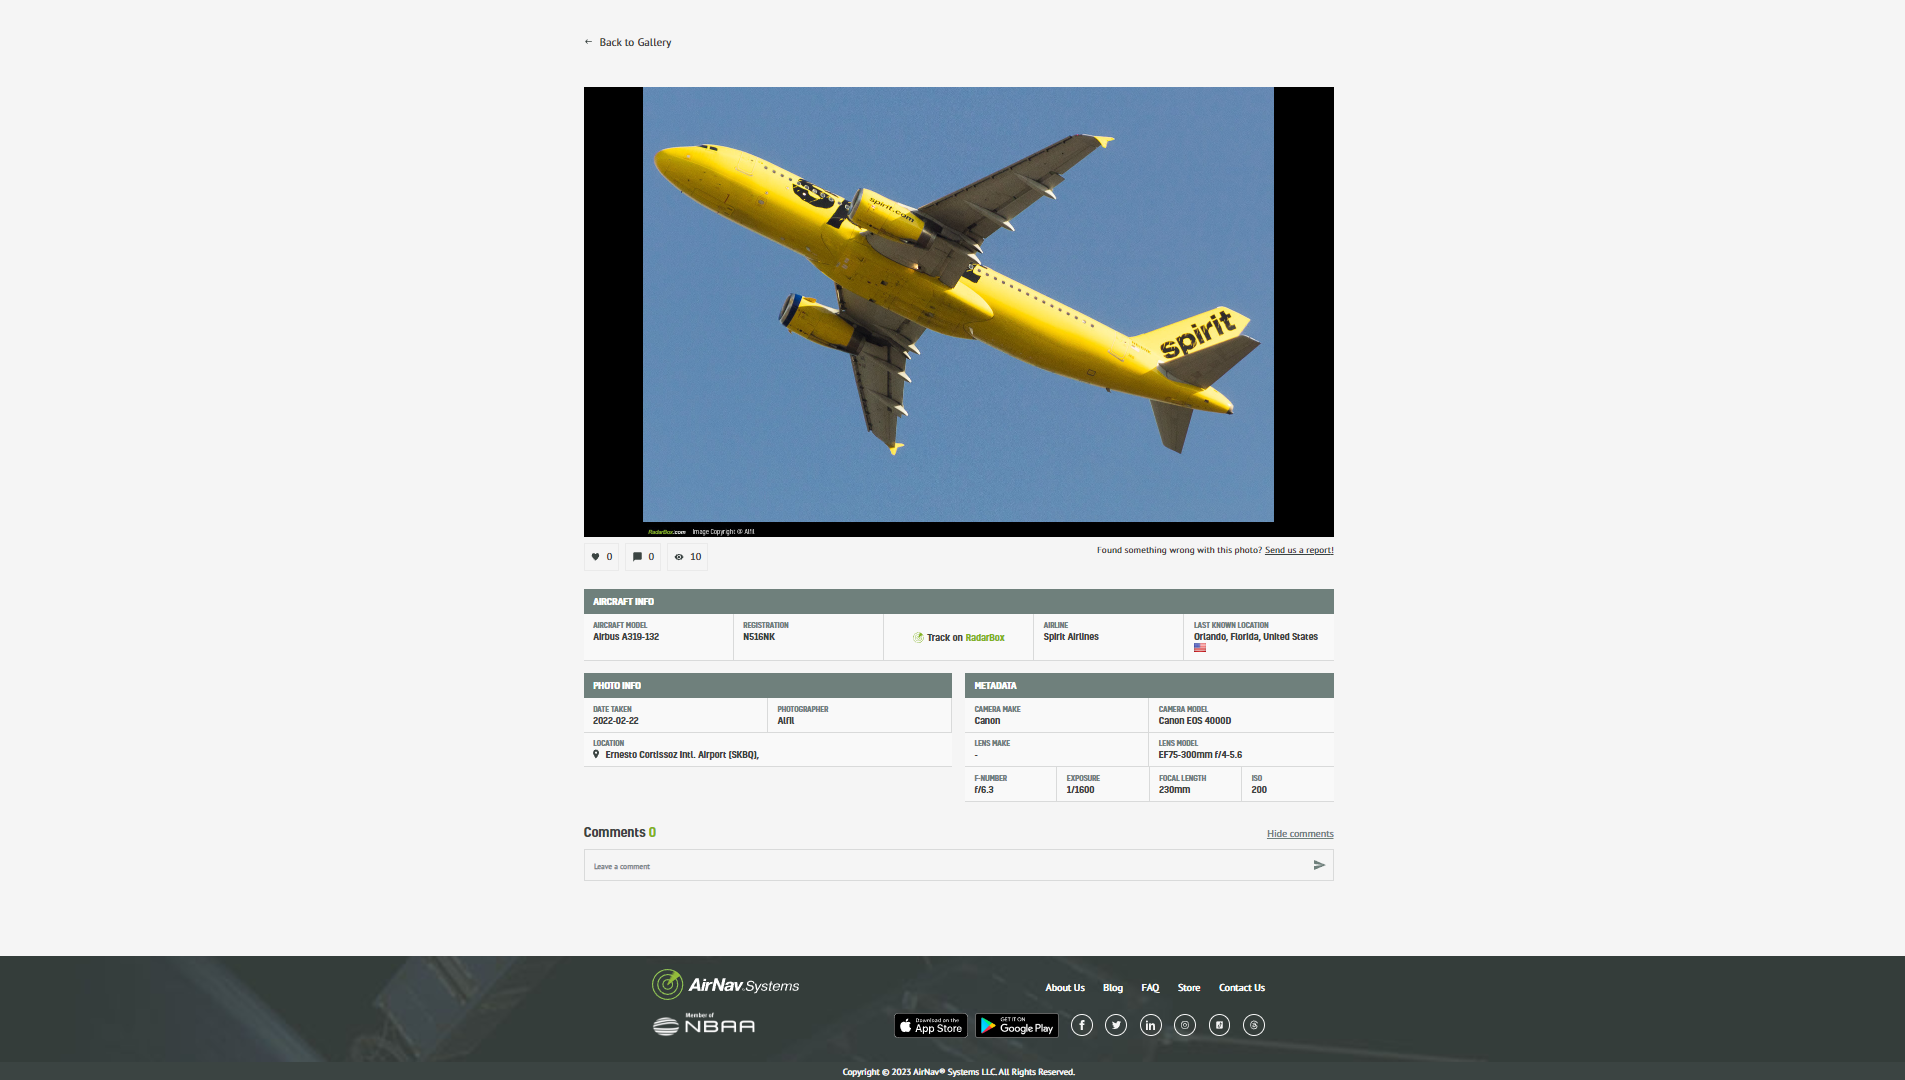
Step 7: Exploring Aircraft Information and Position
Your uploaded photos will be displayed on the flight cards and accessible to aviation enthusiasts worldwide. When others click on your photos, they can access detailed aircraft information and positions, enriching their aviation journey. Additionally, there is a dedicated page where users can browse through all uploaded photos, providing a comprehensive gallery of aviation imagery. Each photo also has its page, allowing users to delve deeper into specific aircraft details and explore related content.
Upload a photo here by clicking here.


