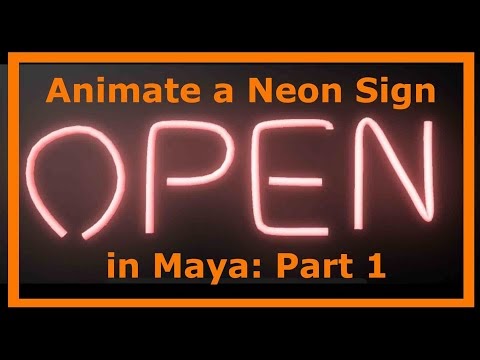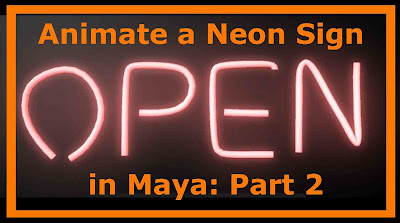
Animated Neon Sign
 |
| Part 1 – make the sign, and light it. |
Learn how to create your own animated logo, eg “[Your Name] Animation Reel” using a simple neon sign, flickering on and off.
What You will Learn
By the end of this exercise you should be able to:
1. Use the CV curve tool to create a neon sign
2. Animate the sign flickering on and off
3. Render with Maya Software and export a series of rendered images
Work Method
The idea is to animate your own logo. So, in a perfect world, you would design your own animation logo before doing this exercise.
1. File/Project Window/Create project. Name it “neon sign”. Set to the project.
2. Make your own logo or go to Google images and search for neon signs. In Photoshop, use the paint tool to paint your name as a neon sign. Call it “Joe Bloggs Animation” (or whatever).
3. Save the image as a JPEG into your Source Images folder in Maya.
4. Create/free image plane. Go into the attribute editor (no need to assign a material) and under Image Name search for the neonSign in your Source Images folder. You should now get the image of the neon sign in your shot. Press 6 for texture mode.
5. Create/polygon primitives/cube. Shape your cube into a backing for the sign. Name it backing.
6. Assign a material/phong E. Name it backingMat. Make it black.
Part One (Continued) – Model and Light the Letters – using the CV Curve Tool
1. Go to Panels/Orthographic/Front view. We will use the CV curve tool to copy the letters.
2. Set Maya to the Surfaces menu.
3. Create/CV Curve tool. Pick out the letters using the CV curve tool. (Make sure to press at least 4 times to get a proper curve) When you are done, press enter. Window/outliner and name your letters.
4. Create/Nurbs Primitives/Circle. Select your circle, then shift select the first letter.
5. Surfaces/Extrude/Options Box. Instead of at Profile, select Path. Instead of pivot, select component. Your letter will now look like a very fat neon size. Don’t worry about the size – we will fix this later.
6. Select your circle, then shift select the second letter, and go to Surfaces/Extrude.
7. Do the same for all the letters. When you are done, scale the Nurbs circle until your letters are the right size.
8. When you are happy with the letters, Select the letters, go to edit/delete by type/history.
9. Now let’s add a material and light the sign: Select the letters and R click assign favourite material/Lambert. Name it letters_Mat
10. In the Attribute Editor, make the incandescence colour to blue (or whatever colour you want the sign to be). Under the special effects tab, increase the glow intensity to 0.15.
11. Now render with the Maya Software Renderer and see the result.
Part Two – Animate The Sign Flickering On and Off
 |
| Part 2 – Animate the sign flickering |
1. In your animation preferences, go to settings/animation and set Default In Tangent to Clamped. Set Default Out Tangent to Stepped.
2. Now let’s animate the sign. Select all the letters, and keyframe the visibility off (ie 0) at frame 1. Select all the letters and keyframe the visibility off at frame 25 by using your middle mouse button and dragging to frame 25 and pressing S on your keyboard.
3. At frame 27, keyframe the visibility of the first letter on, and then turn it off at frame 29.
4. At frame 31, keyframe the visibility of the first two letters on, and then off at frame 33.
5. At frame 35, keyframe the visibility of the first three letters on, and then off at frame 37.
6. At frame 39, keyframe the visibility of the first four letters on, and then off at frame 41
7. At frame 53, keyframe the visibility of all four letters on.
8. Play it back in your timeline and see what it looks like. Adjust the keyframes.
9. Why not add some sound effects? Search freesound.org and search for “neon”. Download a wav file that sounds good (eg Old House Atmosphere), and drag it into your Maya timeline.
10. To adjust the position of the sound effect, right click on it and adjust the offset value in the Attribute Editor.
11. Finally create a camera view and lock it off.
Part Two (Continued) – Render
1. Under your render settings, select Maya Software renderer.
2. Under Image Format select jpeg
3. Under Frame Range select your frame range.
4. Under Renderable Cameras, make sure you are rendering from the Camera view
5. Under Image Size select HD
6. Go to the drop-down menu and select Rendering. Then go to Render/Render Sequence. You should now have some images in your images folder. You can use editing software such as Premiere Pro to create a movie file.
To take this exercise to the next level, try building a city set, such as a diner or restaurant, using your logo, and slowly truck in to the logo.
Discover more from reviewer4you.com
Subscribe to get the latest posts to your email.


