

Free Wet Bag Tutorial Using the Dragonfly Lake Quilt Pattern
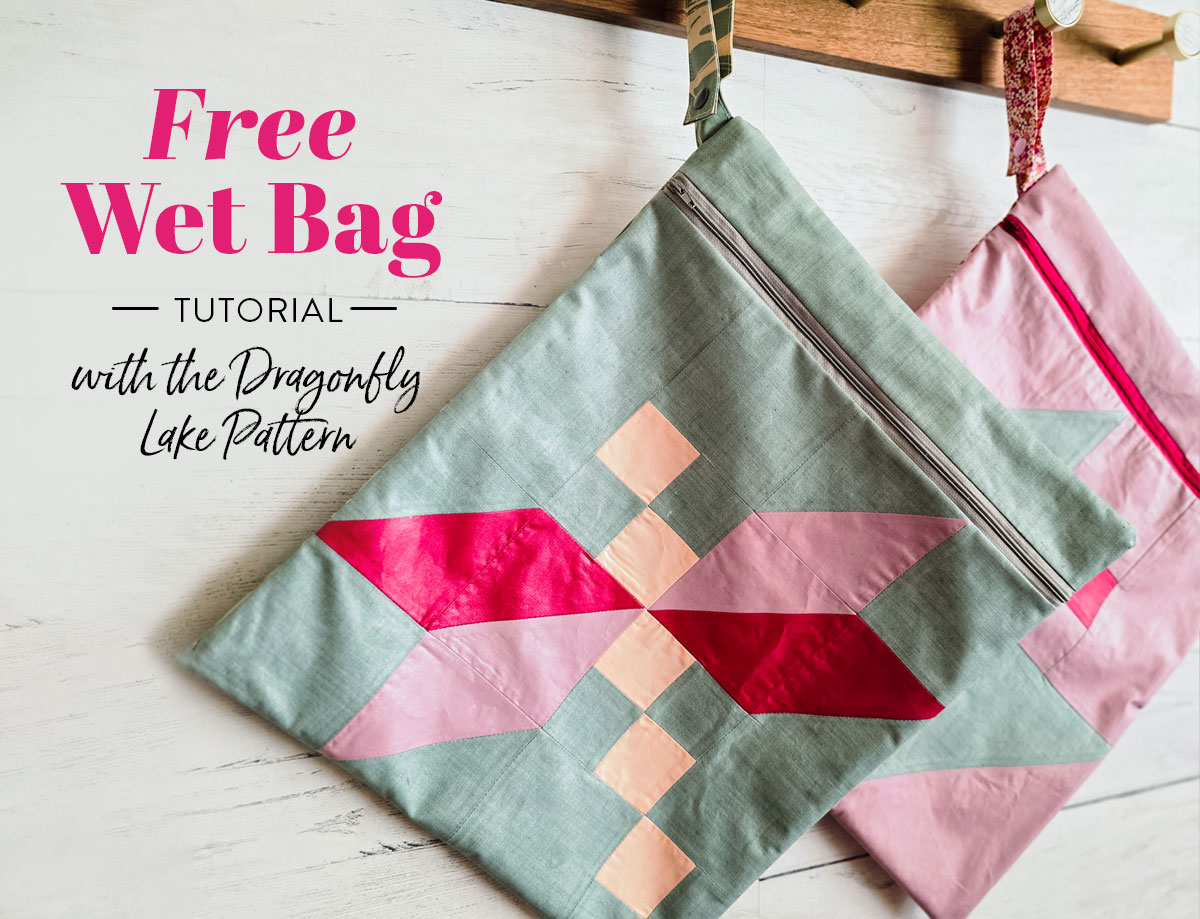

This wet bag tutorial is easy, fast, and thanks to HeatnBond Liquid Vinyl Gel Coating by Therm O Web, your handmade bag is perfect for holding wet swimsuits! And even better is that it uses the new Dragonfly Lake quilt pattern for an added touch of cuteness.
The weather is getting warmer, which means the school year is almost over. We often ask our kids what they liked most about each school year. They always say, “The last day of school!” Not because they don’t have to go anymore, but because they get to spend the whole afternoon at the swimming pool with their friends. How fun is that, right?
The not-so-fun part is when they come home with wet swimsuits in their backpacks — right alongside all their other belongings that get soaked. Yikes!
Well, this year I’m prepared. And you can be too! In this wet bag tutorial, learn how to make your own wet bag using the Dragonfly Lake quilt pattern and one of our new favorite products, HeatnBond Liquid Vinyl Gel Coating by Therm O Web. And I promise that it’s easier than you think. Your kids get to do what they love, and you get to sew and be an awesome parent!
This post is sponsored by Therm O Web. As always, all opinions are our own, and Suzy Quilts will never post a product review we do not believe in wholeheartedly.

You Might Also Like…

Wet Bag Tutorial Materials

About HeatnBond Liquid Vinyl Gel Coating by Therm O Web
To make sure that your wet swim gear doesn’t soak anything else in your pool bag, we partnered with our friends at Therm O Web to try out HeatnBond Liquid Vinyl Gel Coating. And the verdict is in — we love it!
I had fun using HeatnBond Liquid Vinyl Gel Coating for this project because it turned regular fabric into something both cute and practical. One coat gives you a light layer of water resistance, perfect for everyday use. Two coats offers a bit more protection, which comes in handy for damp swimsuits or poolside gear. And if you want to go all in, three coats will give you a flexible, almost waterproof finish.
Just be sure each coat is fully dry before adding the next. What I like most is that the fabric stays soft and flexible, so your bag is easy to fold, pack, and carry.
As quilters, we aren’t always accustomed to using coating or adhesives. But they can be fun to work with and make sewn projects go fast! Check out our Reusable Fabric Banner Tutorial in The Cutting Table here, which uses HeatnBond Fabric Fuse PeelnStick Adhesive Sheets by Therm O Web to try out more of this company’s great products for quilters and sewists!

Wet Bag Tutorial Fabric Requirements
The finished size of the wet bag is 14″ x 17″. The following fabric requirements will make one wet bag using the dragonfly block from the Dragonfly Lake quilt pattern. You can also make one using the butterfly block by following the instructions in the quilt pattern.
- Color 1: (1) 10″ square or scraps (Art Gallery Fabrics PURE Solids — Mauvelous)
- Color 2: (1) 10″ square or scraps (Art Gallery Fabrics PURE Solids — Dragon Fruit)
- Color 3: (1) Fat eighth (Art Gallery Fabrics PURE Solids — Apricot Crepe)
- Background: (1) Fat quarter (Fableism Everyday Chambray — Saguaro)
- Backing and lining: 1 yard (Slow Summer by Suzy Quilts — Marble Matcha)
- Binding (optional): 1/8 yard (Art Gallery Signature PURE Solids by Suzy Quilts — Pistachio)

Step 1: Cut the Fabric
For the Dragonfly Block, follow the cutting instructions below.
Cut the following from Color 1:
From Color 2, cut the following:
Color 3, cut the following:
Background, cut the following:
- b – (2) 4 1/2″ squares
- d – (1) 2 1/4″ x 14″
- f – (5) 4″ squares
- g – (1) 4″ x 7 1/2″
For the extra pieces needed for the wet bag, follow the cutting instructions below.
Background, cut the following:
- Top – (1) 2 1/2″ x 14 1/2″
Lining Fabric, cut the following:
- Top – (1) 2 1/2″ x 14 1/2″
- Bottom – (1) 14 1/2″ square
- Backing & Lining – (1) 14 1/2″ x 34″
- Hanging tab – 4″ x 10″
Binding Fabric, cut the following:

Step 2: Make the Dragonfly Quilt Block
Follow the directions on pages 8-11 of the Dragonfly Lake quilt pattern to make one dragonfly block. The block should measure 14 1/2″ square.

Step 3: Apply the HeatnBond Liquid Vinyl Gel Coating by Therm O Web
HeatnBond Liquid Vinyl Gel Coating will be applied to all of the fabric pieces used to make the Dragonfly Lake wet bag except for the nylon zipper. If you choose to bind the interior in Step 6 of this tutorial, Liquid Vinyl should be applied to the binding strips as well.
First, lay a couple of sheets of parchment paper to protect your work surface, followed by the dragonfly block right side up.

Next, apply liquid vinyl generously with a soft bristle brush, but be careful not to over apply it. The idea is to brush it thoroughly but not let it soak through to the other side. Two to three coats of Liquid Vinyl is ideal for a wet bag. Once you’re done applying the gel to the dragonfly block, set it aside to dry for 30-45 minutes.


Repeat with all of the remaining cut pieces so that each piece of fabric is fully coated with Liquid Vinyl.

After letting the fabric dry for 45 minutes, it’s time to press. Cover your pressing station with parchment paper. I had an extra Teflon sheet, so I laid that down first, but one layer of parchment paper would have been sufficient.
Next, place the dragonfly lake block on top.

Cover the project with the Teflon sheet or pressing paper.

Then, using medium heat and no steam, press for 45 seconds, moving the iron slightly. Repeat with the remaining pieces.
If you missed some spots, repeat these steps to apply a second coat. (For more water resistance, follow the manufacturer’s instructions for applying additional coats.)

Now that all your pieces are dry and ready, it’s time to put your Dragonfly Lake wet bag together!
Step 4: Attach the Zipper
Place the Dragonfly Lake block right side up. Next, lay the zipper on top, right side down, with the zipper pull on the left. Then layer your lining panel on top, right side down — like a zipper sandwich!

When working with vinyl, I almost always recommend using sewing clips to keep things in place because pins will leave holes in vinyl. But after my latest cleaning day, I couldn’t find a single clip for the life of me.
So, this is the part where I say, “Do as I say, not as I do.” If you’re in the same situation as me and you really need to use pins with vinyl, do your best and pin where your seam allowance will be. Then, sew along the top edge using a zipper foot with 1/4″ seam allowance.

Next, flip both fabrics away from the zipper and press with medium heat (remember to cover the project with the Teflon sheet or pressing paper to protect the vinyl coating).

Then repeat the same steps for the other side with the top piece and lining piece.


Step 5: Make the Hanging Tab (Optional)
Fold the hanging tab piece in half lengthwise, wrong sides together, to create a crease and open it.

Next, fold one short edge in about 1/4″ and press.

Then, fold the long edges, wrong sides together, so that the raw edges line up with the center crease. And finally, fold again so all the raw edges are hidden and sew along the long edge with a 1/8″ seam.


Measure 1/2″ above the zipper, and place the raw edge of the hanging tab on the left side of the front panel as shown below. Secure the tab by sewing with a 1/8″ seam allowance and set aside. The front panel should measure 14 1/2″ x 17″.

Step 6: Assemble the Dragonfly Lake Wet Bag
Unzip the zipper about halfway. Trust me, you don’t want to forget this part — it’s how the bag will be turned right side out in the final step! Place the exterior panels right sides together, line up all the edges, and clip everything in place. Sew all the way around the edges with a 1/4″ seam allowance.

Option 1: Trim the corners to reduce bulk (just be careful not to cut through your stitches). Then go straight to turning the wet bag right side out through the opening in the zipper. Use a turning tool or a chopstick to gently push out the corners. Everything will be totally fine if you choose to skip the binding, the raw edges are sealed with the vinyl and will not fray.
Option 2 (shown below): Attach the binding like you would with a quilt. Click here for a tutorial on how to attach binding to a quilt! Keep in mind that if you choose to bind the interior, your corners might not be as crisp and clean as Option 1.

Turn the bag right side out through the zipper and press the corners out.

You’re almost there! The last step is to measure how big you want the hanging loop to be and attach the snap button or hook and loop tape following manufacturer instructions.

Just fold the tab into a loop, line it up how you like, and follow the instructions on your snap tool or hook and loop tape packaging to secure it.

And that’s it! Your Dragonfly Lake wet bag is ready for some summer swimming action!
Show Us Your Dragonfly Lake Wet Bag!
How simple was that? In just six steps, you’ve got the perfect patchwork bag to hold your wet summer swimsuits! And thanks to HeatbBond Liquid Vinyl Gel Coating by Therm O Web, you get to show off all your favorite fabrics.
When you make your own wet bag, be sure to share a picture on Instagram so we can celebrate your work! Tag @SuzyQuilts and use #SuzyQuiltsBlog so we can see what fabrics you chose!


