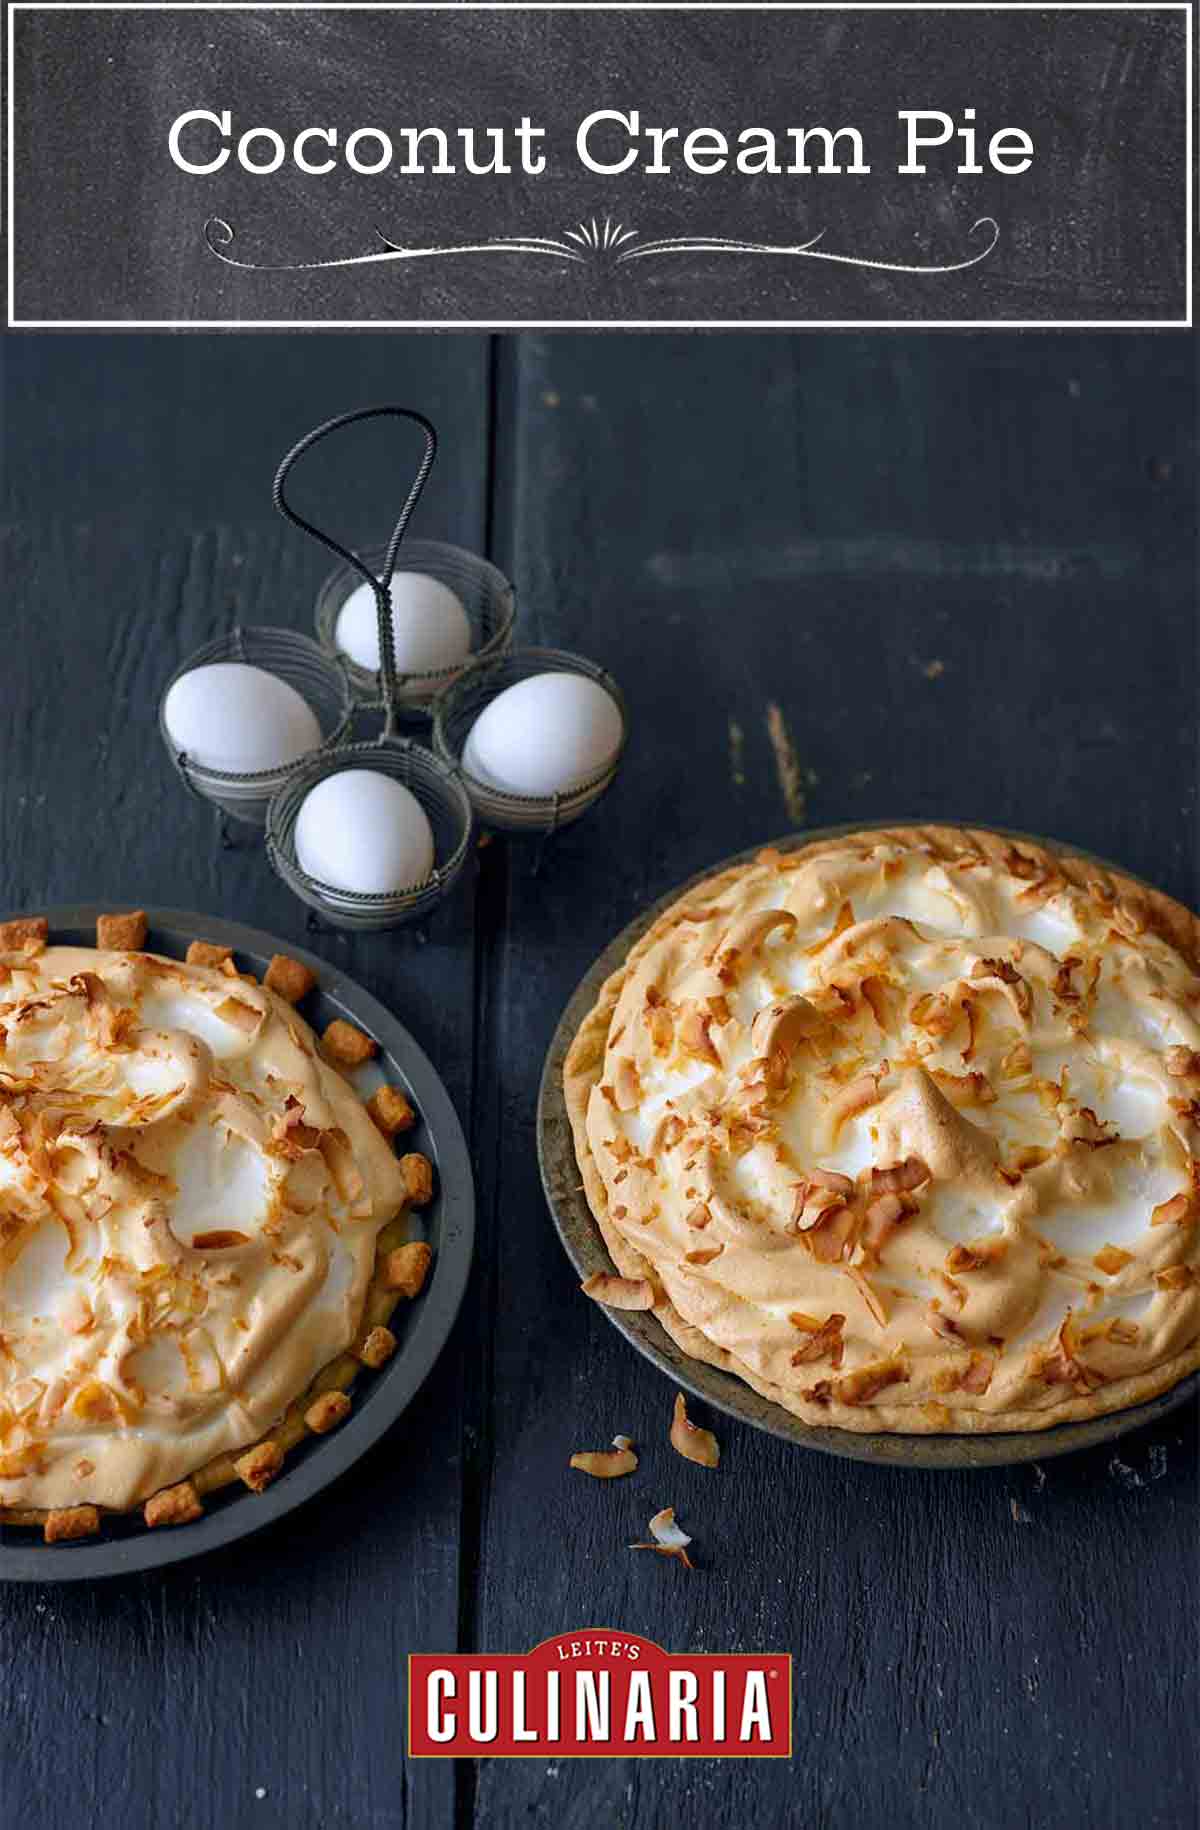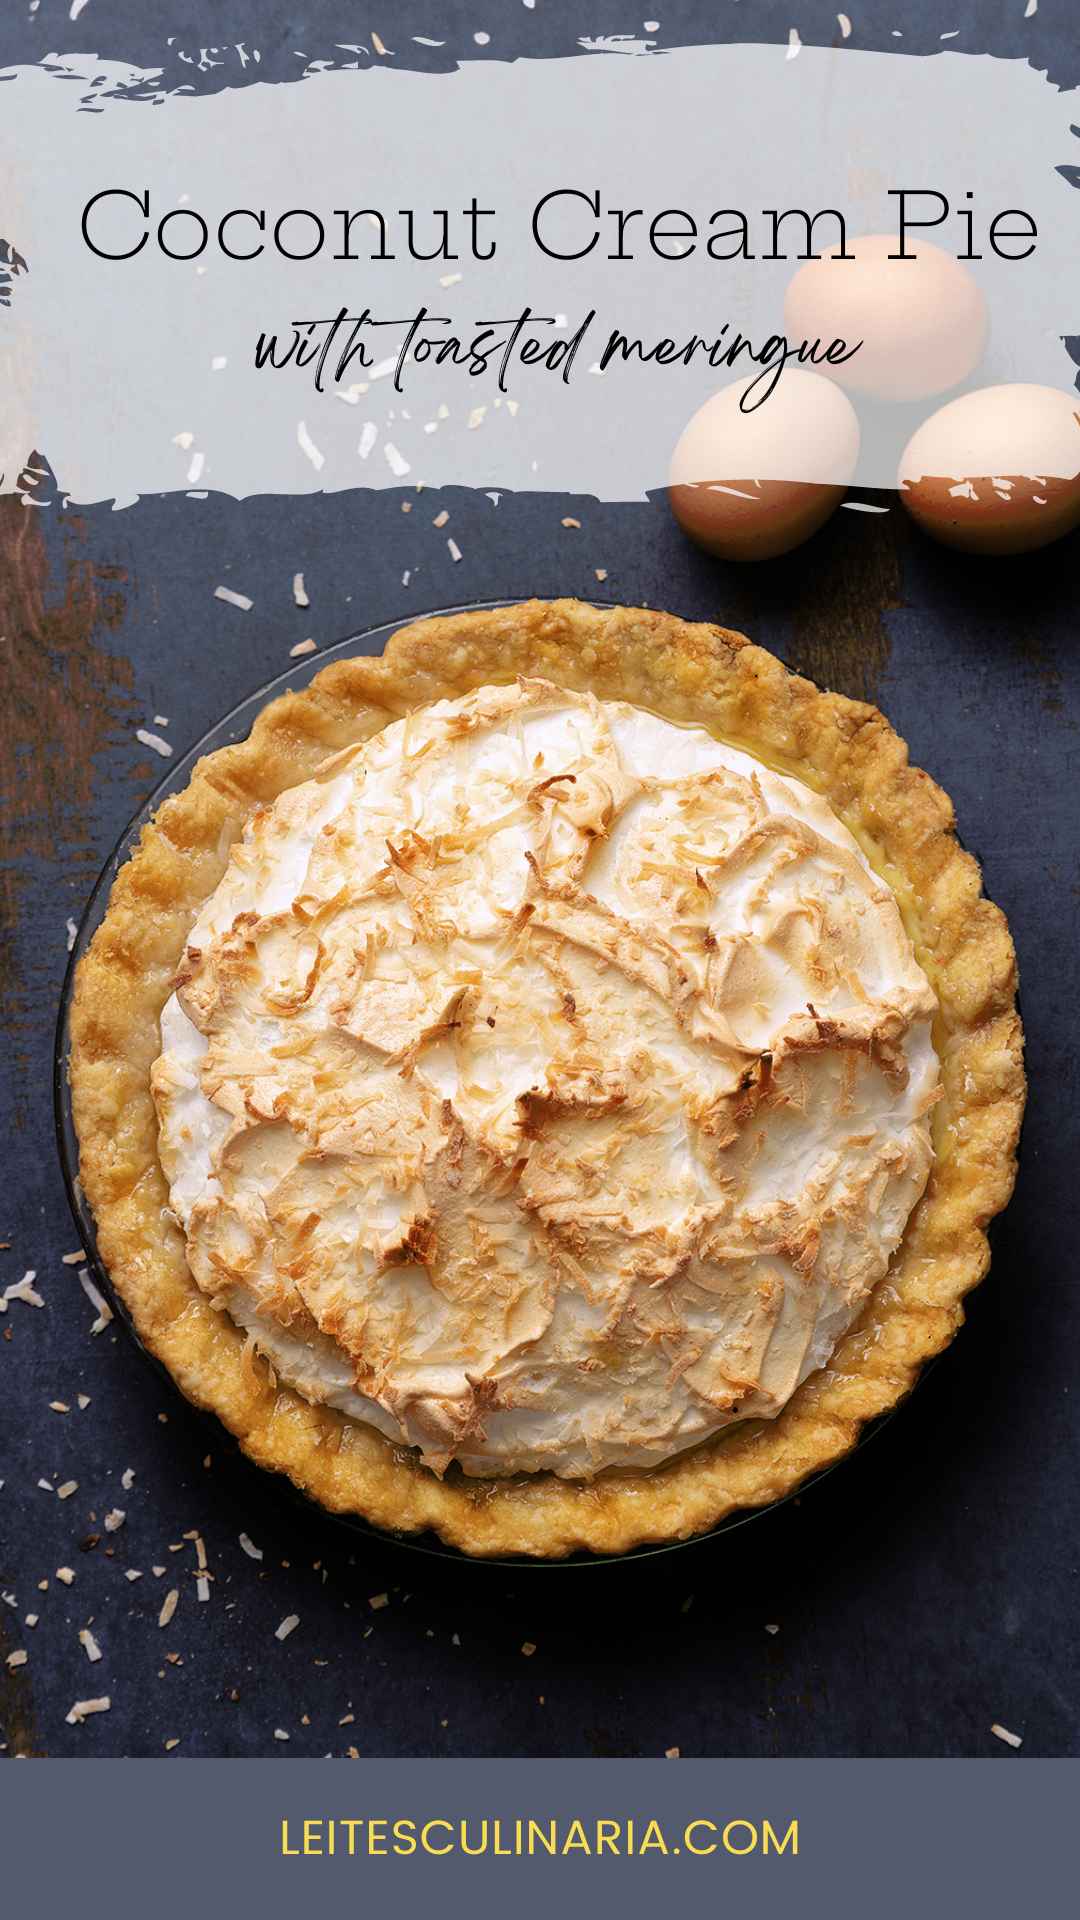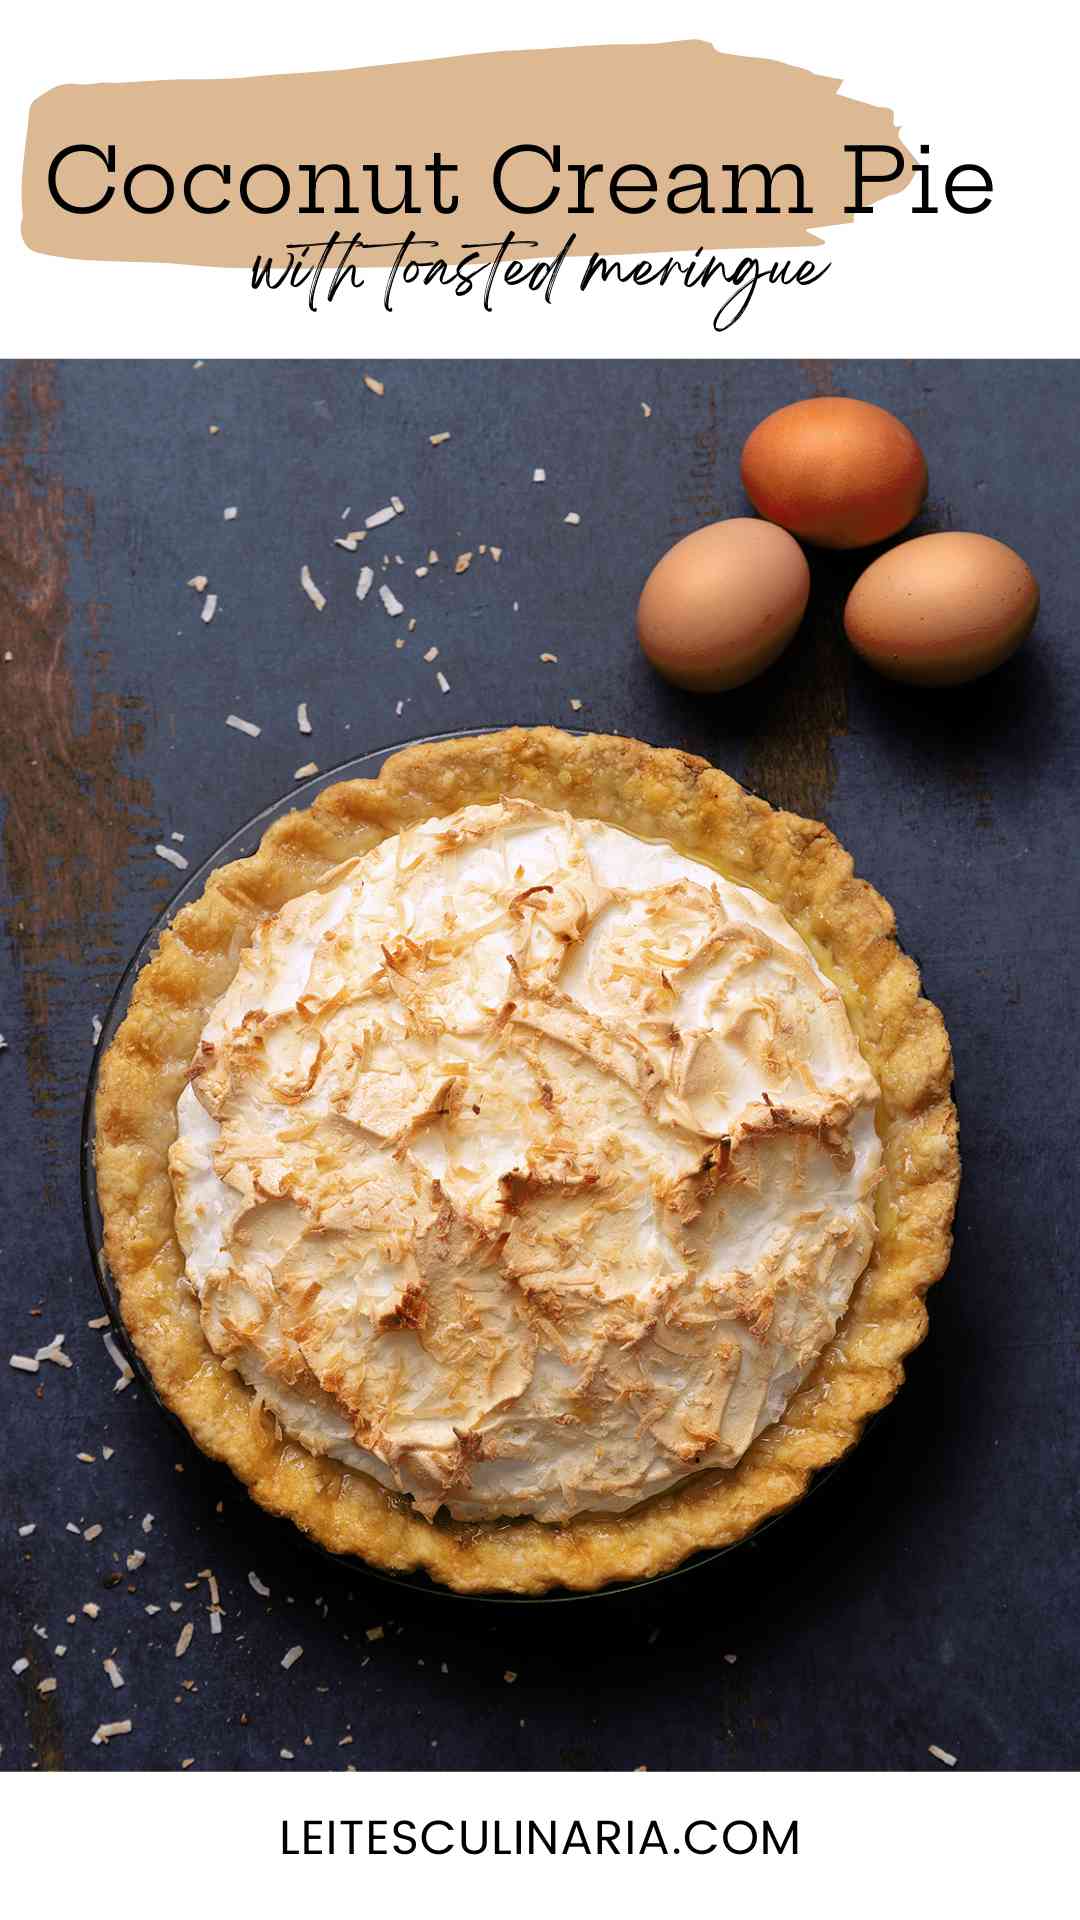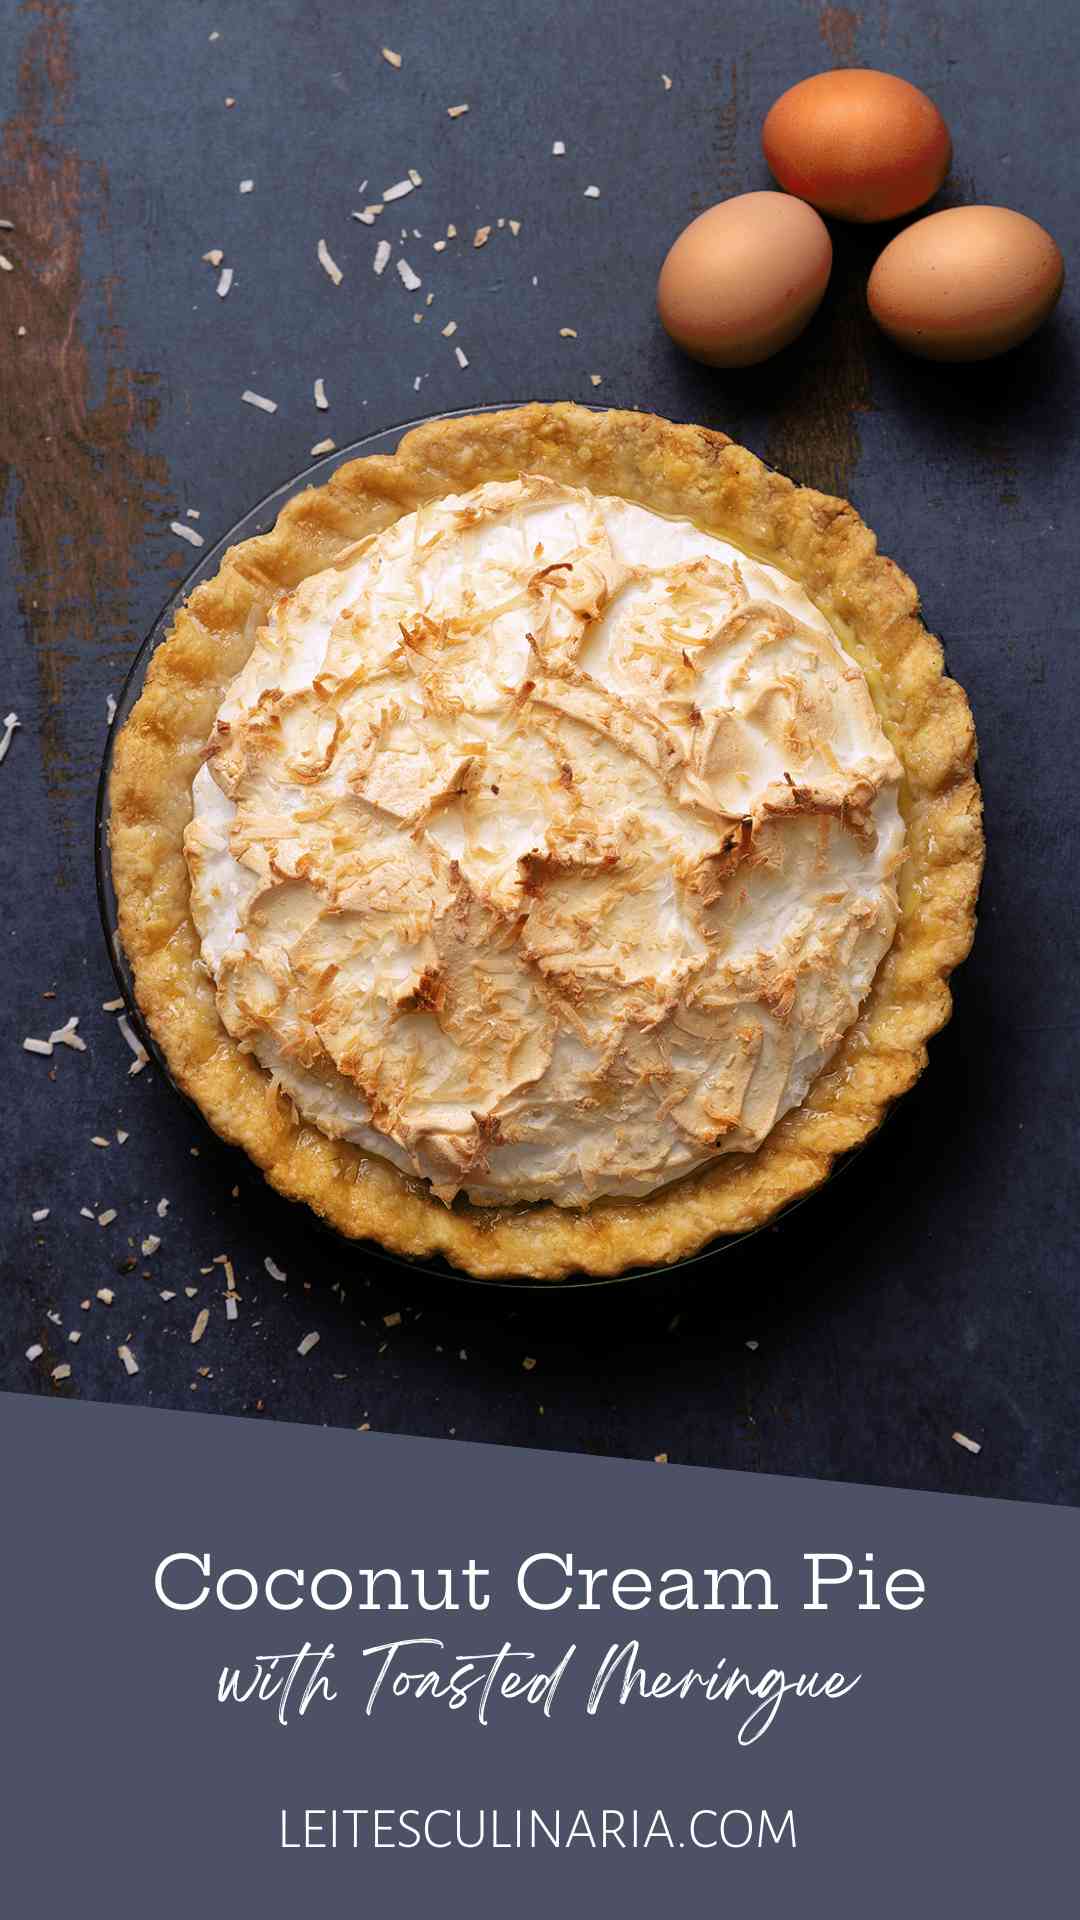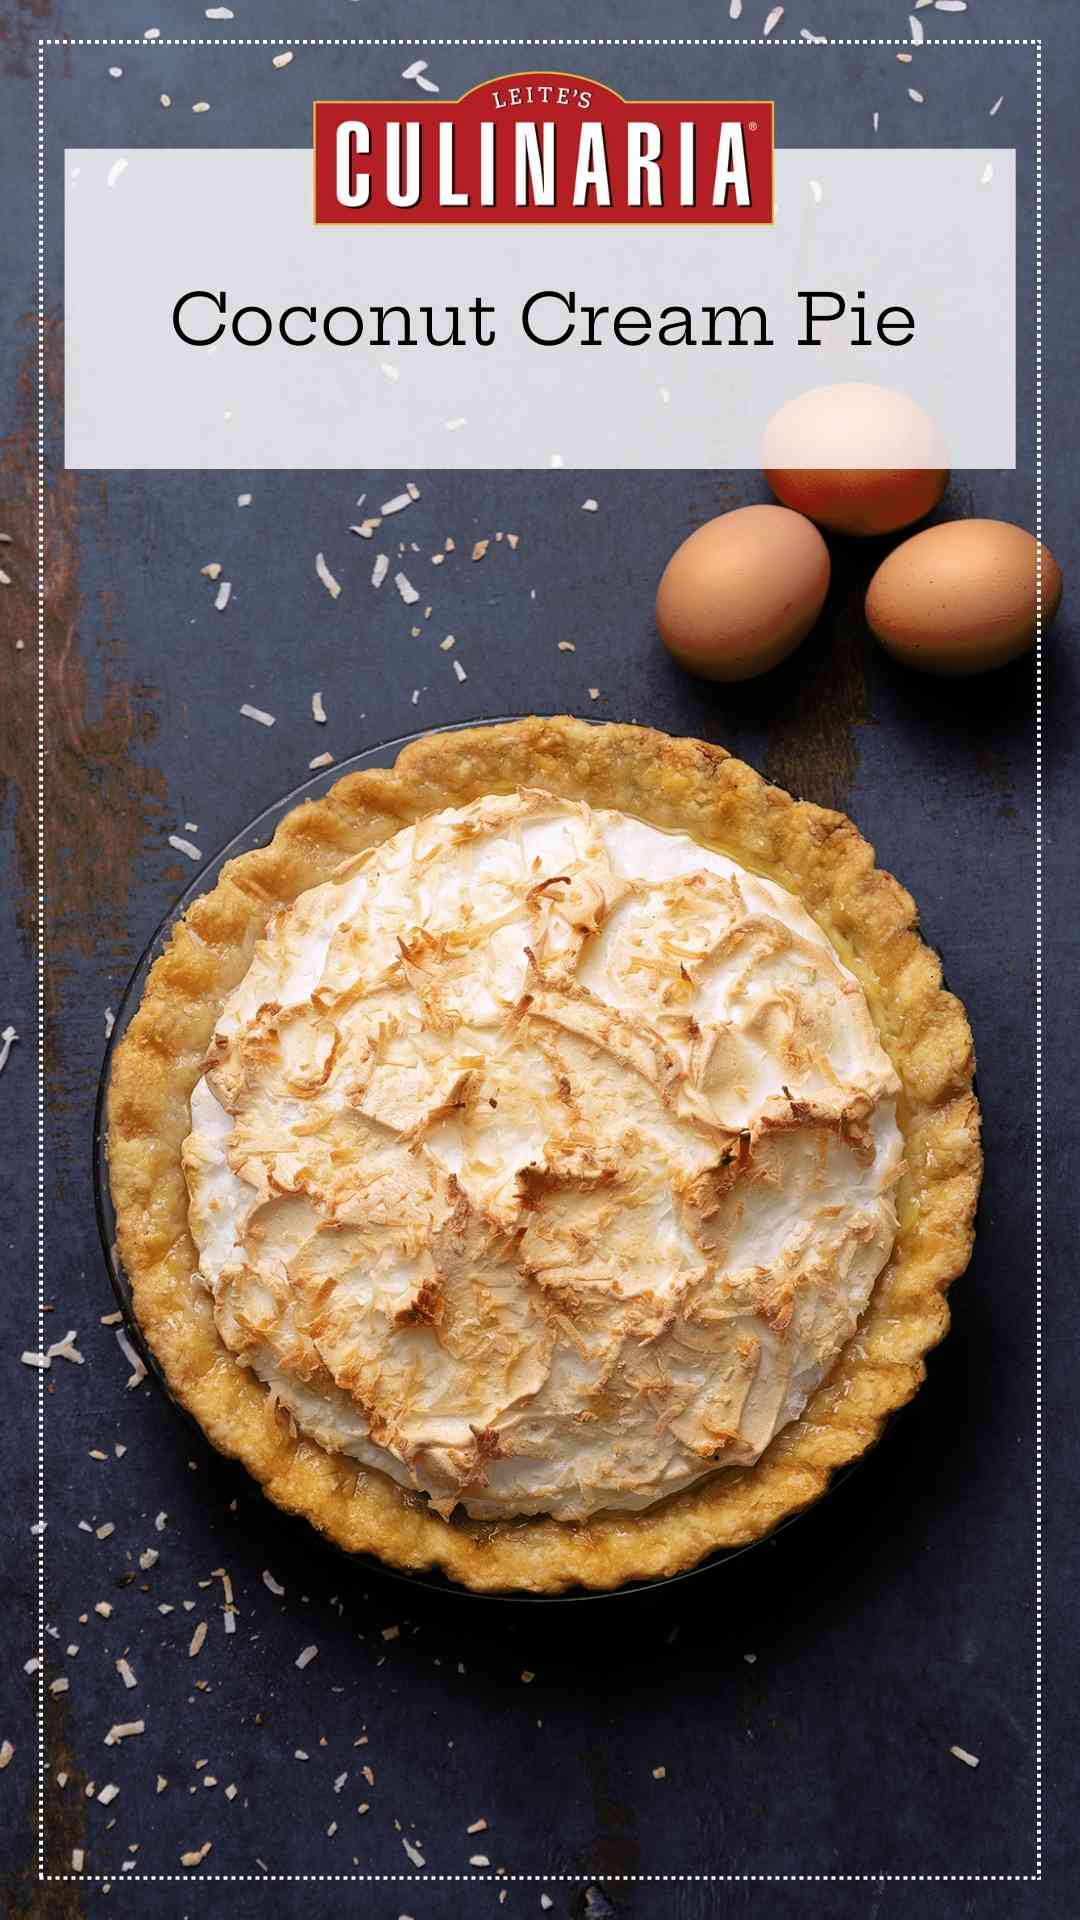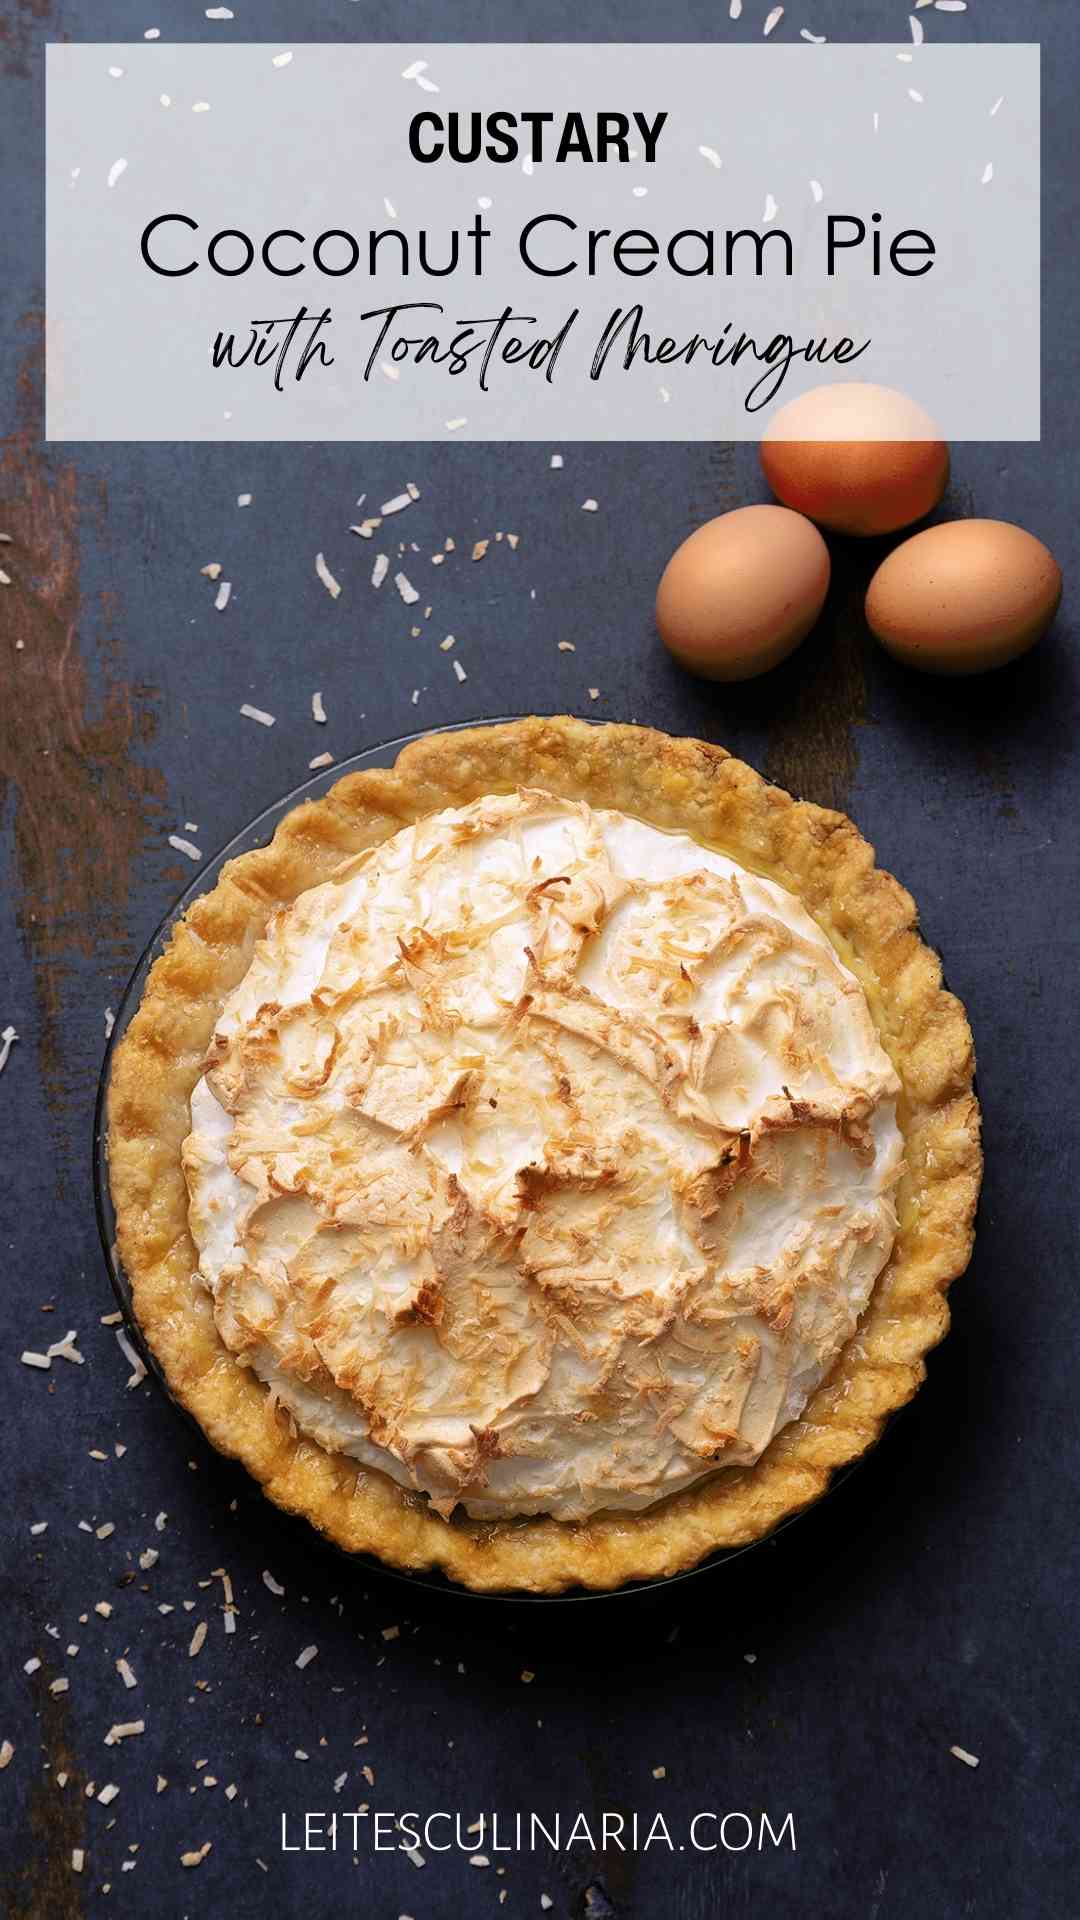
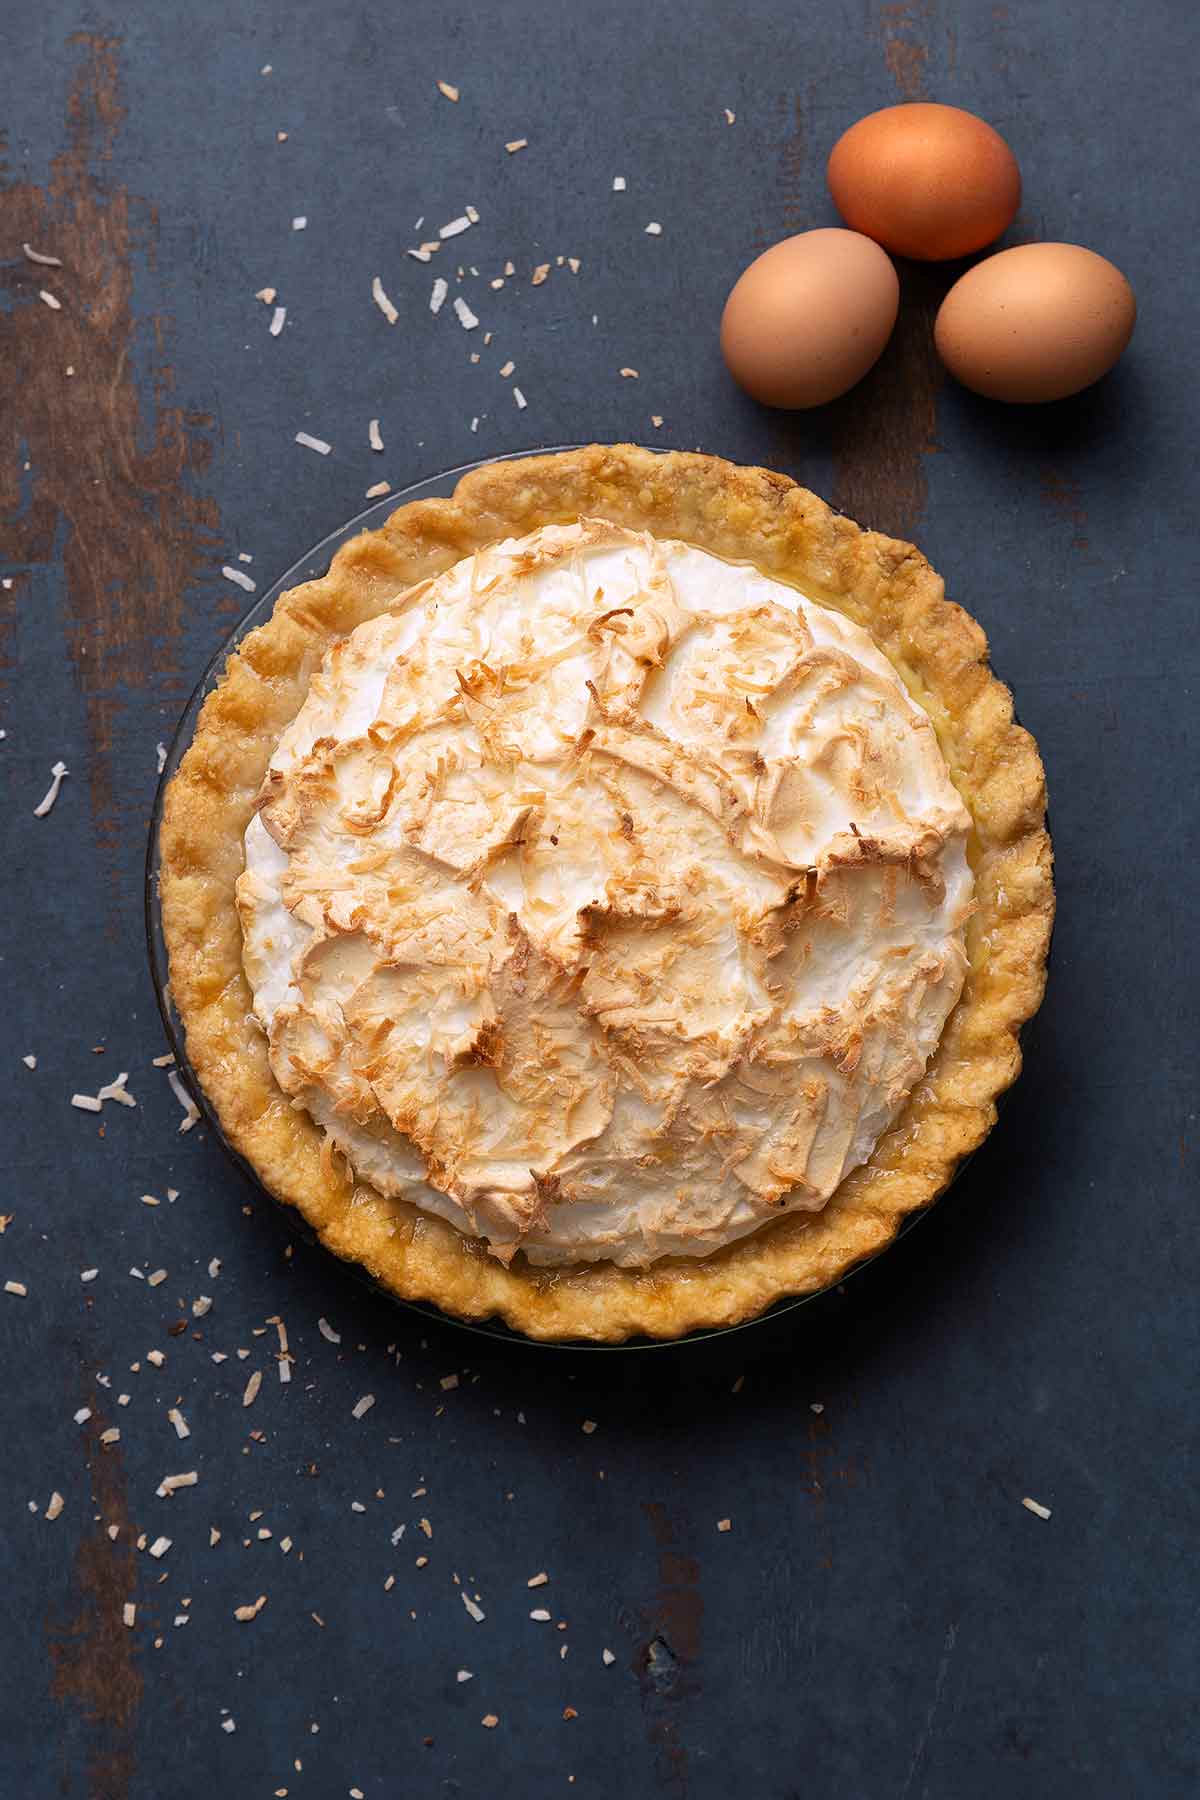
Like my friend Nora Coccaro, I’m cuckoo for coconut. And I’ve made all sorts of coconut sweets the 25 years since I started this site–old-timey coconut layer cake, my aunt’s coconut custard cups, coconut brûlée. But I’ve stayed clear of the dreaded coconut cream pie. “Dreaded” because it’s such a staple of Southern cuisine, I felt I was tempting the devil by treading on sacred territory. You know, since I’m such a dyed-in-the-wool New Englander. It’d be like Kentuckian bragging about making excellent clam-shack fried clams.
Being the cooking Icarus I am, I decided, “Oh, what the hell?” and decided to fly too close to the sun, and I made this pie.
After making what I deemed to be the BEST coconut custard north of Savannah, Georgia, I got a little cocky, as Icaruses are wont to do, and totally screwed up the meringue. I overbaked it. Then I underbaked it. Then, humbled by my tumble, perfectly baked it.
What makes this pie different, and in my opinion better, is it uses a butter-based crust, not the traditional graham cracker crust. The savory-sweet combination is a winner. Plus the filling is added to the crust once it’s cooled, making for easier handling.

Why My Testers Loved This
From the rich coconut flavor to the light, airy meringue topping and creamy custard, the accolades from our testers were overwhelming. For several, it was their first attempt at a homemade pie with meringue topping, and they were delighted with the results.
What You’ll Need to Make This
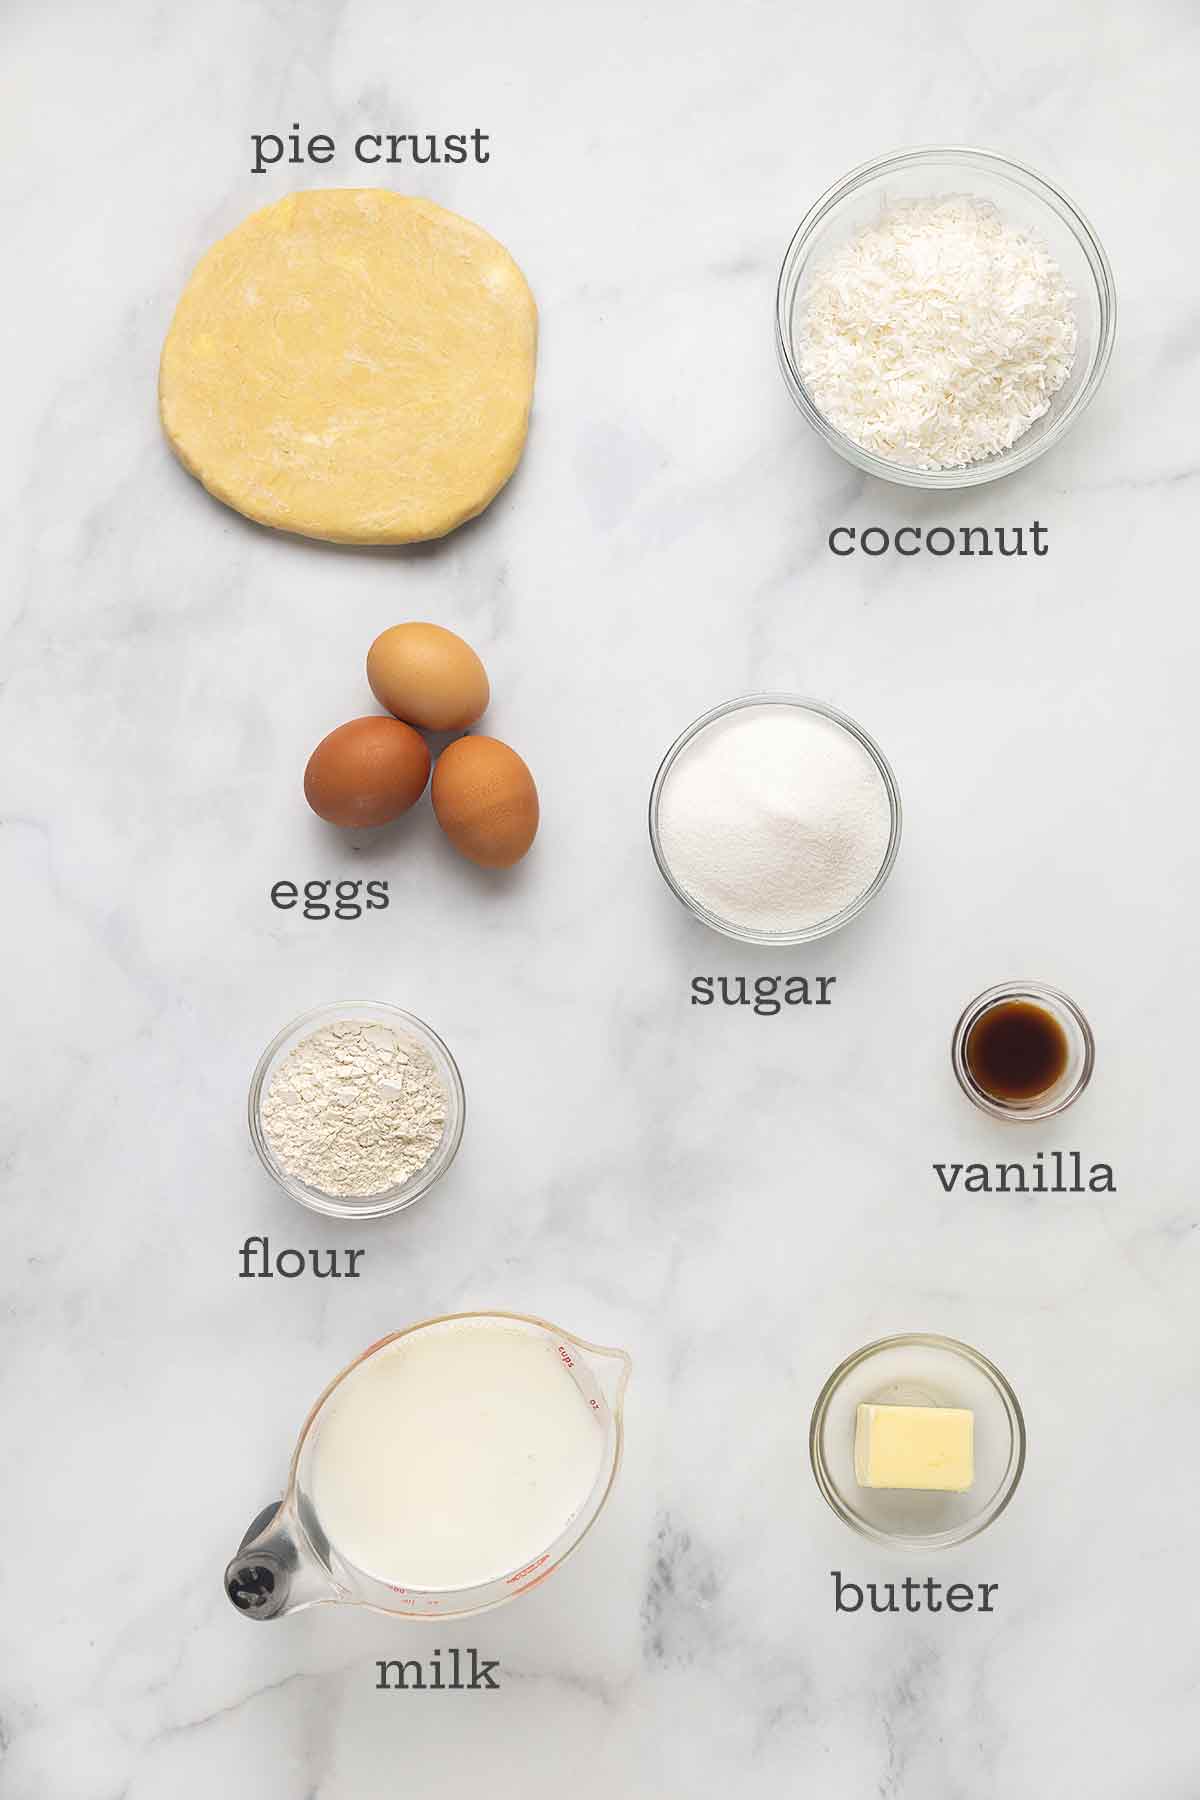
- Pie crust–You can use your favorite homemade or store-bought pie crust for this recipe. You’ll only need a single pie shell, so if your recipe makes a double crust, freeze half of the dough for a future pie recipe.
- Eggs–You’ll be using the egg yolks to make the custard filling and the egg whites for making the meringue topping. Cold eggs are easier to separate than room-temperature ones, so separate your eggs while they’re cold, then pop the whites back into the fridge until about 15 minutes before you’re ready to whip them.
- NOTE: Be very careful when separating your eggs, as the smallest amount of fat from the egg yolks can ruin a meringue.
- Milk–I recommend using full-fat milk for the creamiest rich-tasting custard.
- Coconut–Depending on your sweetness preference, you can use sweetened or unsweetened coconut. I prefer flaked coconut, because it adds more texture to the custard. But as I live in a culinary cemetery, so I can get only shredded coconut.
- Butter–I recommend using unsalted butter in baking since the salt levels in salted butter can vary. If all you have is salted butter, omit the salt from the filling.
- Vanilla extract–Only the real stuff, please!
How to Make Coconut Cream Pie
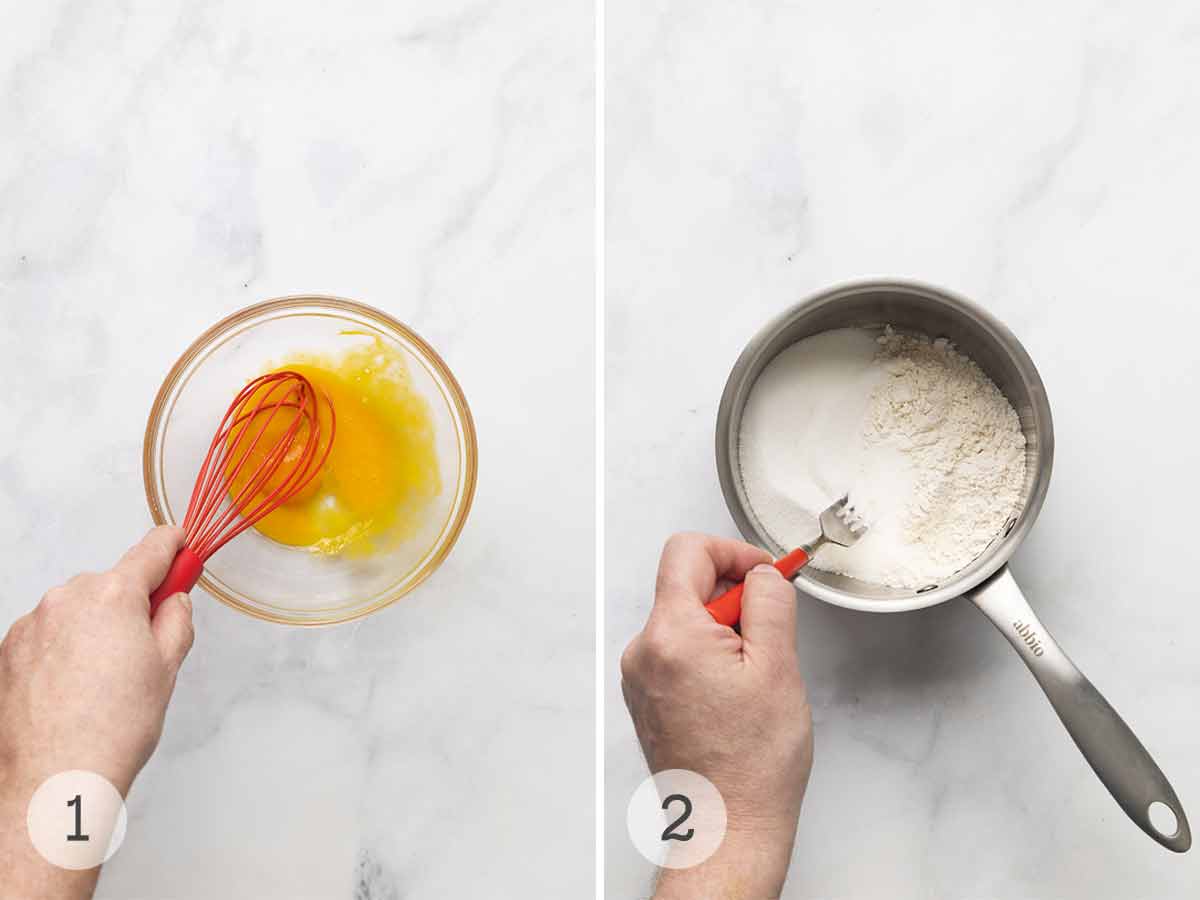
- Beat the egg yolks in a medium bowl.
- Whisk the sugar, flour, and salt together in a medium saucepan.
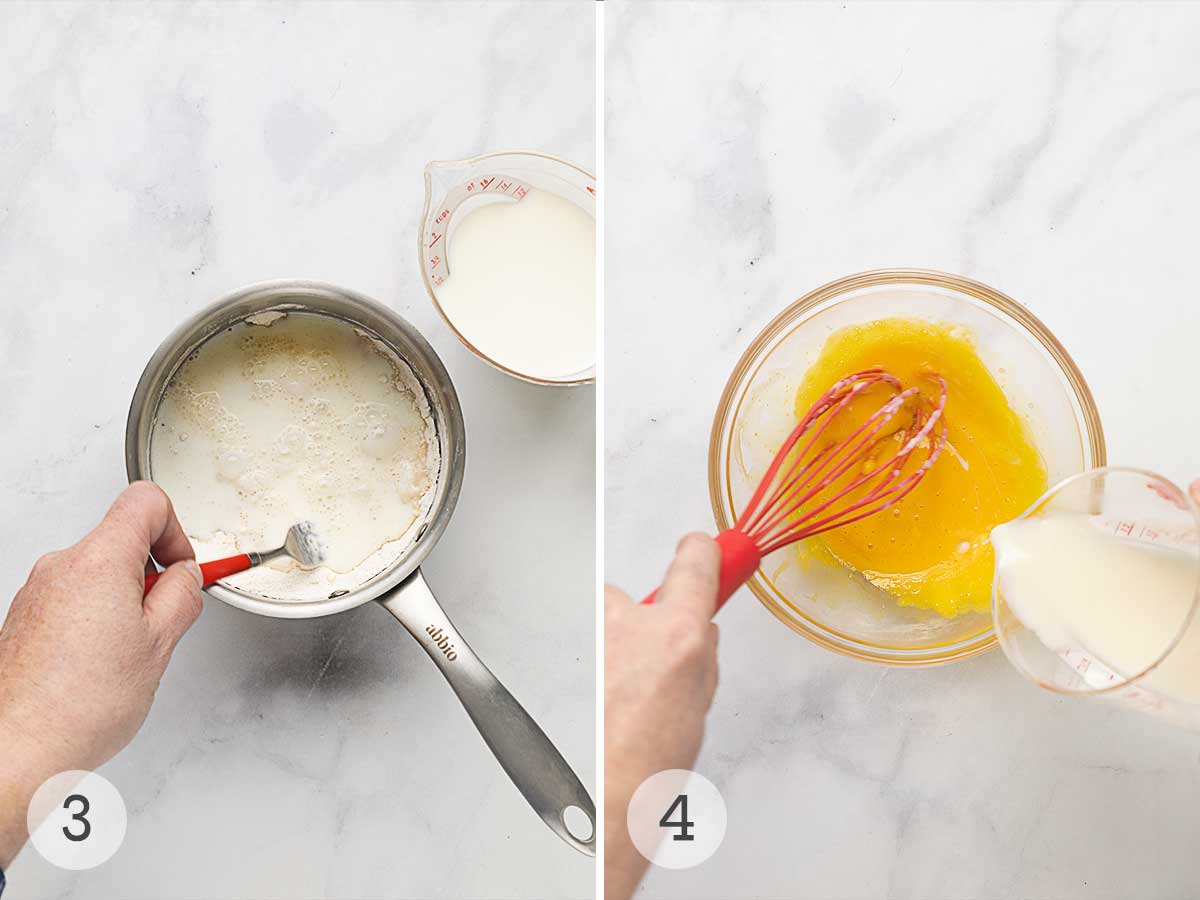
- Whisk in the milk until all the dry ingredients have dissolved. Set the saucepan over medium heat and cook, stirring frequently, until the mixture thickens into a smooth sauce. Remove from the heat.
- Slowly add 1/2 cup of the hot milk mixture into the beaten eggs yolks, stirring constantly. This is called “tempering.” Pour the tempered egg mixture into the saucepan with the hot milk.
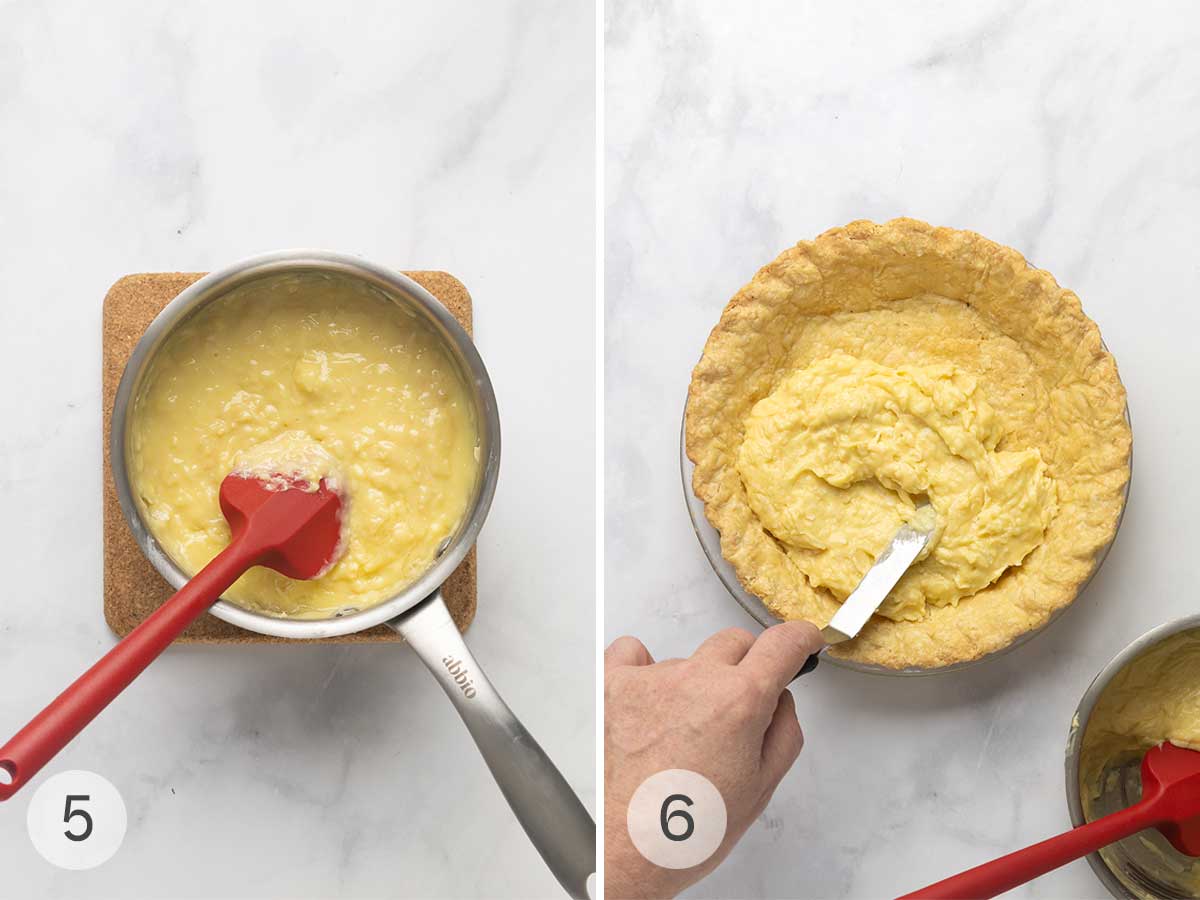
- Cook until the custard is thick, then let it boil for 1 minute. Remove from the heat. Stir in 1 cup of the coconut, the butter, and vanilla. Press a sheet of plastic wrap on the surface and let the custard cool completely.
- Spread the cooled filling into the pie crust.
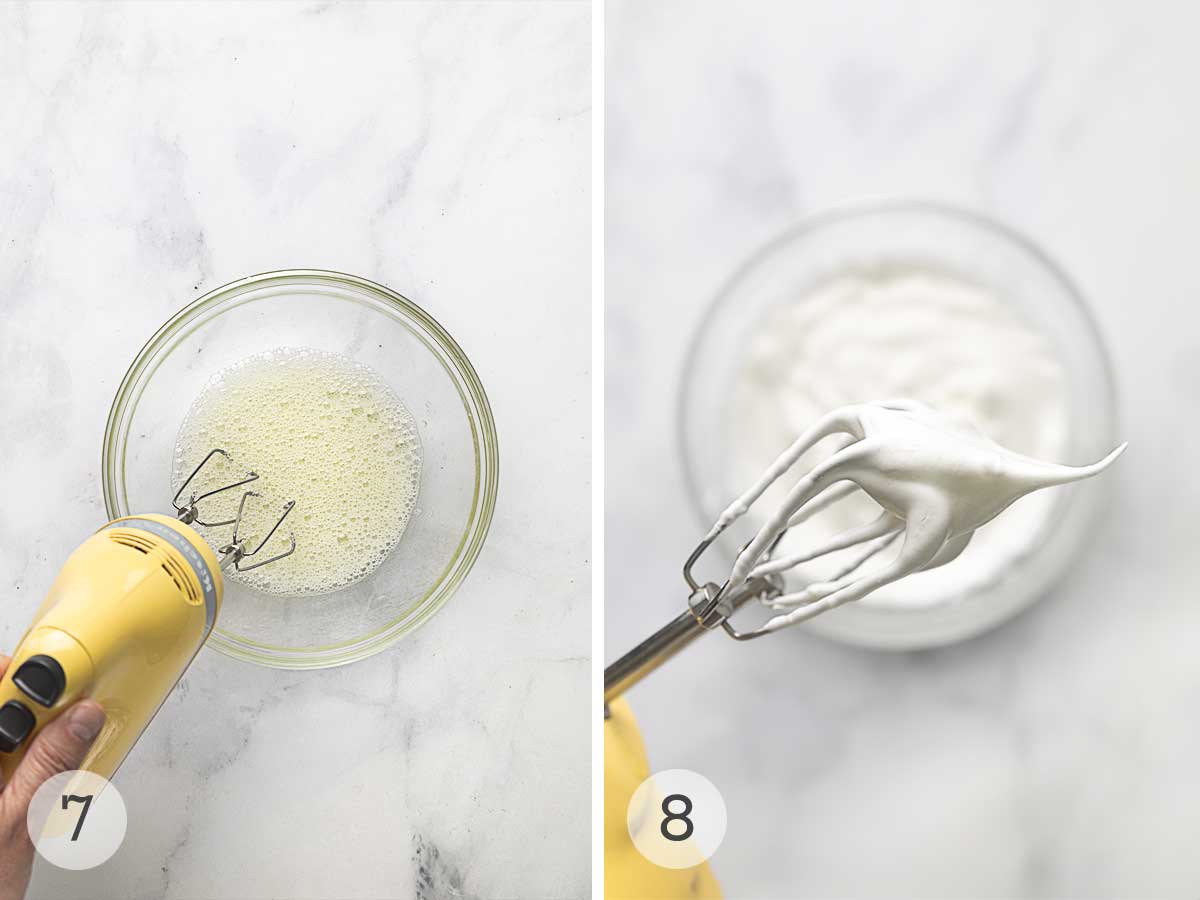
- Beat the egg whites on medium speed until foamy.
- Increase the speed to high and slowly beat in the sugar until the egg whites are shiny and hold firm peaks.
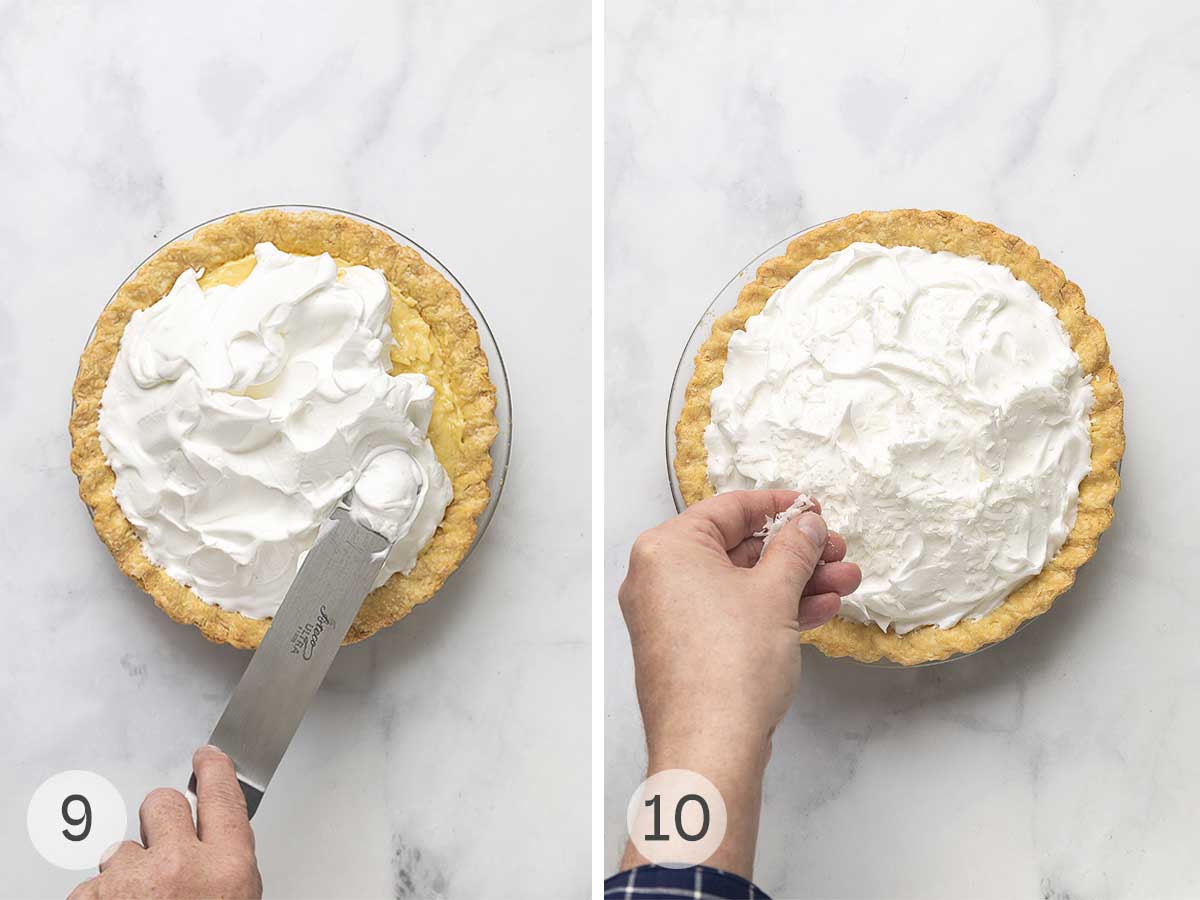
- Pile the meringue on top of the custard filling in the pie, mounding it slightly in the center.
- Sprinkle the remaining 1/4 cup of coconut over the meringue. Bake at 350°F until the meringue is golden. Cool to room temperature before serving.
Common Questions
An undercooked meringue or one with too much liquid in it can release beads of liquid that pool on top of the meringue. To avoid this, you can beat 1 tablespoon of cornstarch and 1/4 teaspoon of cream of tartar into the meringue to help stabilize it.
The two pies are very similar, however, a coconut cream pie has a custard that’s cooked on the stovetop before being added to a cooked pie shell, as in this recipe. For a coconut custard pie, the uncooked custard is placed in the pie shell and thickens as it bakes.
For a custard to thicken, the eggs must reach a temperature hot enough to kill their starch-digesting enzyme, alpha-amylase. This happens slightly below boiling, at around 190°F (88°C). If your custard’s not thickening, check the temperature and cook it a bit longer.
The meringue topping is classic and traditional, but if it’s not to your liking, you can replace it with homemade whipped cream topped with a sprinkling of toasted coconut flakes. (Wicked easy.)
You can make and freeze your pie crust up to 3 months before baking, but I don’t recommend freezing the finished pie. The filling and topping will both become watery and begin to separate when thawed.
Helpful Tips
- Let your custard cool completely before adding it to the crust and topping with the meringue. Warm custard can cause the meringue to deflate and become wet.
- To cut picture-perfect slices of pie without deflating the meringue, dip your knife in a glass of hot water before making each cut. The knife will glide right through.
Storage Instructions
Meringue-topped pies are best served the day they are made, but if you can refrigerate it for up to 2 days. Place a few toothpicks in the meringue topping, then loosely cover the pie with plastic wrap, using the toothpicks to stop the plastic wrap from touching the meringue.
Write a Review
If you make this recipe, or any dish on LC, consider leaving a review, a star rating, and your best photo in the comments below. I love hearing from you.–David
For the coconut custard filling
Prevent your screen from going dark
Make the coconut custard filling
In a medium bowl, beat the egg yolks.
In a medium saucepan, combine the sugar, flour, and salt. Use a fork or a whisk to mix them well.
Pour the milk into the pan and stir well with a whisk or a spatula until everything is very well combined and the dry ingredients seem to have dissolved.
Place the saucepan over medium heat and cook, still stirring with the whisk or spatula, until the mixture heats up and almost reaches a boil and steams and thickens into a smooth, velvety sauce, 6 to 8 minutes. Remove the pan from the heat.
Scoop out about 1/2 cup of the hot milk mixture with a measuring cup. Begin stirring the beaten egg yolks with a whisk or a large spoon and slowly, slowly start to add the 1/2 cup of the steaming hot milk mixture, stirring constantly as you pour. (This warms up the eggs and discourages them from curdling.)
Slowly pour the egg yolk and milk mixture back into the mixture in the pan, stirring until completely incorporated.
Place the pan back over medium heat and continue to cook, stirring and scraping the bottom of the pan often, for 2 to 3 minutes. Continue to cook, still stirring and scraping but a little more occasionally, until the mixture thickens considerably and begins retaining its shape when a blob is dropped from the spoon.
Let it come to a gentle but noisy boil, with large, blobby bubbles surfacing, popping, plopping, and steaming like lava in a cartoon volcano. Let it boil gently for 1 minute. Remove the pan from the heat.
Add 1 cup of the coconut, the butter, and the vanilla to the custard in the pan and stir to combine. When the butter is melted and incorporated into the custard, place a sheet of plastic wrap directly onto the surface of the custard and set it aside to cool to room temperature.
When the custard has cooled to room temperature, remove the plastic wrap and scoop the custard filling into the pie crust.
Make the meringue
Heat the oven to 350° F (176°C)
Beat the egg whites in a medium bowl with an electric mixer on medium speed until foamy.
Increase the speed to high and gradually add the sugar, about 2 tablespoons at a time. Beat the egg whites until they swell up into plump, shiny, soft clouds that hold firm, curly peaks.
Assemble and bake the pie
Scoop the meringue on top of the cooled custard filling, spreading it all the way to the crust and mounding the meringue slightly in the center of the pie.
Create swoops and swirls in the meringue for decorative effect and sprinkle the remaining 1/4 cup of the coconut over the top of the meringue.
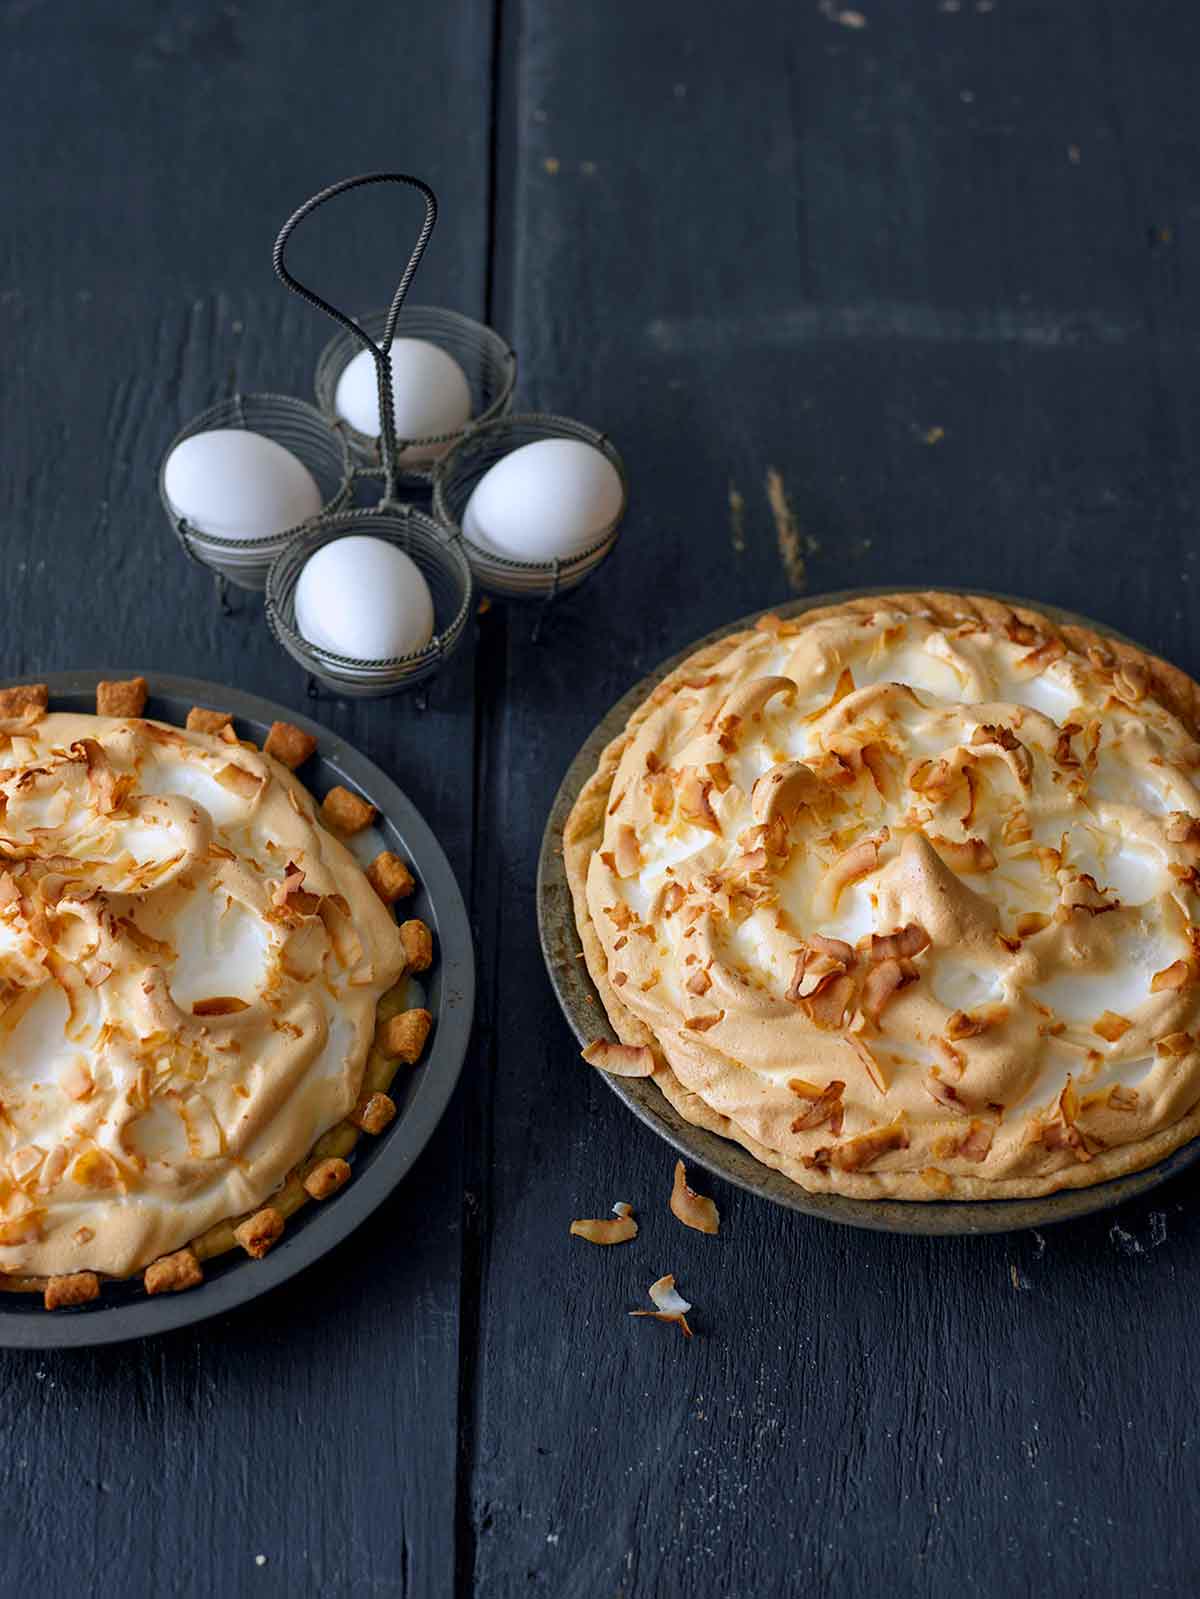
Place the coconut cream pie on the middle rack of the oven and bake until the meringue is a beautiful golden brown, 10 to 15 minutes. Place the pie on a cooling rack or a folded kitchen towel and let cool to room temperature. Serve at room temperature or, if desired, refrigerate and serve chilled.
- Cool it completely–Let your custard cool completely before adding it to the crust and topping with the meringue. Warm custard can cause the meringue to deflate and become wet.
- Cutting the pie–To cut picture-perfect slices of pie without deflating the meringue, dip your knife in a glass of hot water before making each cut. The knife will glide right through.
- Storage–Store leftover pie, loosely tented with plastic wrap in the fridge for up to 2 days.
Serving: 1 sliceCalories: 434 kcalCarbohydrates: 50 gProtein: 8 gFat: 23 gSaturated Fat: 14 gMonounsaturated Fat: 6 gTrans Fat: 1 gCholesterol: 83 mgSodium: 191 mgFiber: 3 gSugar: 31 g
Nutrition information is automatically calculated, so should only be used as an approximation.
Recipe © 2010 Nancie McDermott. Photos © 2024 David Leite. All rights reserved.
Recipe Testers’ Reviews
I did it! I made my first cream pie with a meringue topping, and it turned out great. I have this recipe for coconut cream pie to thank for it. It took me by the hand and walked me through with great success.
I just stood back and listened to the oohs and ahhs and grinned like the Cheshire Cat with my beautiful finished pie. I’m sure this pie would be good with any homemade pie crust, but I highly recommend the food processor pie crust. Needless to say, I’ll be making both the crust and pie again.
The smell of the homemade coconut cream pie filling was so good that it almost didn’t make it into the crust! (By the way, I reduced the butter by 1 tablespoon and used non-fat milk. It was still really rich tasting.) My family loved it.
Also, we ate one piece that evening–the still-warm meringue had a burnt marshmallow flavor (yum). Then we ate another in the morning out of the fridge. It really does taste good either way.
I am so glad this was my first attempt at a homemade coconut pie, as the pie turned out flawless. The creamy homemade coconut pie filling was silky and sweet, with bits of coconut in it. The meringue was light and airy but with a bit of chew from the toasted coconut and golden-brown top.
This reminded me of my Texas childhood! Coconut cream pie recipes were offered at every church dinner and family function. This particular pie has a delicious custard and the puffs of meringue finish it off perfectly.
The instructions for the filling seemed a little long but were necessary in order to keep the custard from curdling. We look forward to making this again.
This pie had a great flavor and creamy texture. I used my own pie crust recipe and sweetened coconut. I used my hand mixer to make the meringue and will use my KitchenAid next time. It took a very long time for my meringue to get to the right consistency but the result was a very nice-looking toasted coconut meringue that had everyone drooling.
The homemade coconut cream pie filling for this pie was excellent. I didn’t have whole milk on hand, so I used one cup of half-and-half and 2% milk for the rest. I used sweetened shredded coconut, and the amount was just right for each bite; however, those who don’t enjoy eating shredded coconut on its own may want to cut back slightly.
Make sure the coconut custard is completely cooled before putting the meringue on top to bake. I rushed this step, and I think it caused my meringue layer to separate from the filling and get a little runny.
I refrigerated the pie overnight, and in the morning, it looked a little less watery. I don’t think it affected the taste at all, but the appearance wasn’t as nice. And on a final note, my meringue ended up rather squat and restrained, not as buoyant and exuberant as I had hoped.

